FILE.
I laid them out in a rectangle of 1200x1200 mm which is what we had for each of us. The tool that we used was 6mm so I made sure I left a space of more than 12 mm between each piece.
March 19, 2022
CNC machining is a manufacturing process which uses cutting tools that substract from the material (workpiece) in order to obtain a desired piece. CNC is more efficient than traditional fabrication methods because it reduces human error, helps us create more accurate cuts or patterns, it is better for more production. We first need to know what is our desired product in order to define which tool or technique we need to use. There are a number of programs you can use to 3d model your object and then translate to the code needed for the machine to read and follow.
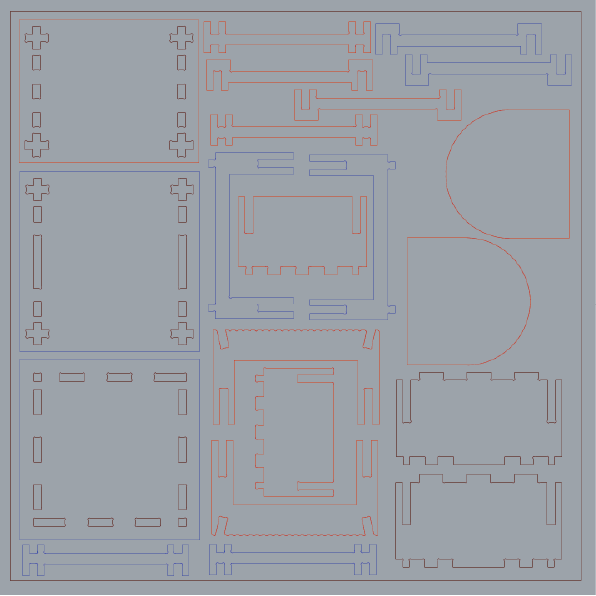
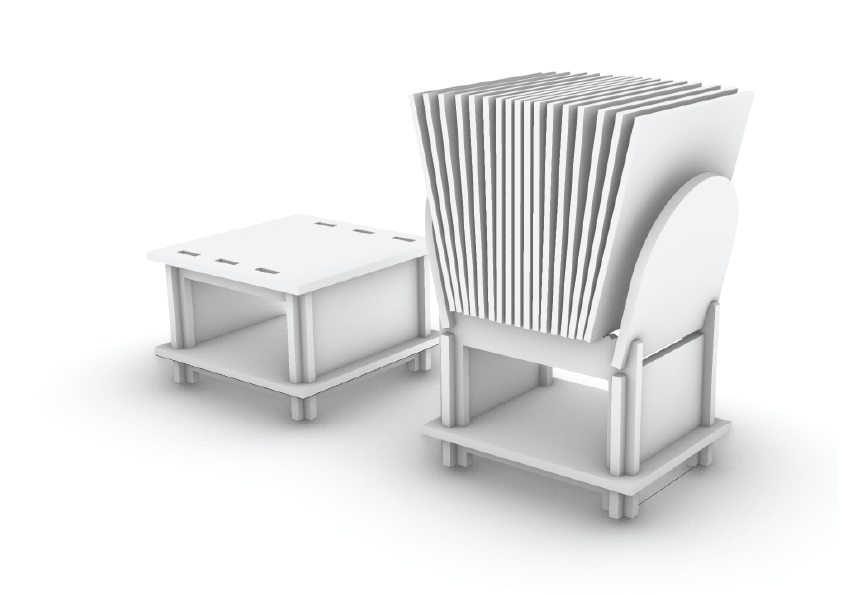
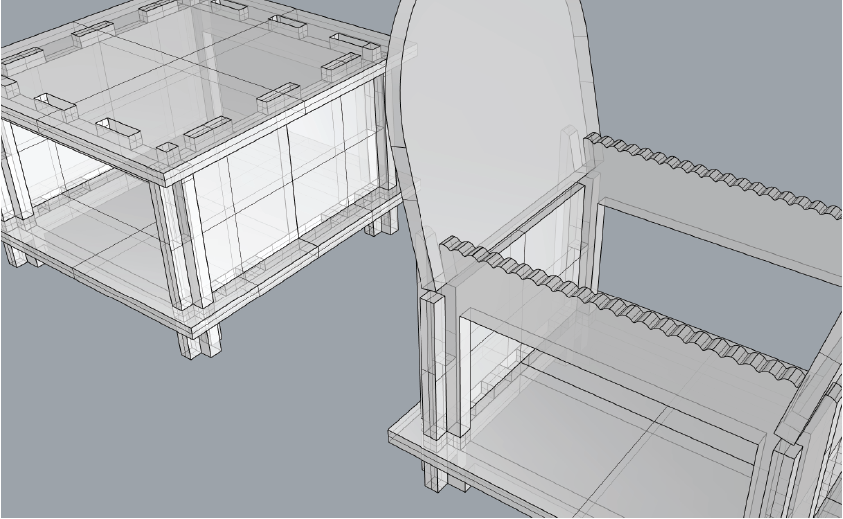
In my case I used rhino which is already familiar. I designed a base for Vynil records in order to test how the joints work and how could I create an object without any screws or glue. This is the design I created.
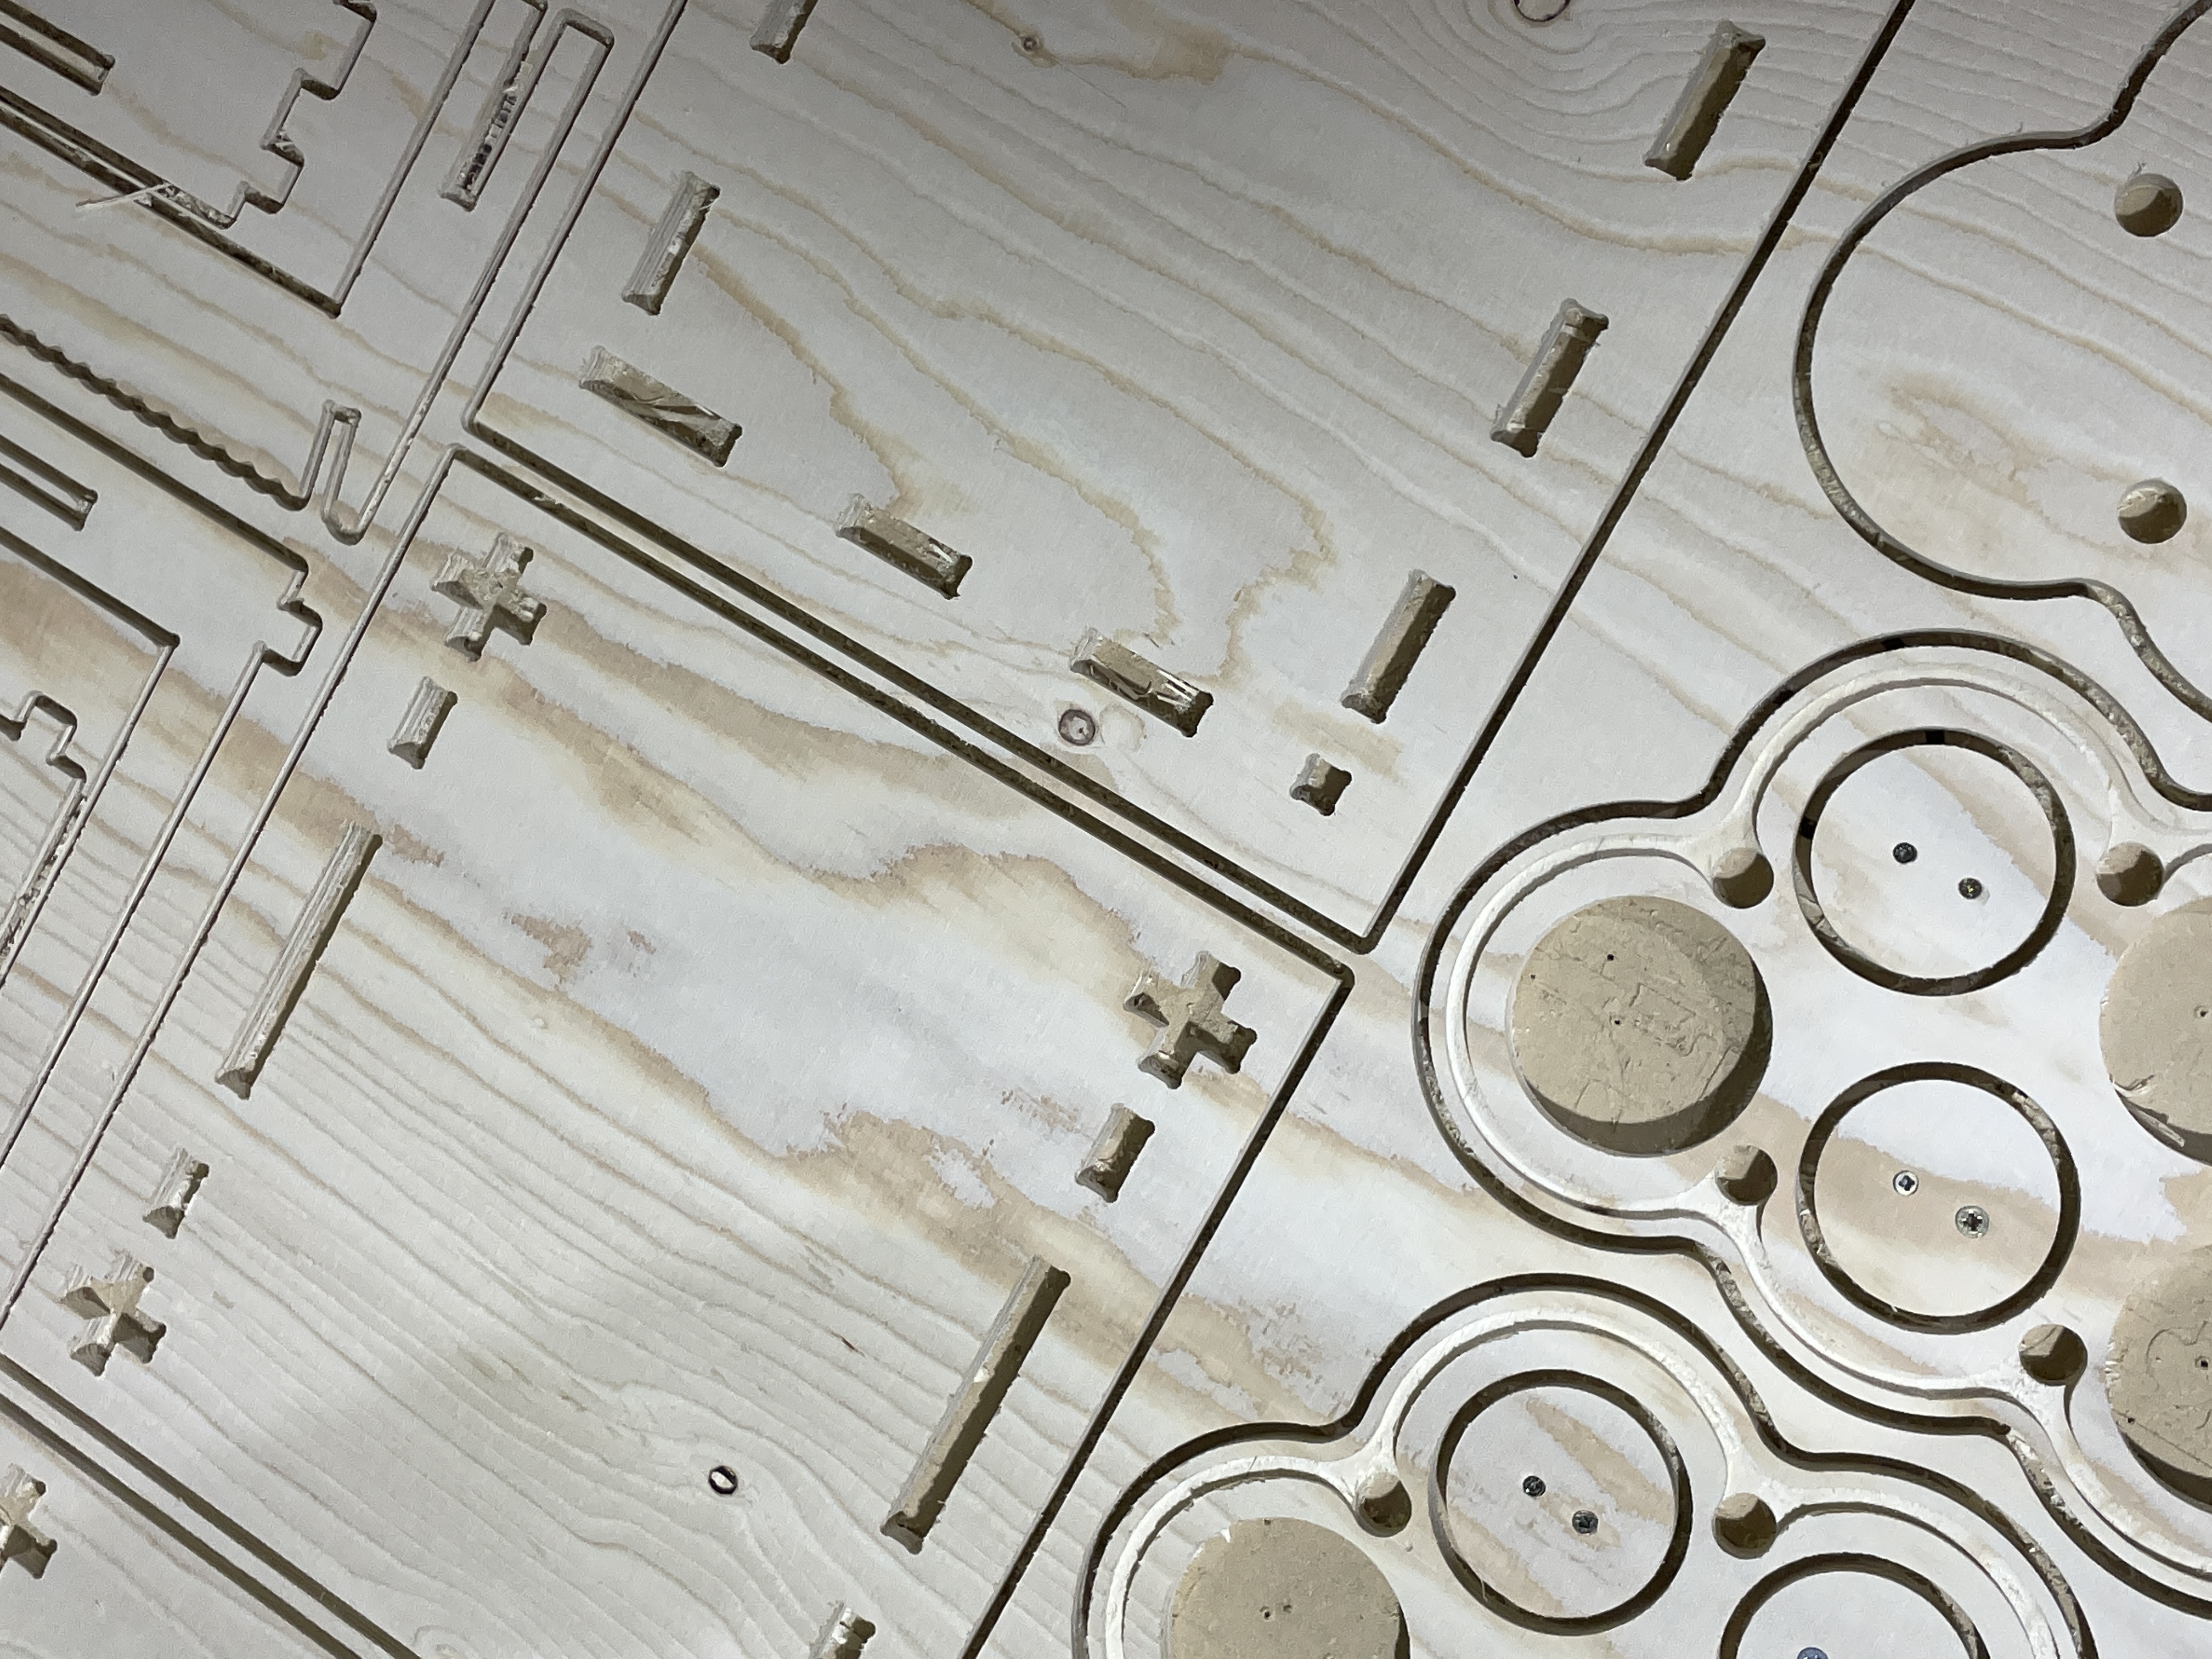
I laid them out in a rectangle of 1200x1200 mm which is what we had for each of us. The tool that we used was 6mm so I made sure I left a space of more than 12 mm between each piece.
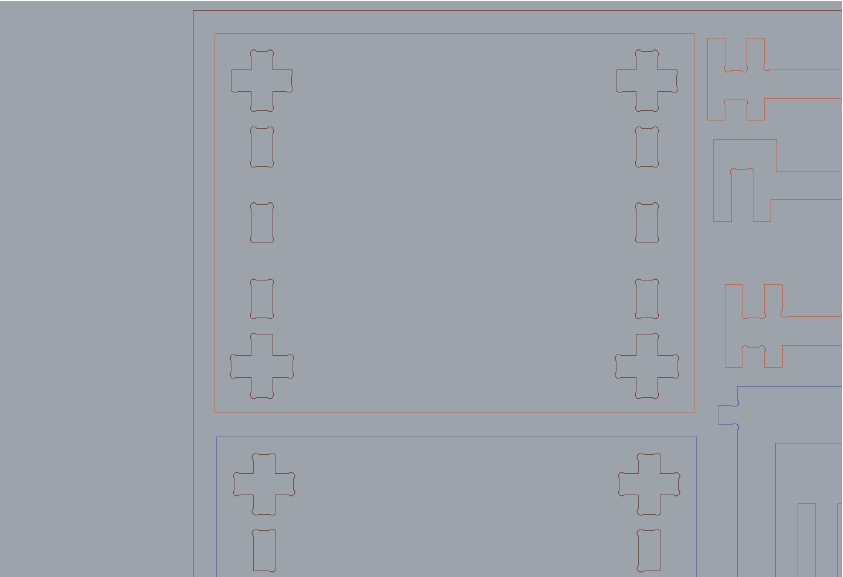
As you can see, I had to make bone cuts in the pieces which had sharp 90 degree angles in order for the cnc to pass clearly through that part. They were fillets of 3mm.
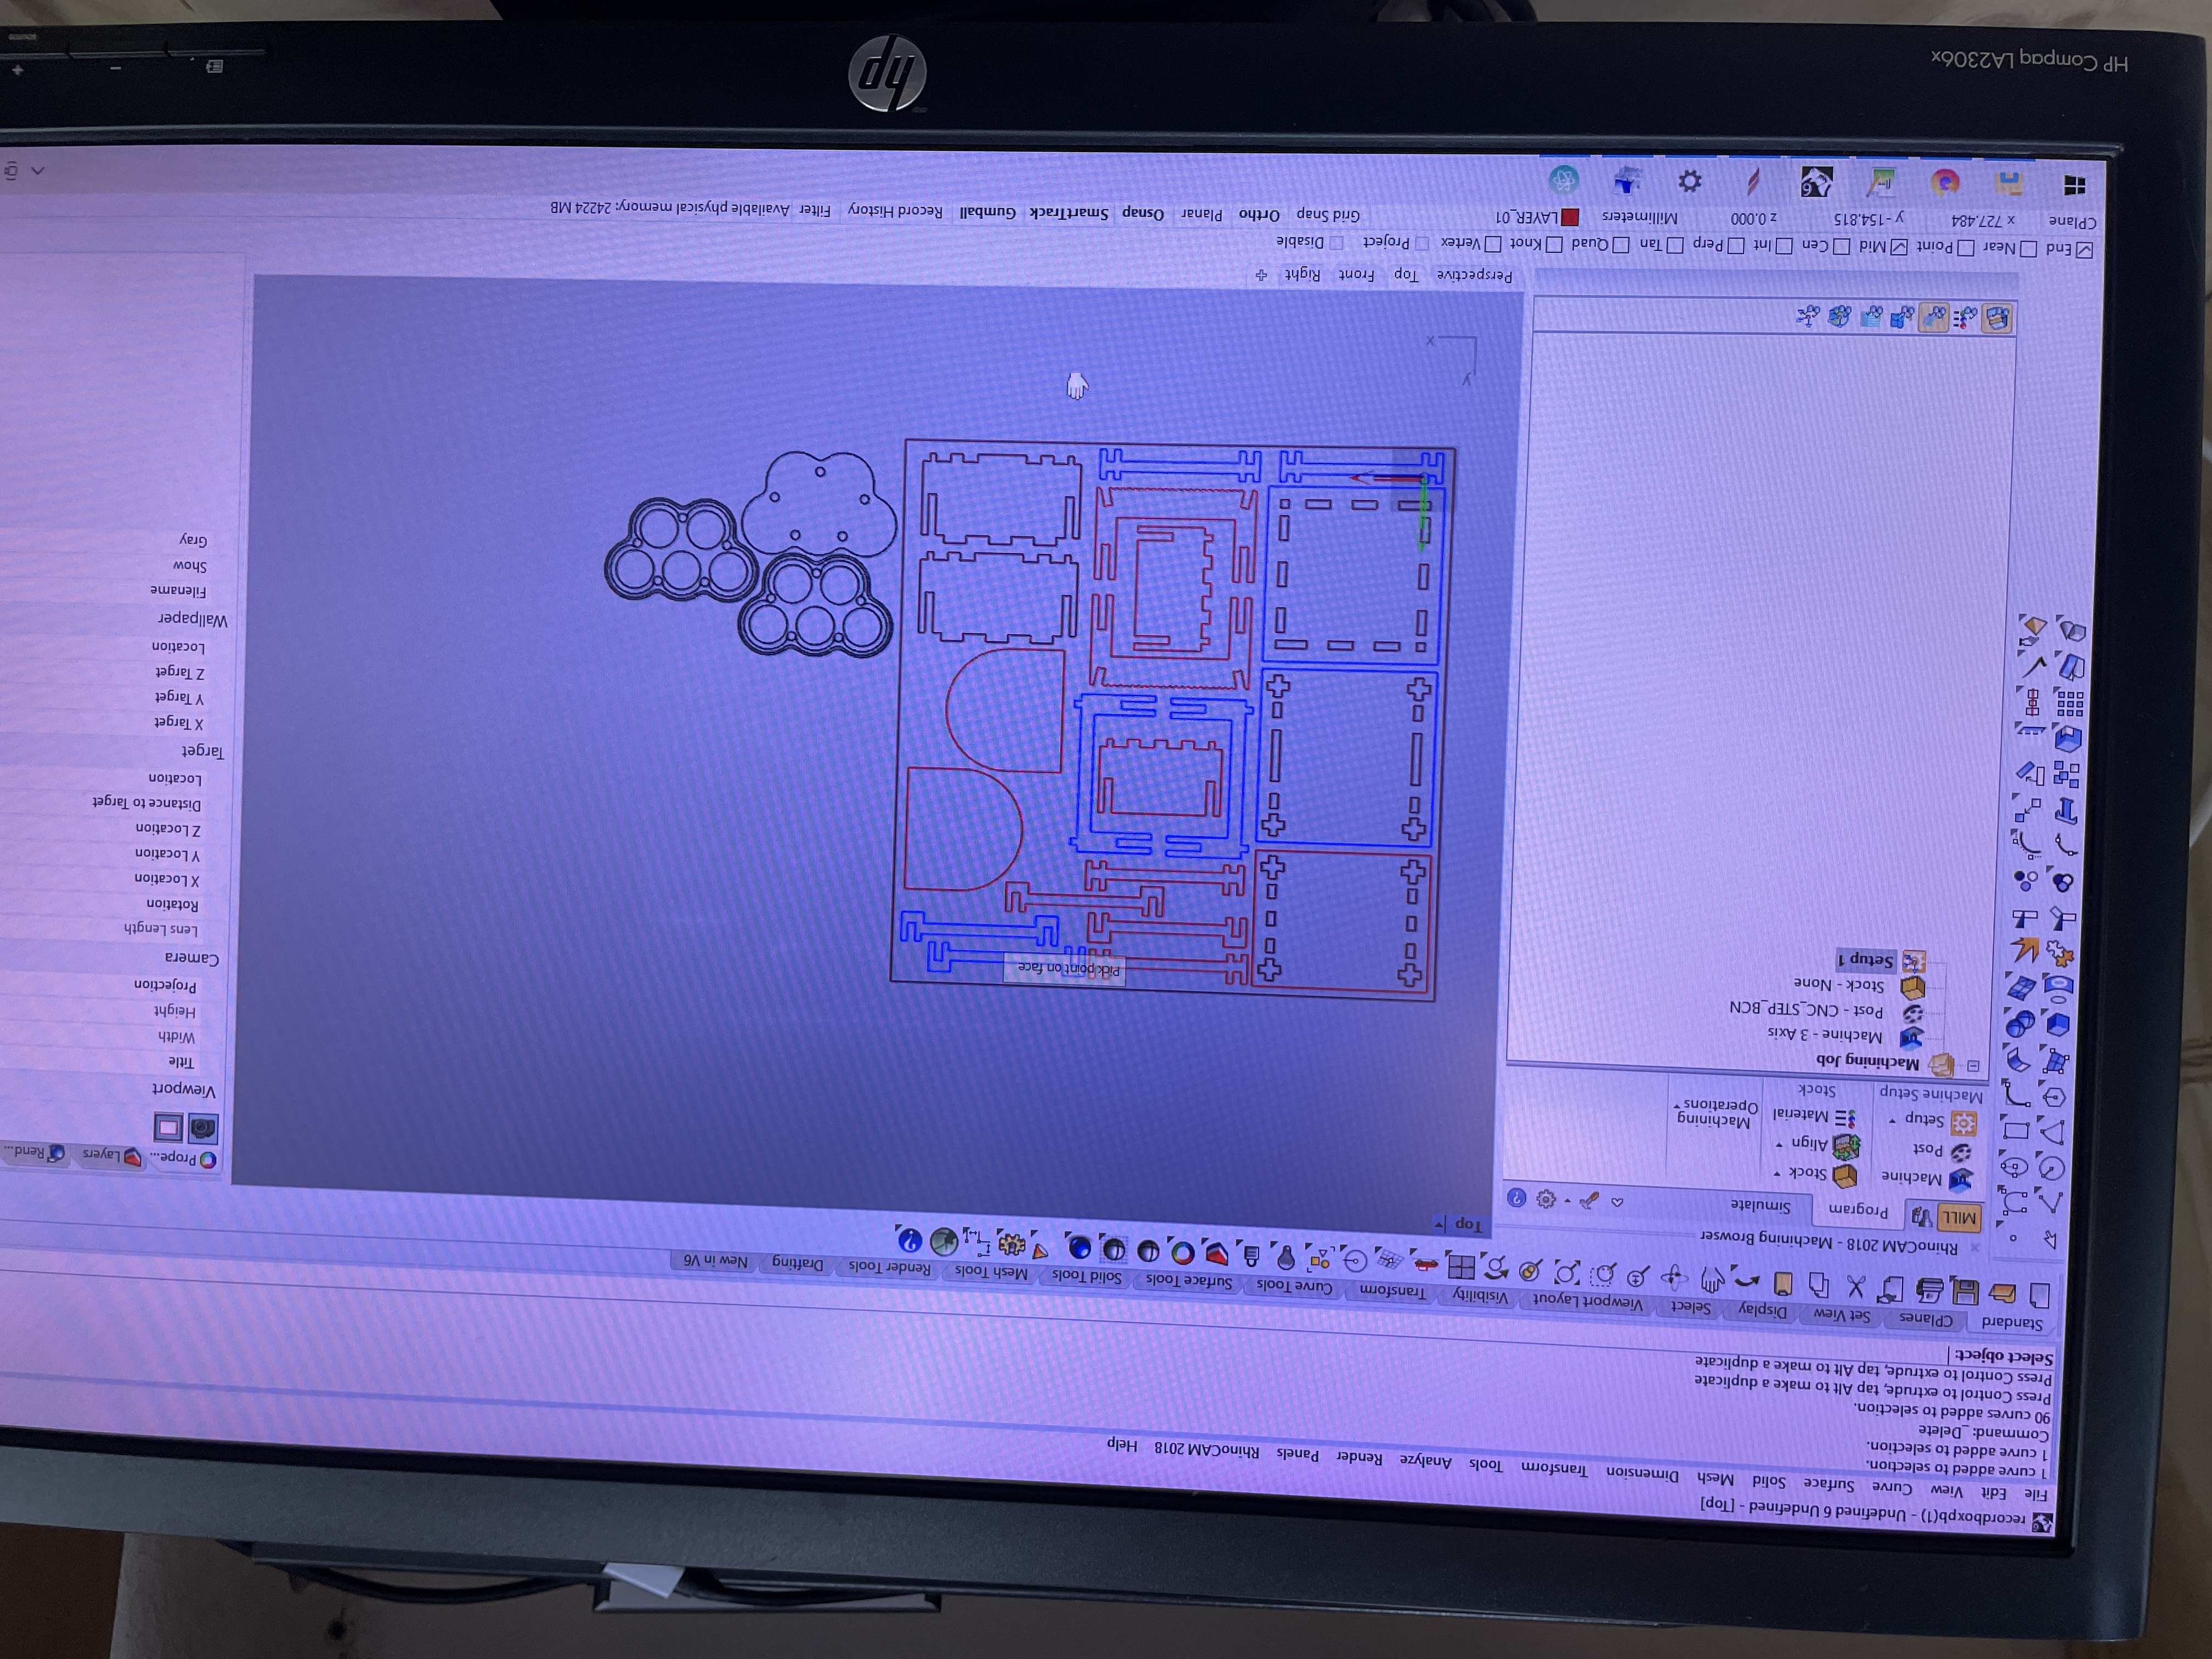
After setting the file we opened it on RhinoCAM so we could start making the code for the cnc. We set up first the box which was the measurements of the plywood we would use. We went to set up and separated by layers our file to identify which would be pocketing or profiling, inner cut or outside cut.
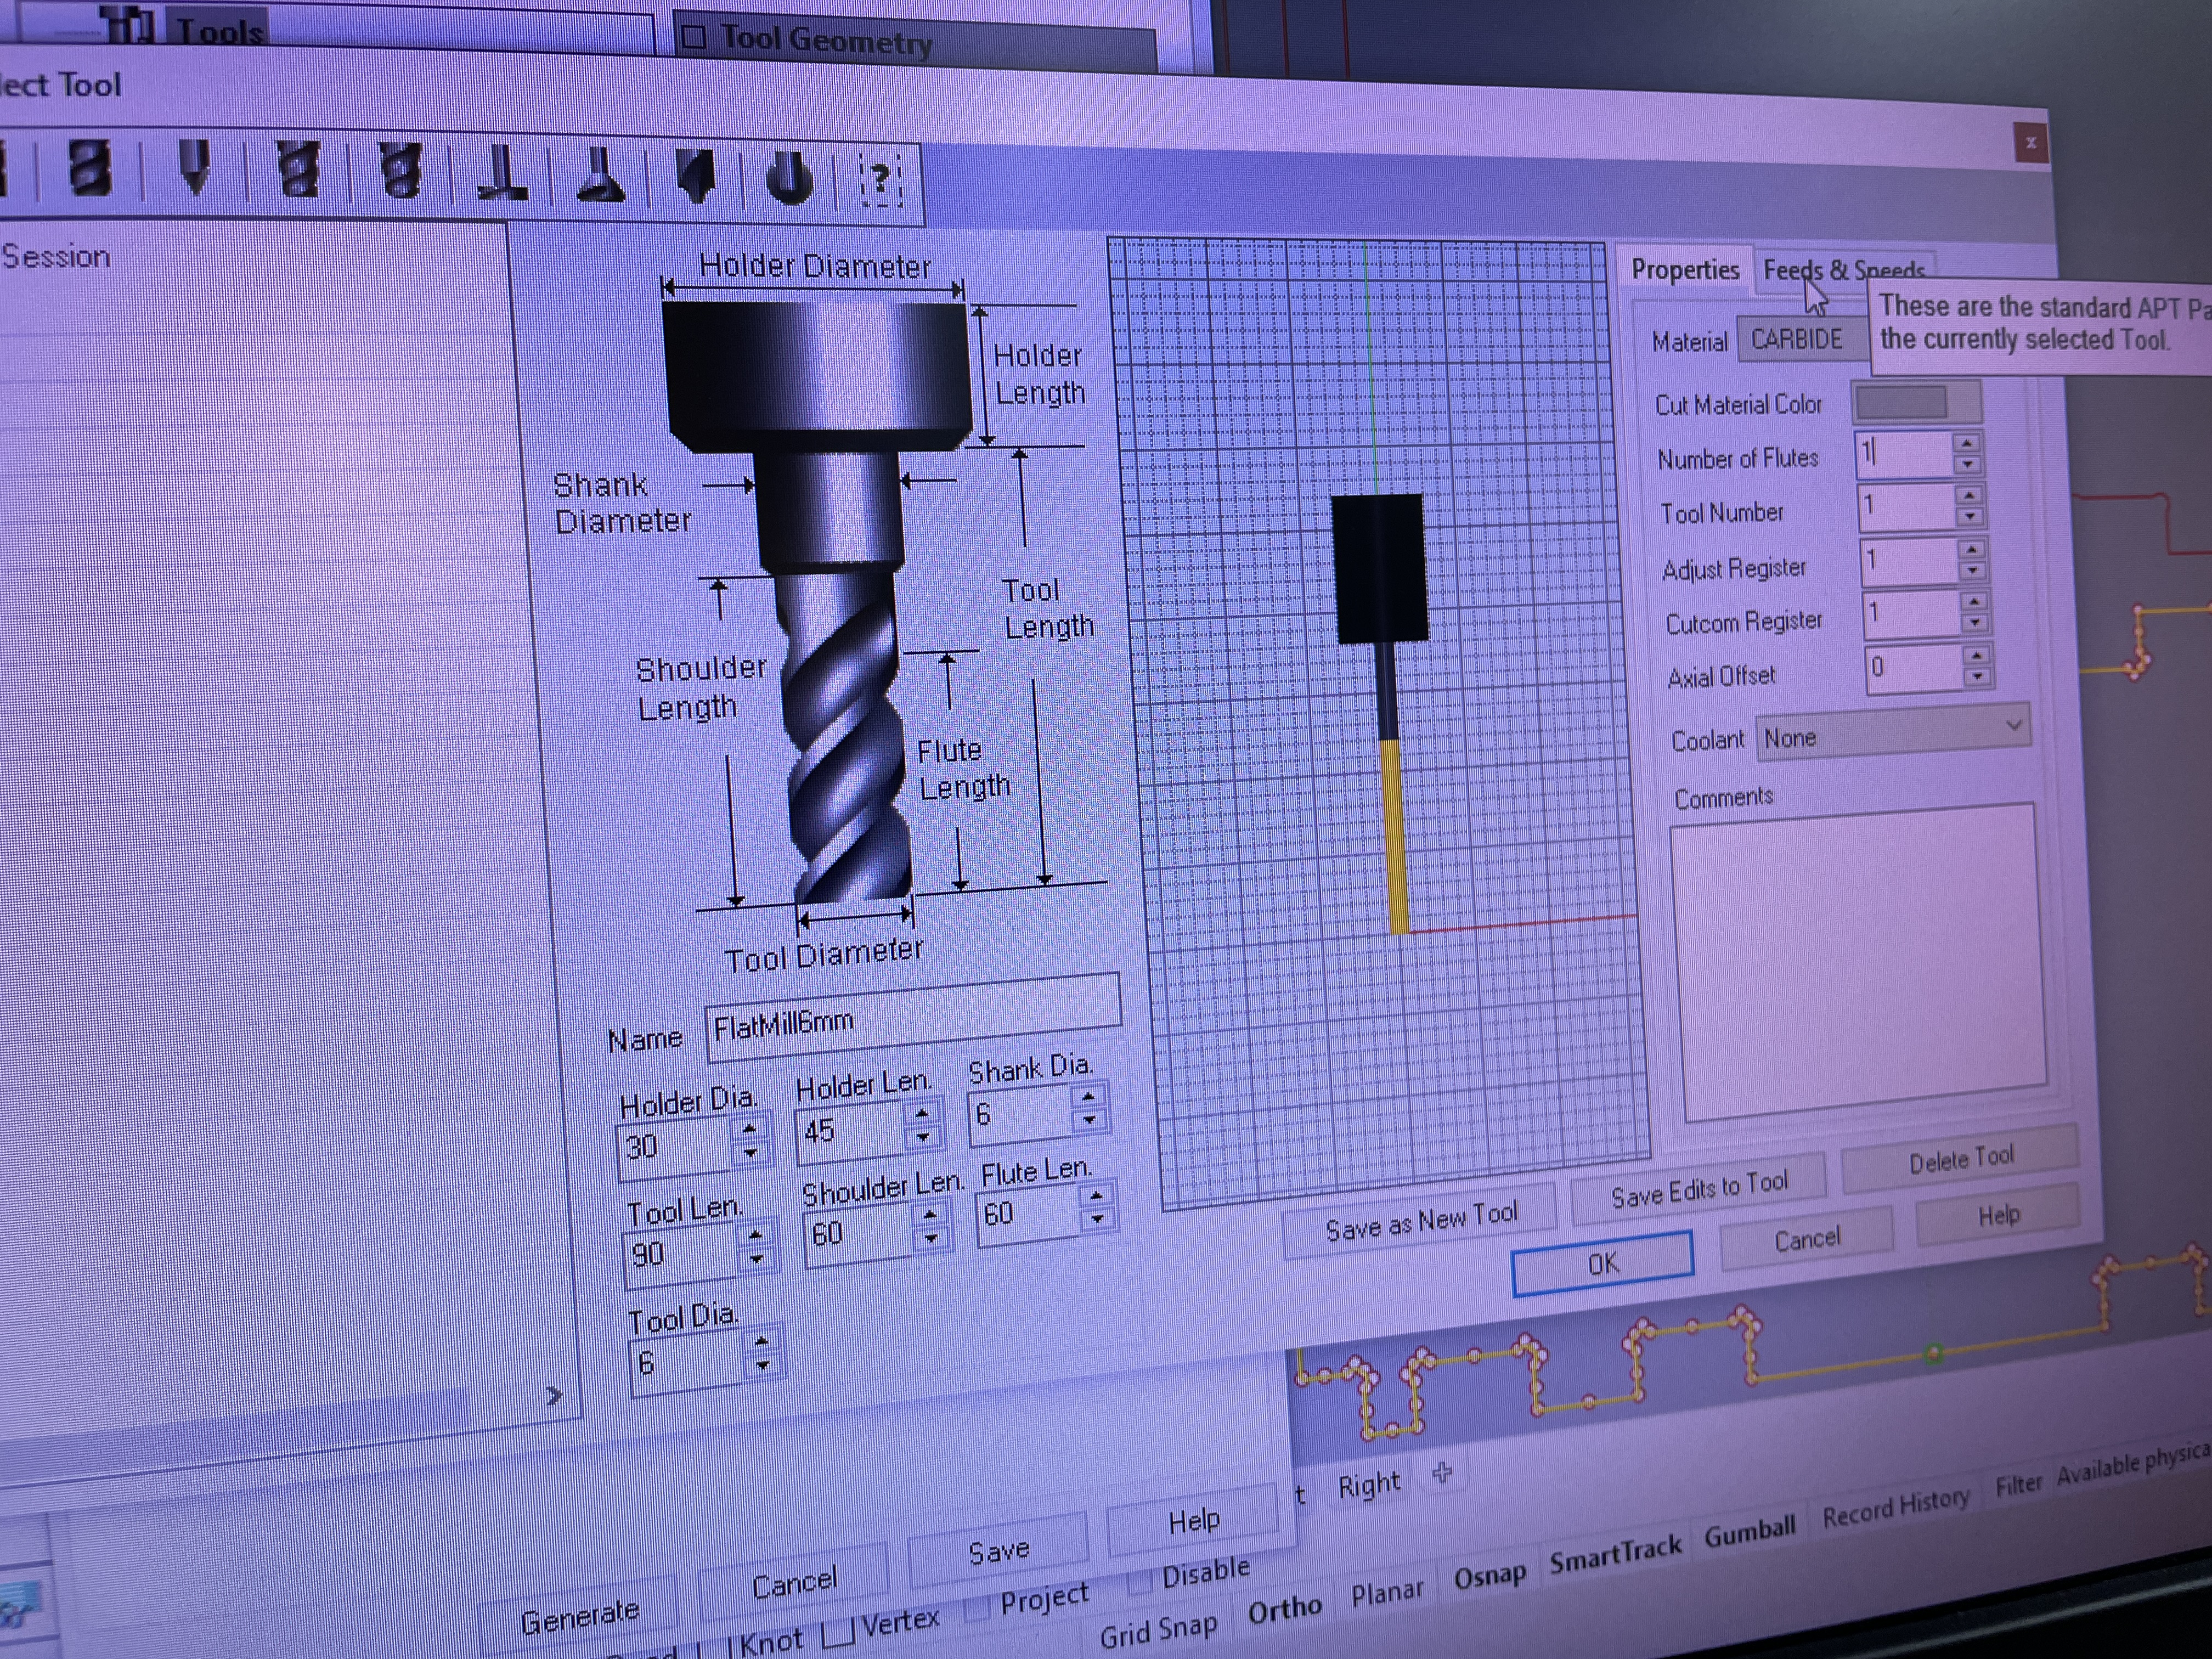
We defined the properties for the machine and set up the tool we were going to use. In this case we were using a 6mm CMT orange tools for downcut 198.660.11. We searched the parameters needed for this tool on their site.
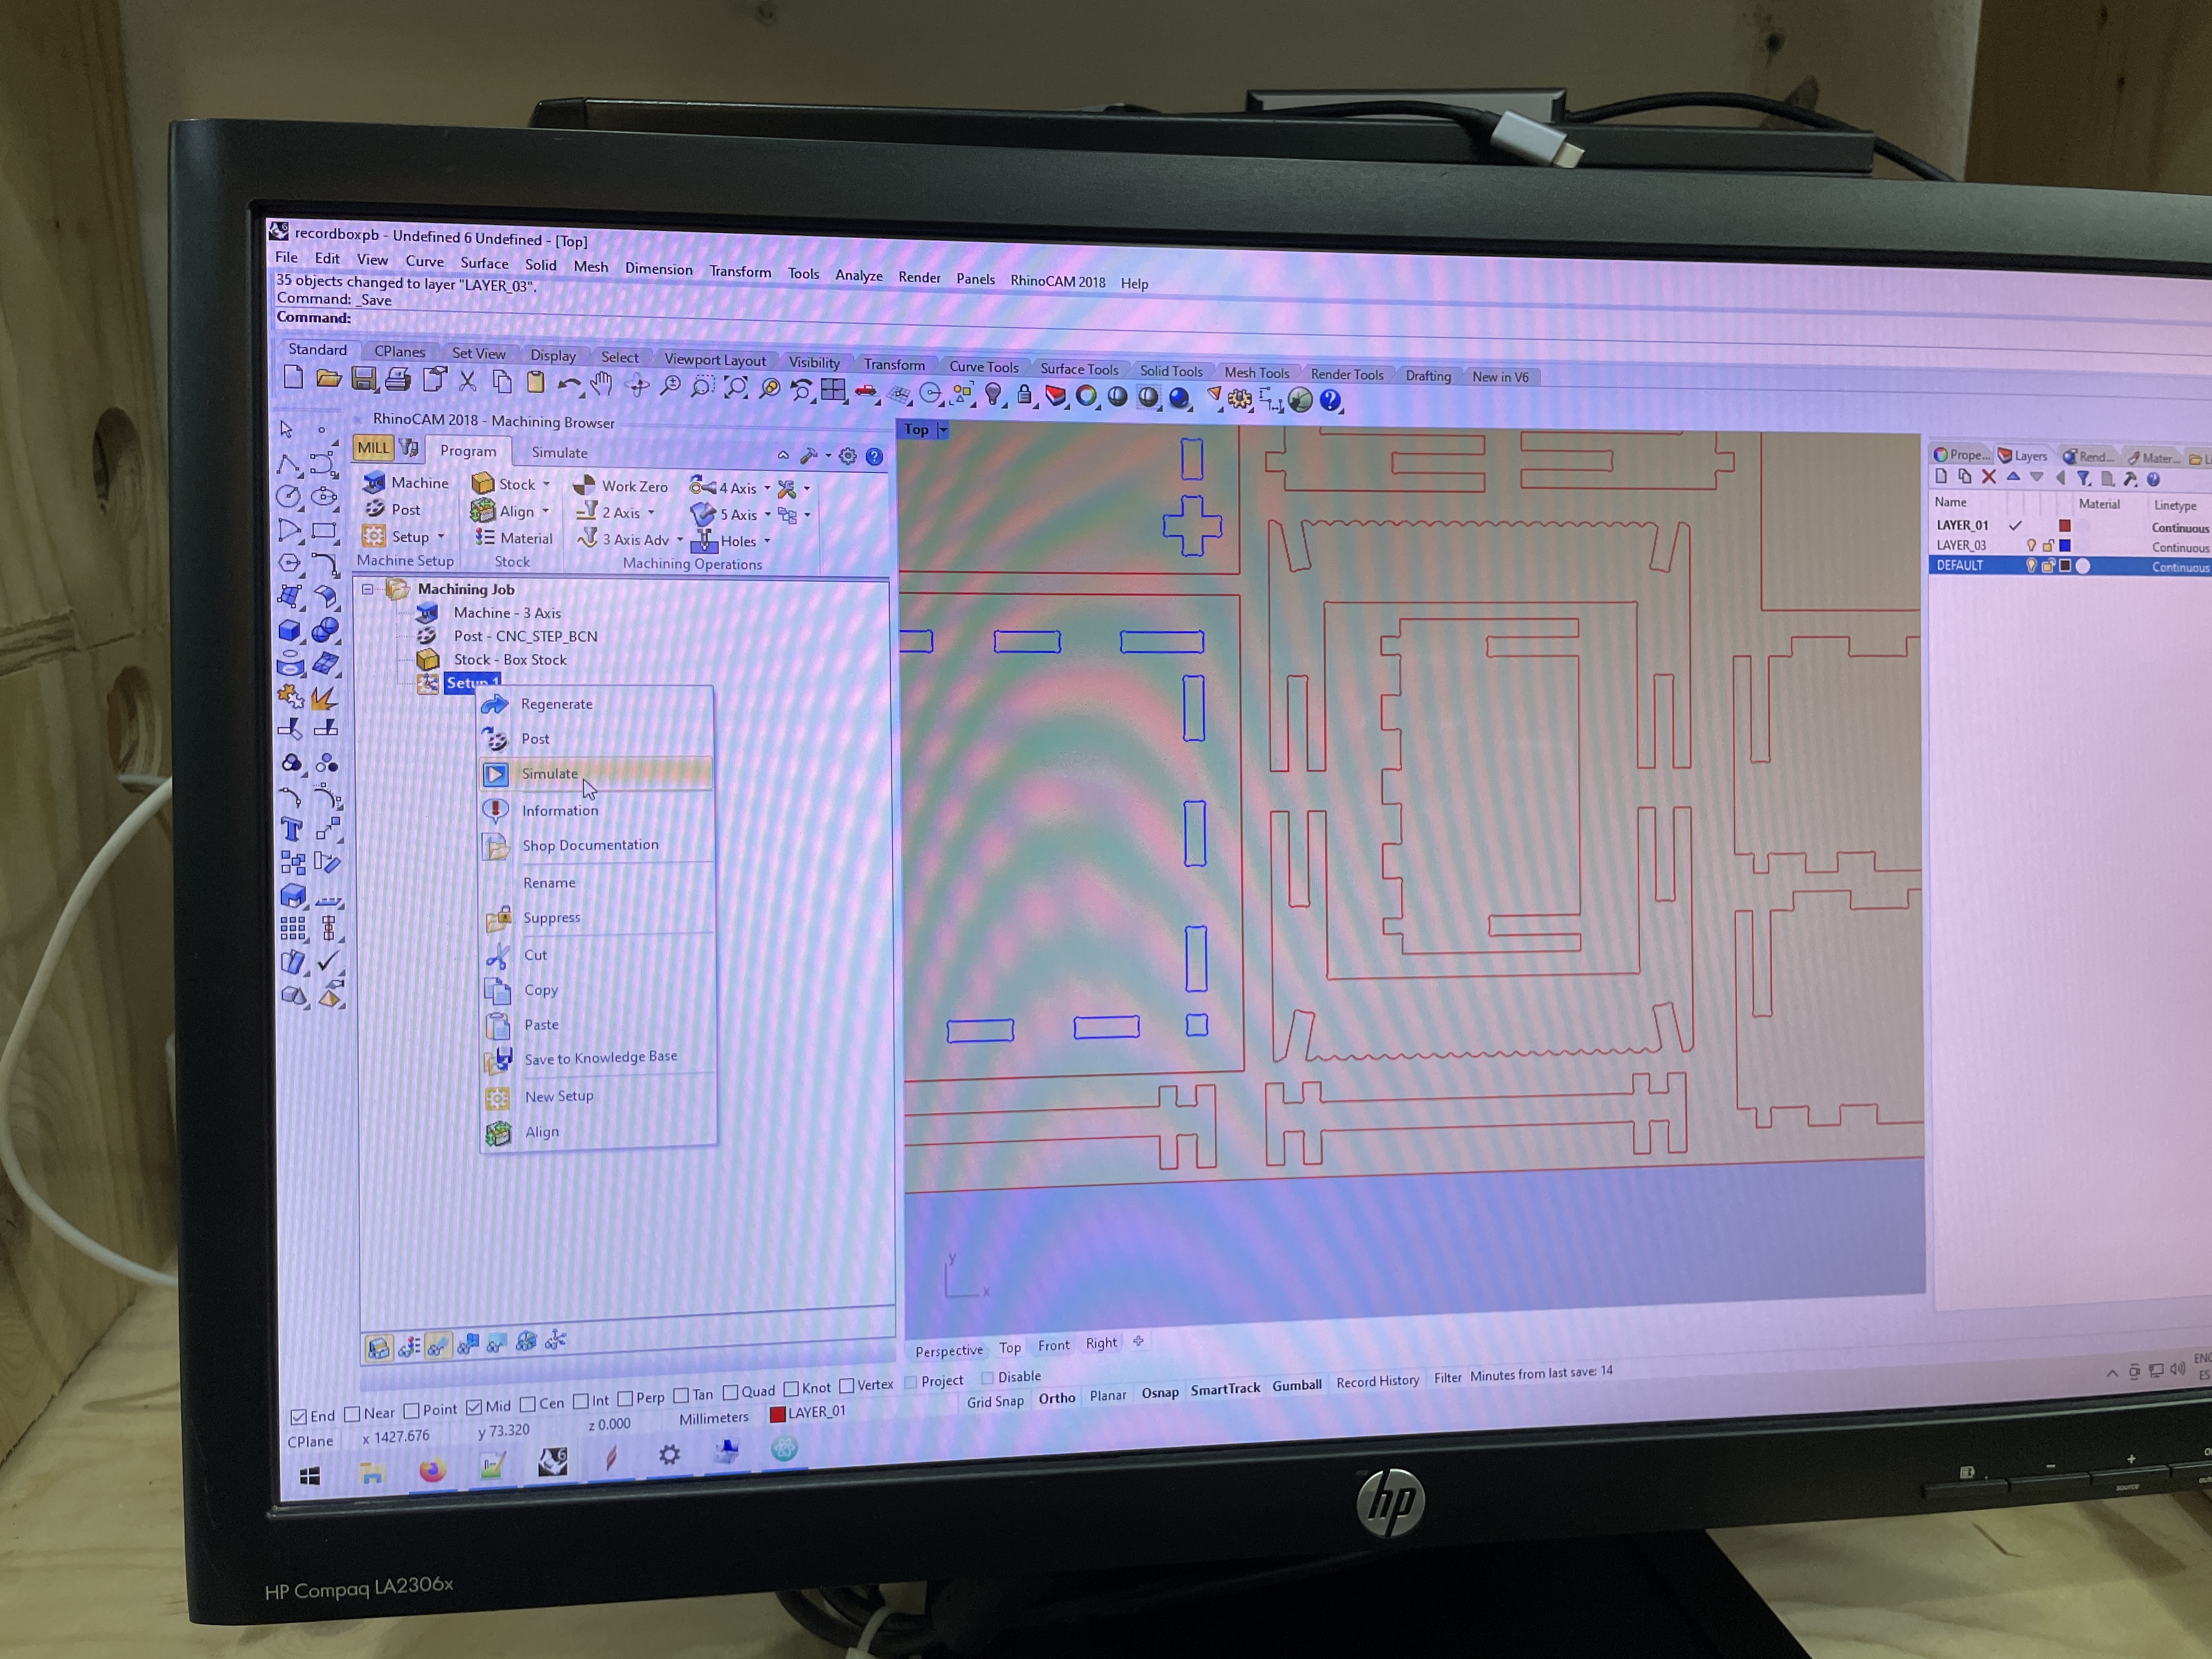
After having set the parameters, box and tool we defined the layers to see which would be cut first and what type of cut. We needed to put also some bridges between the pieces so they wouldn't fly away and put screws as well. Once we were ready we ran a simulation and checked everything was correct and then we exported the screws layer with the post option and then the rest of the layers in another file.
We opened the screws file first in the CNC and callibrated the machine in the Z and X axis. Then we started the job and it made the drills to indicate where the screws would go.
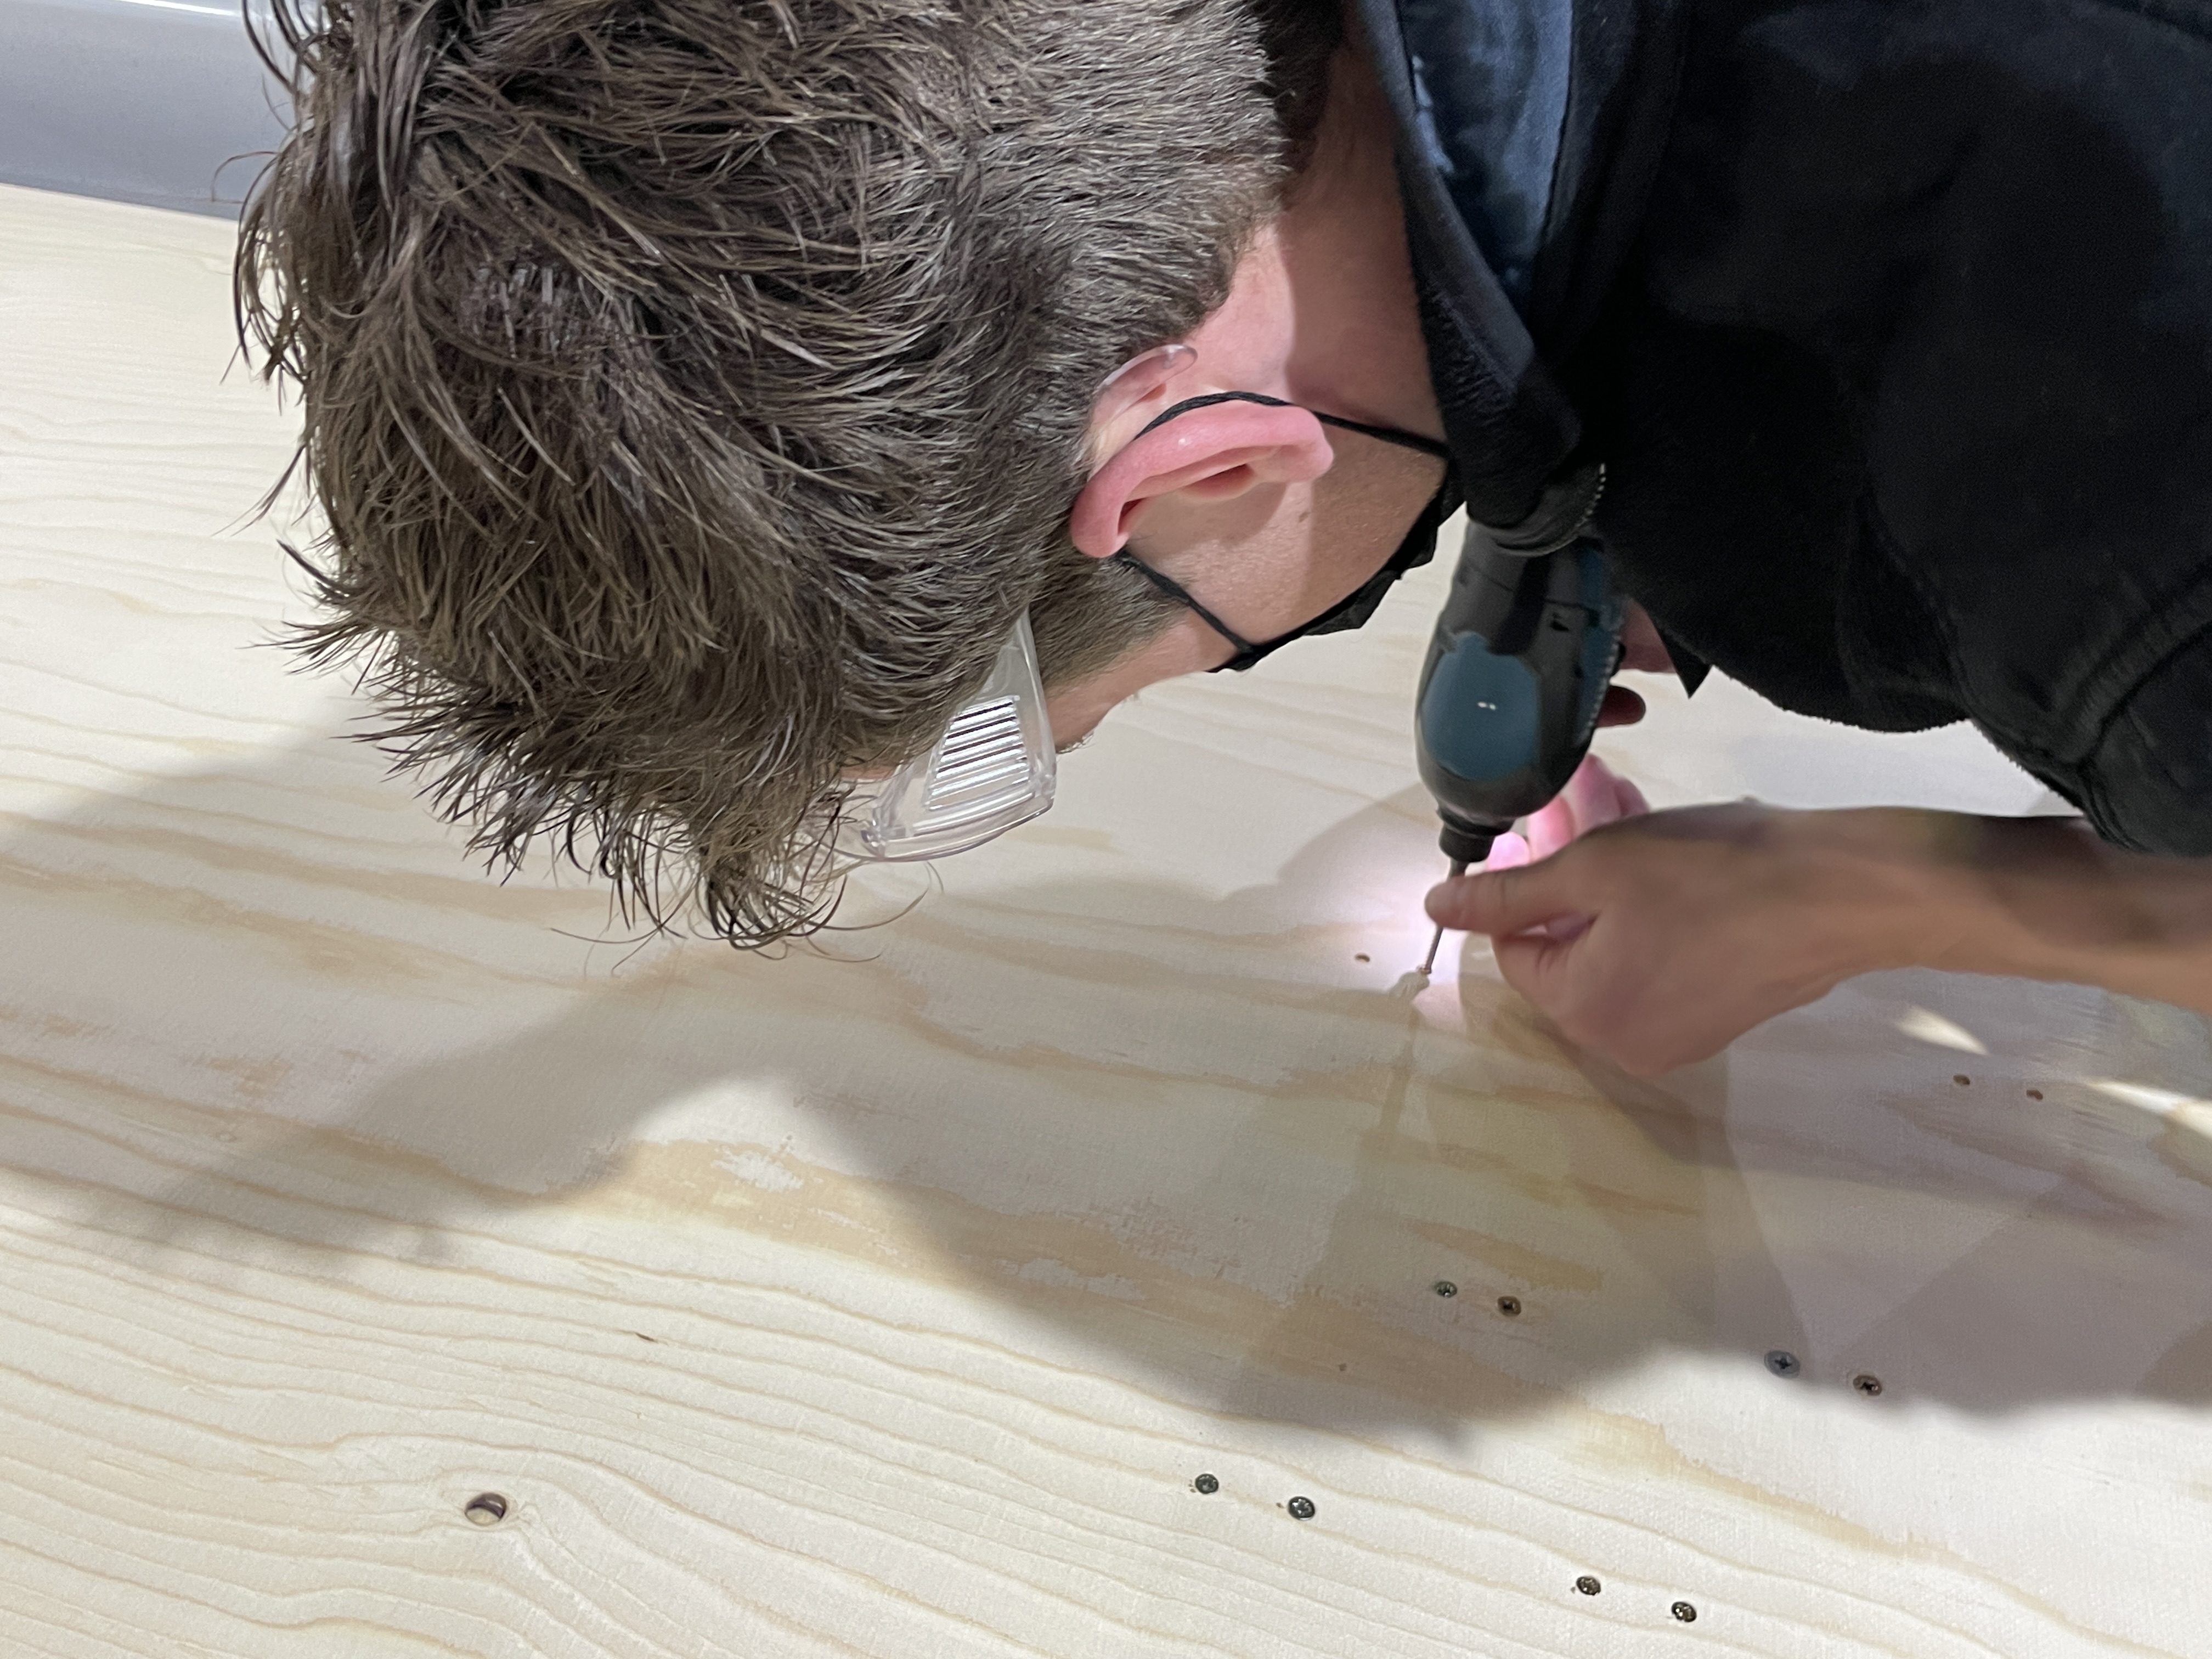
Drilling the screws on to the marks done in the board, being careful to drill in the proper position not to harm the screw so they can be removed afterwards.
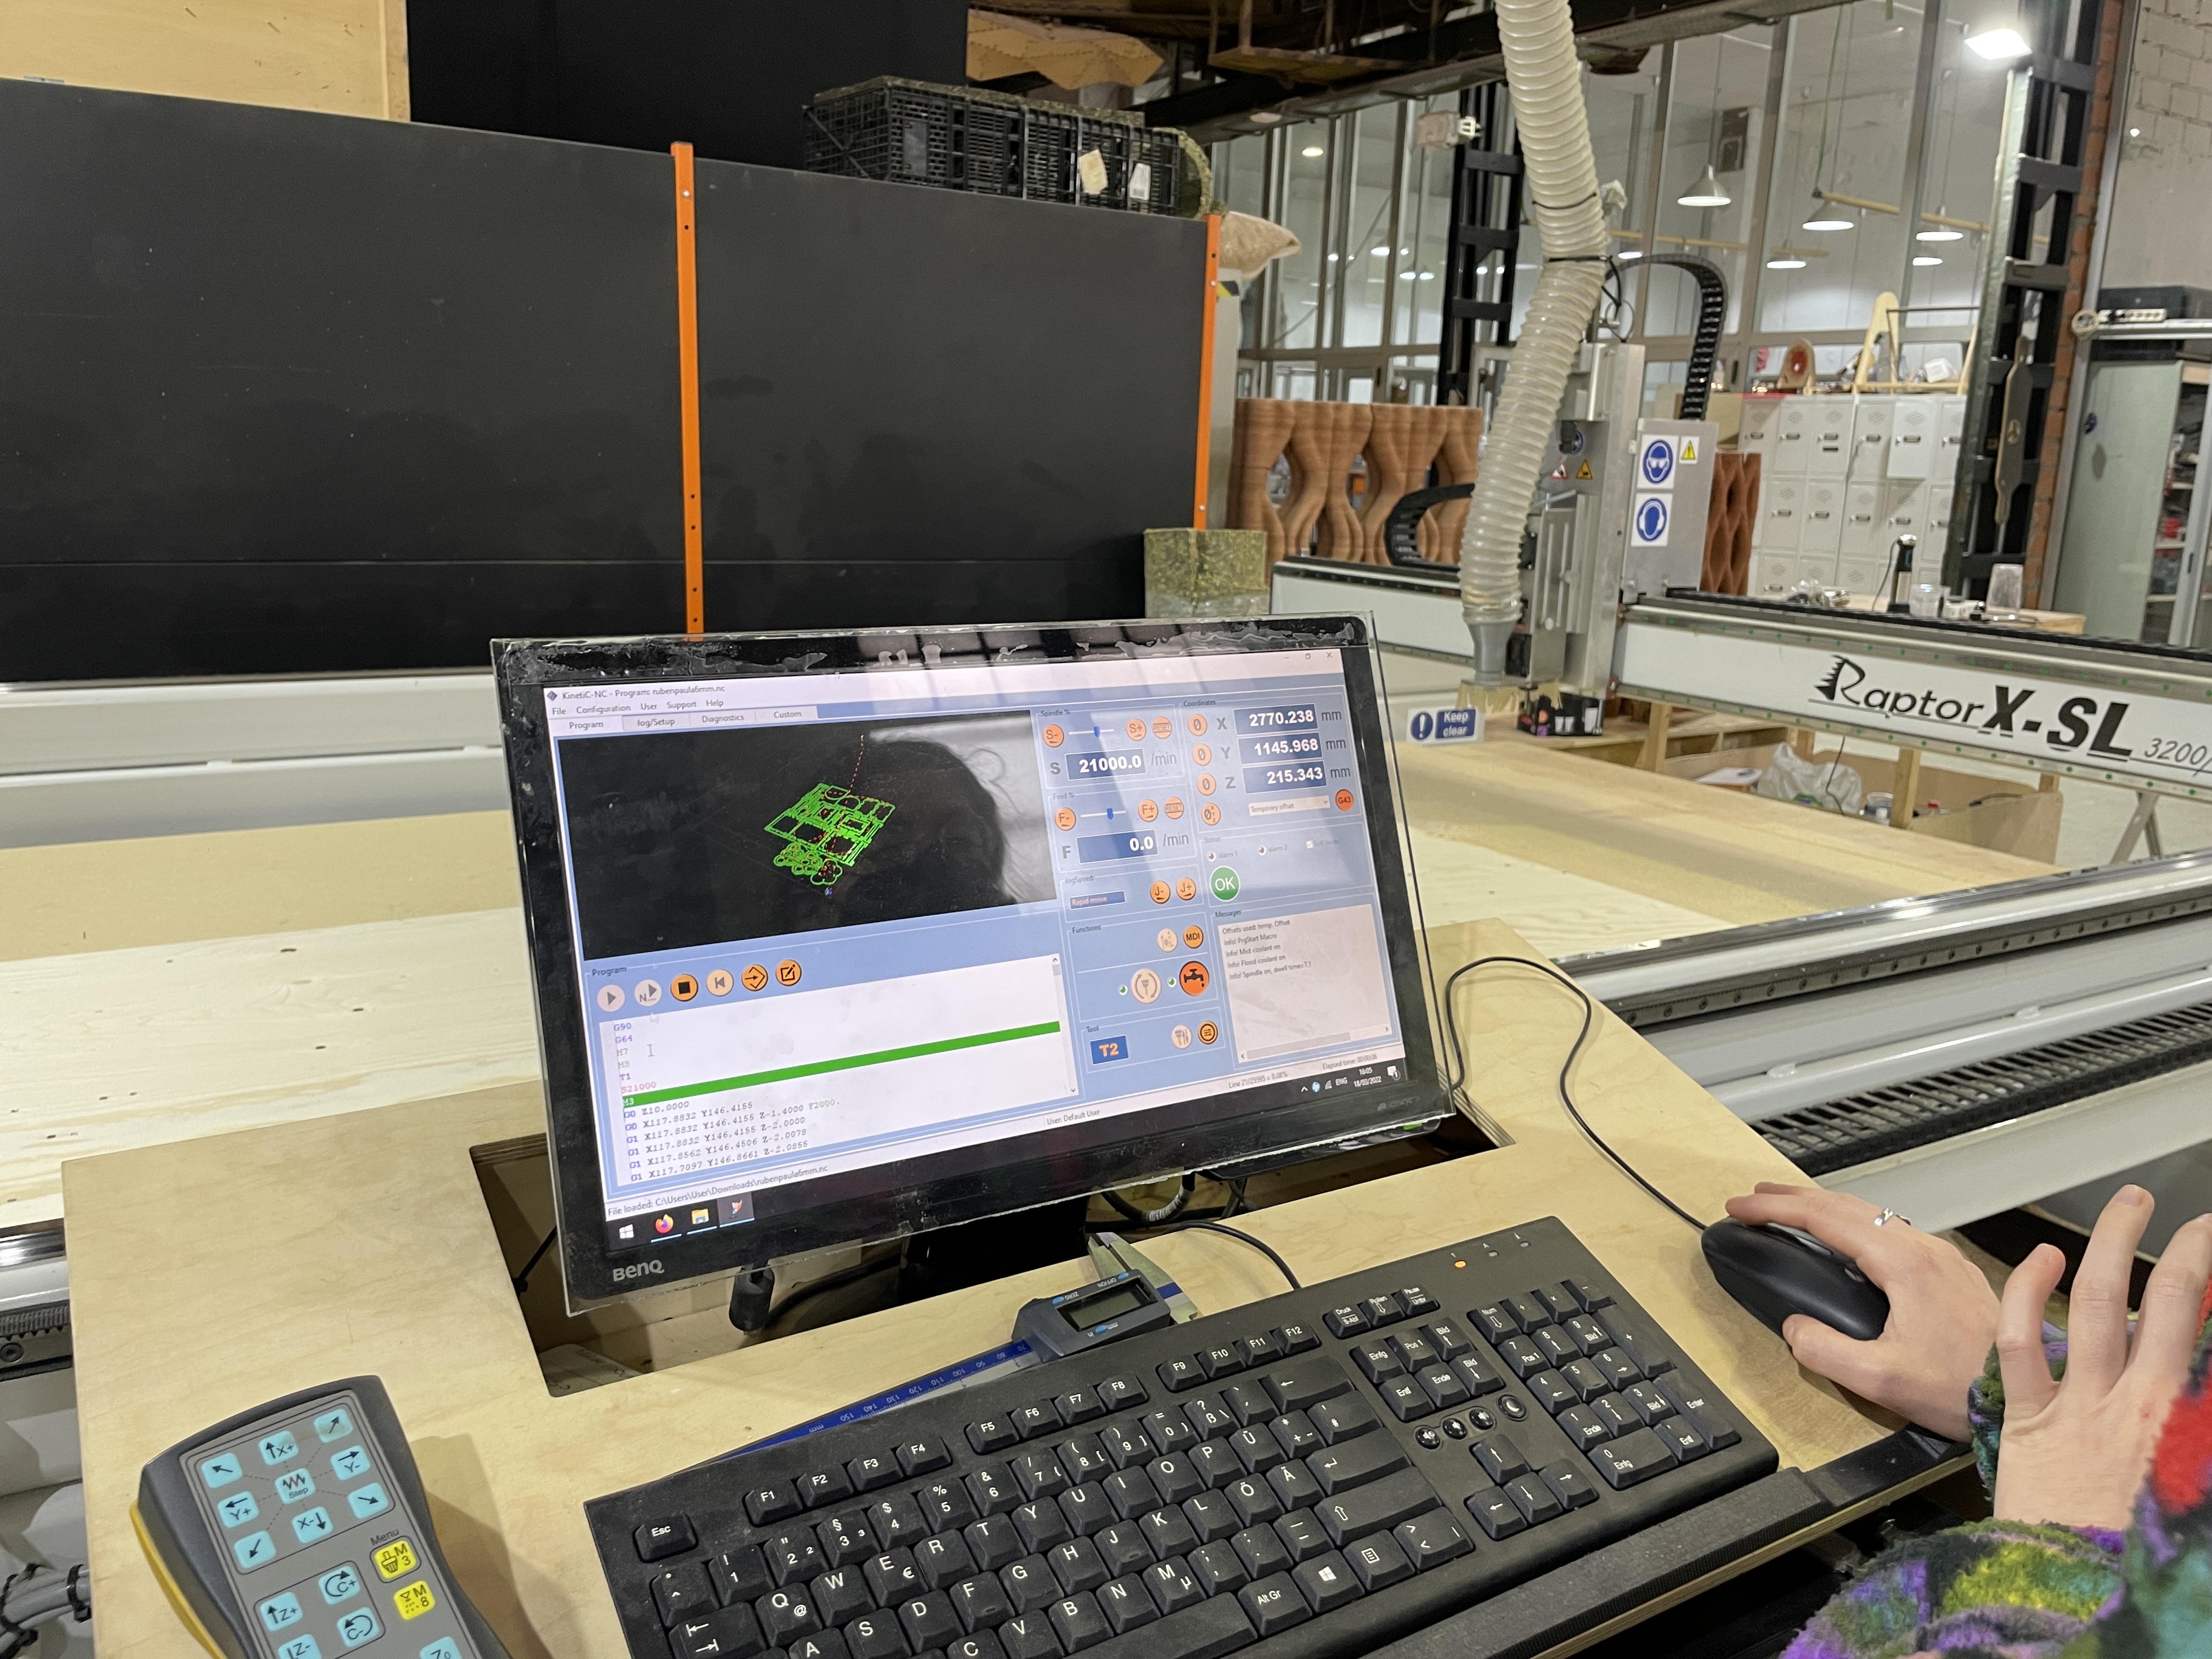
After drilling the screws we were ready to send the job so we just pressed start. In the middle of the job we accidentally pressed the emergency stop button. We had to open the code and erase the instructions already done so it could restart from where we left it and send it again.

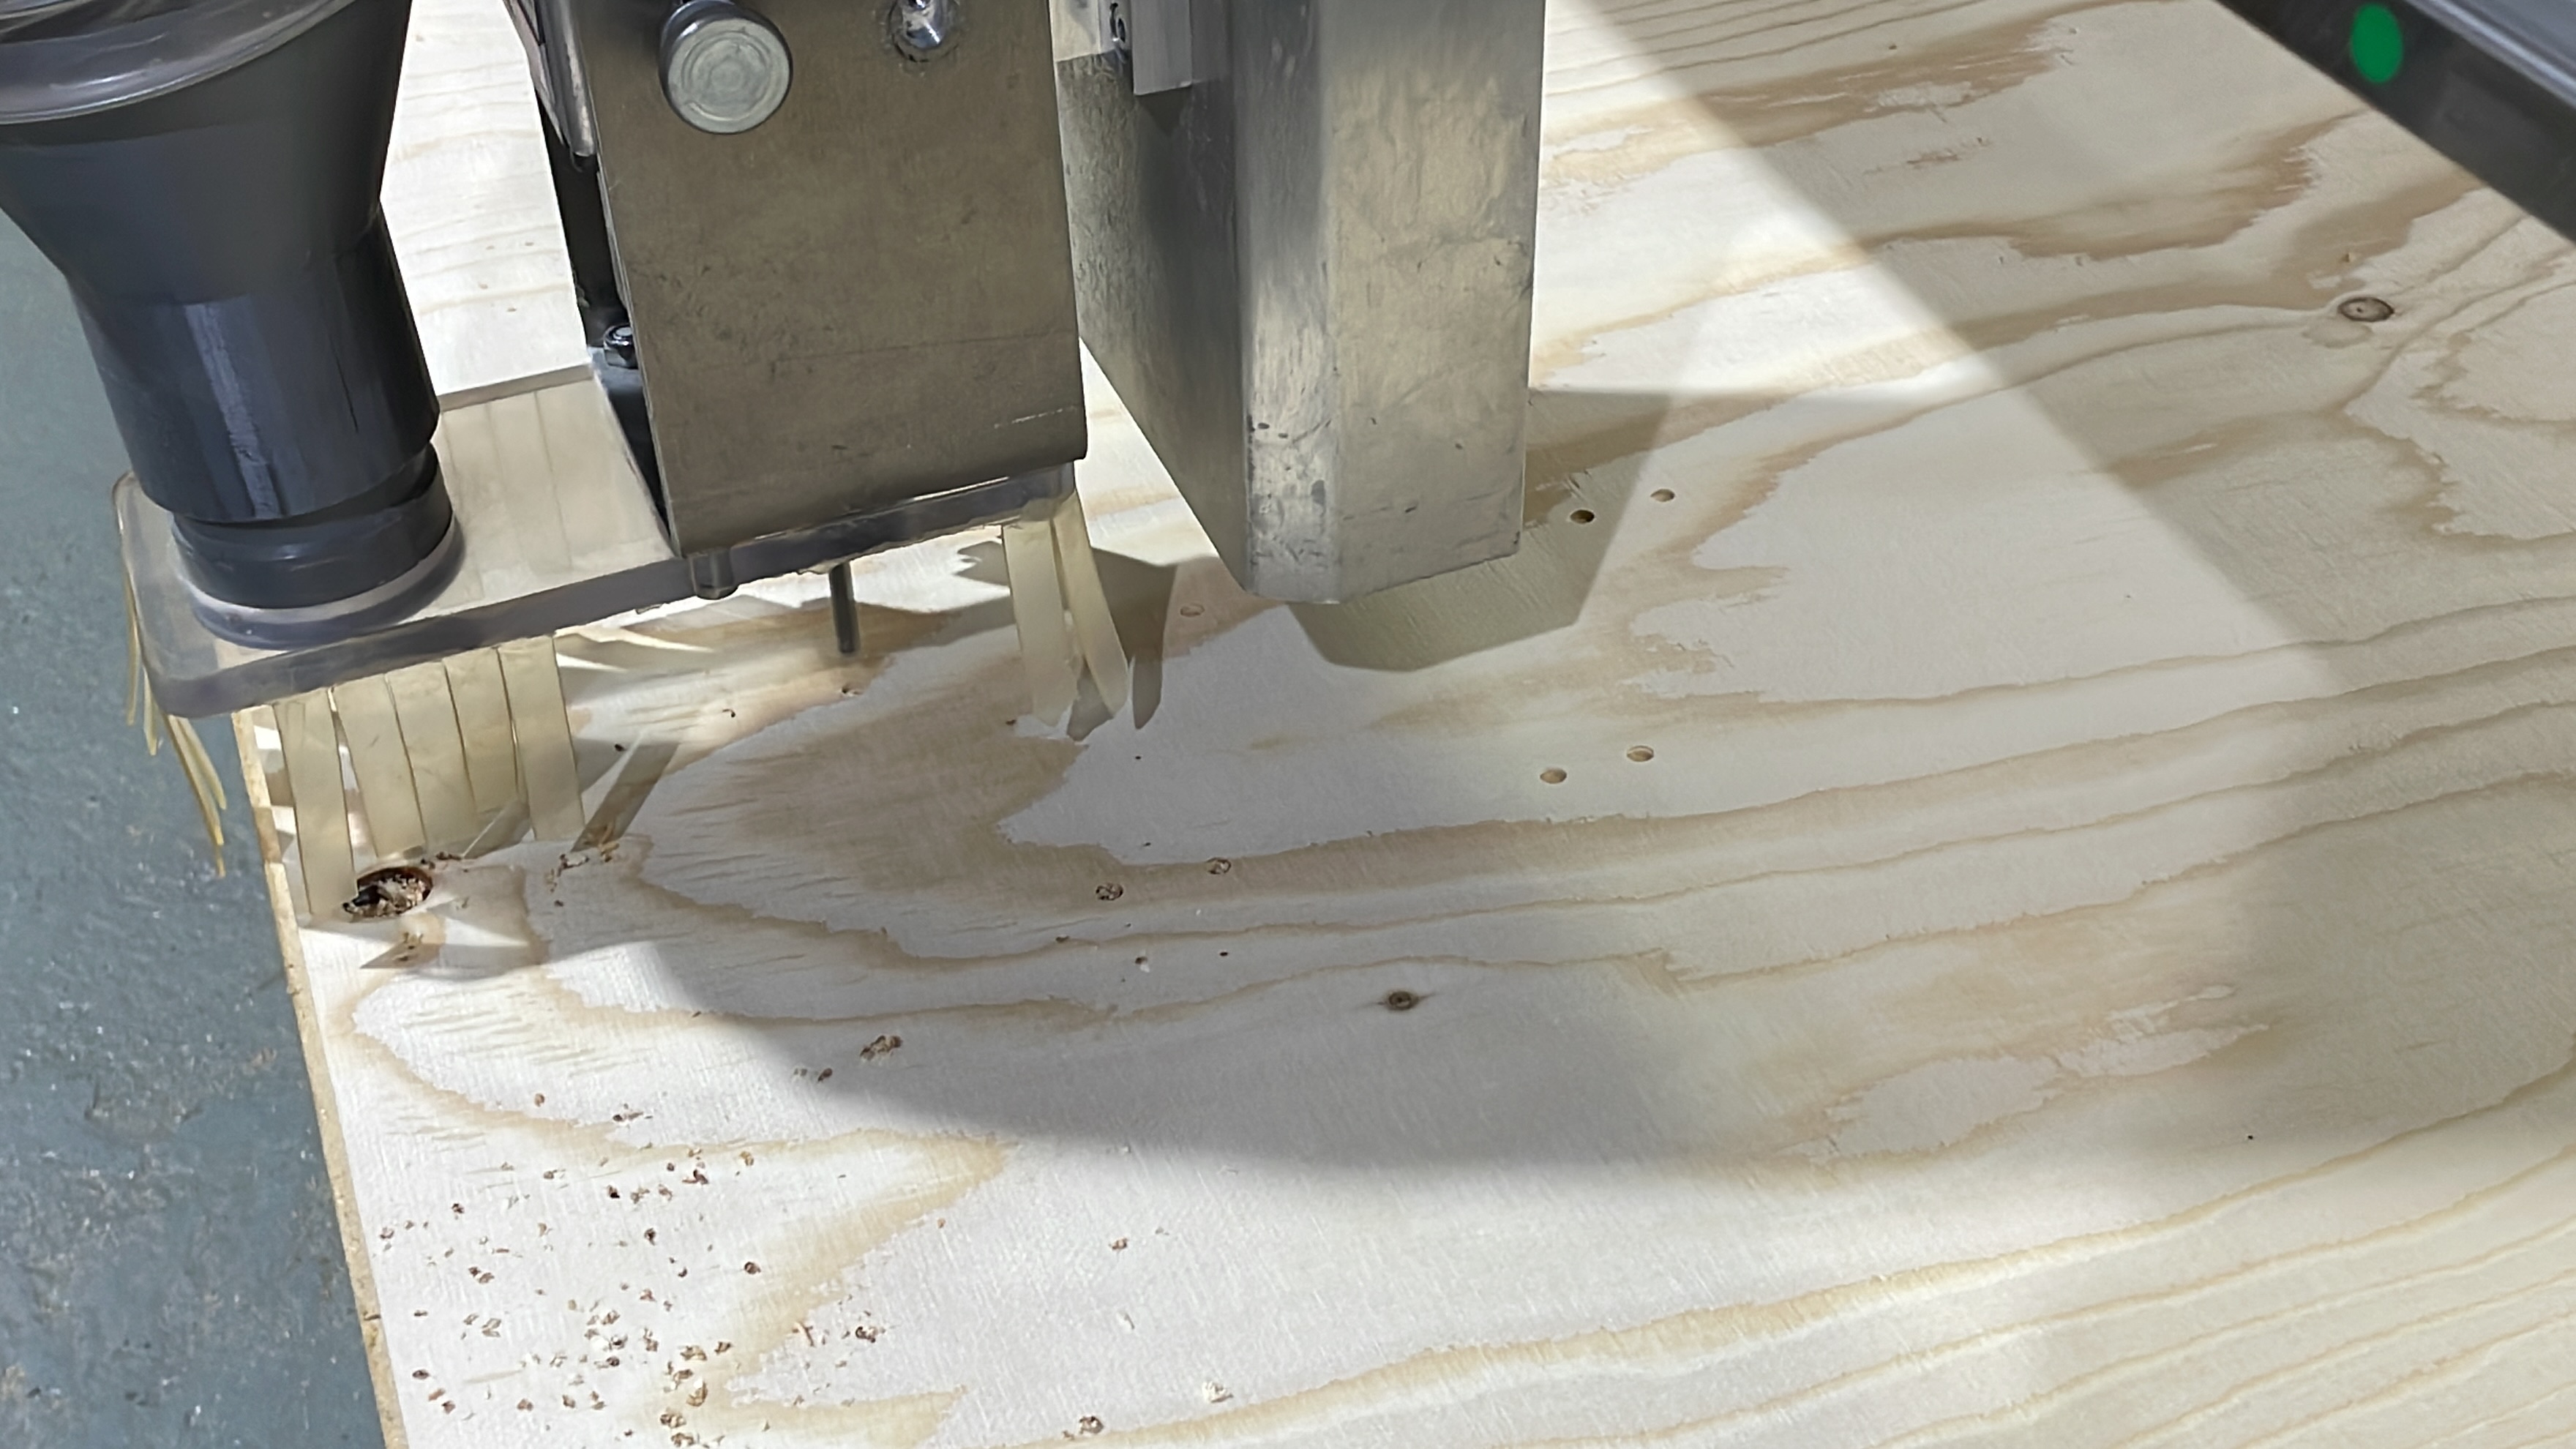
After almost two hours we finally got the cut. We checked first if the cut went all the way through before moving the board and removing the screws. Some pieces were not cut all the way through so we erased from the file the pieces already cut and ran the cnc again only one time in the remaining pieces. We had to do this twice and then we were able to take them out but some of them didn't cut properly so I needed to sand them.
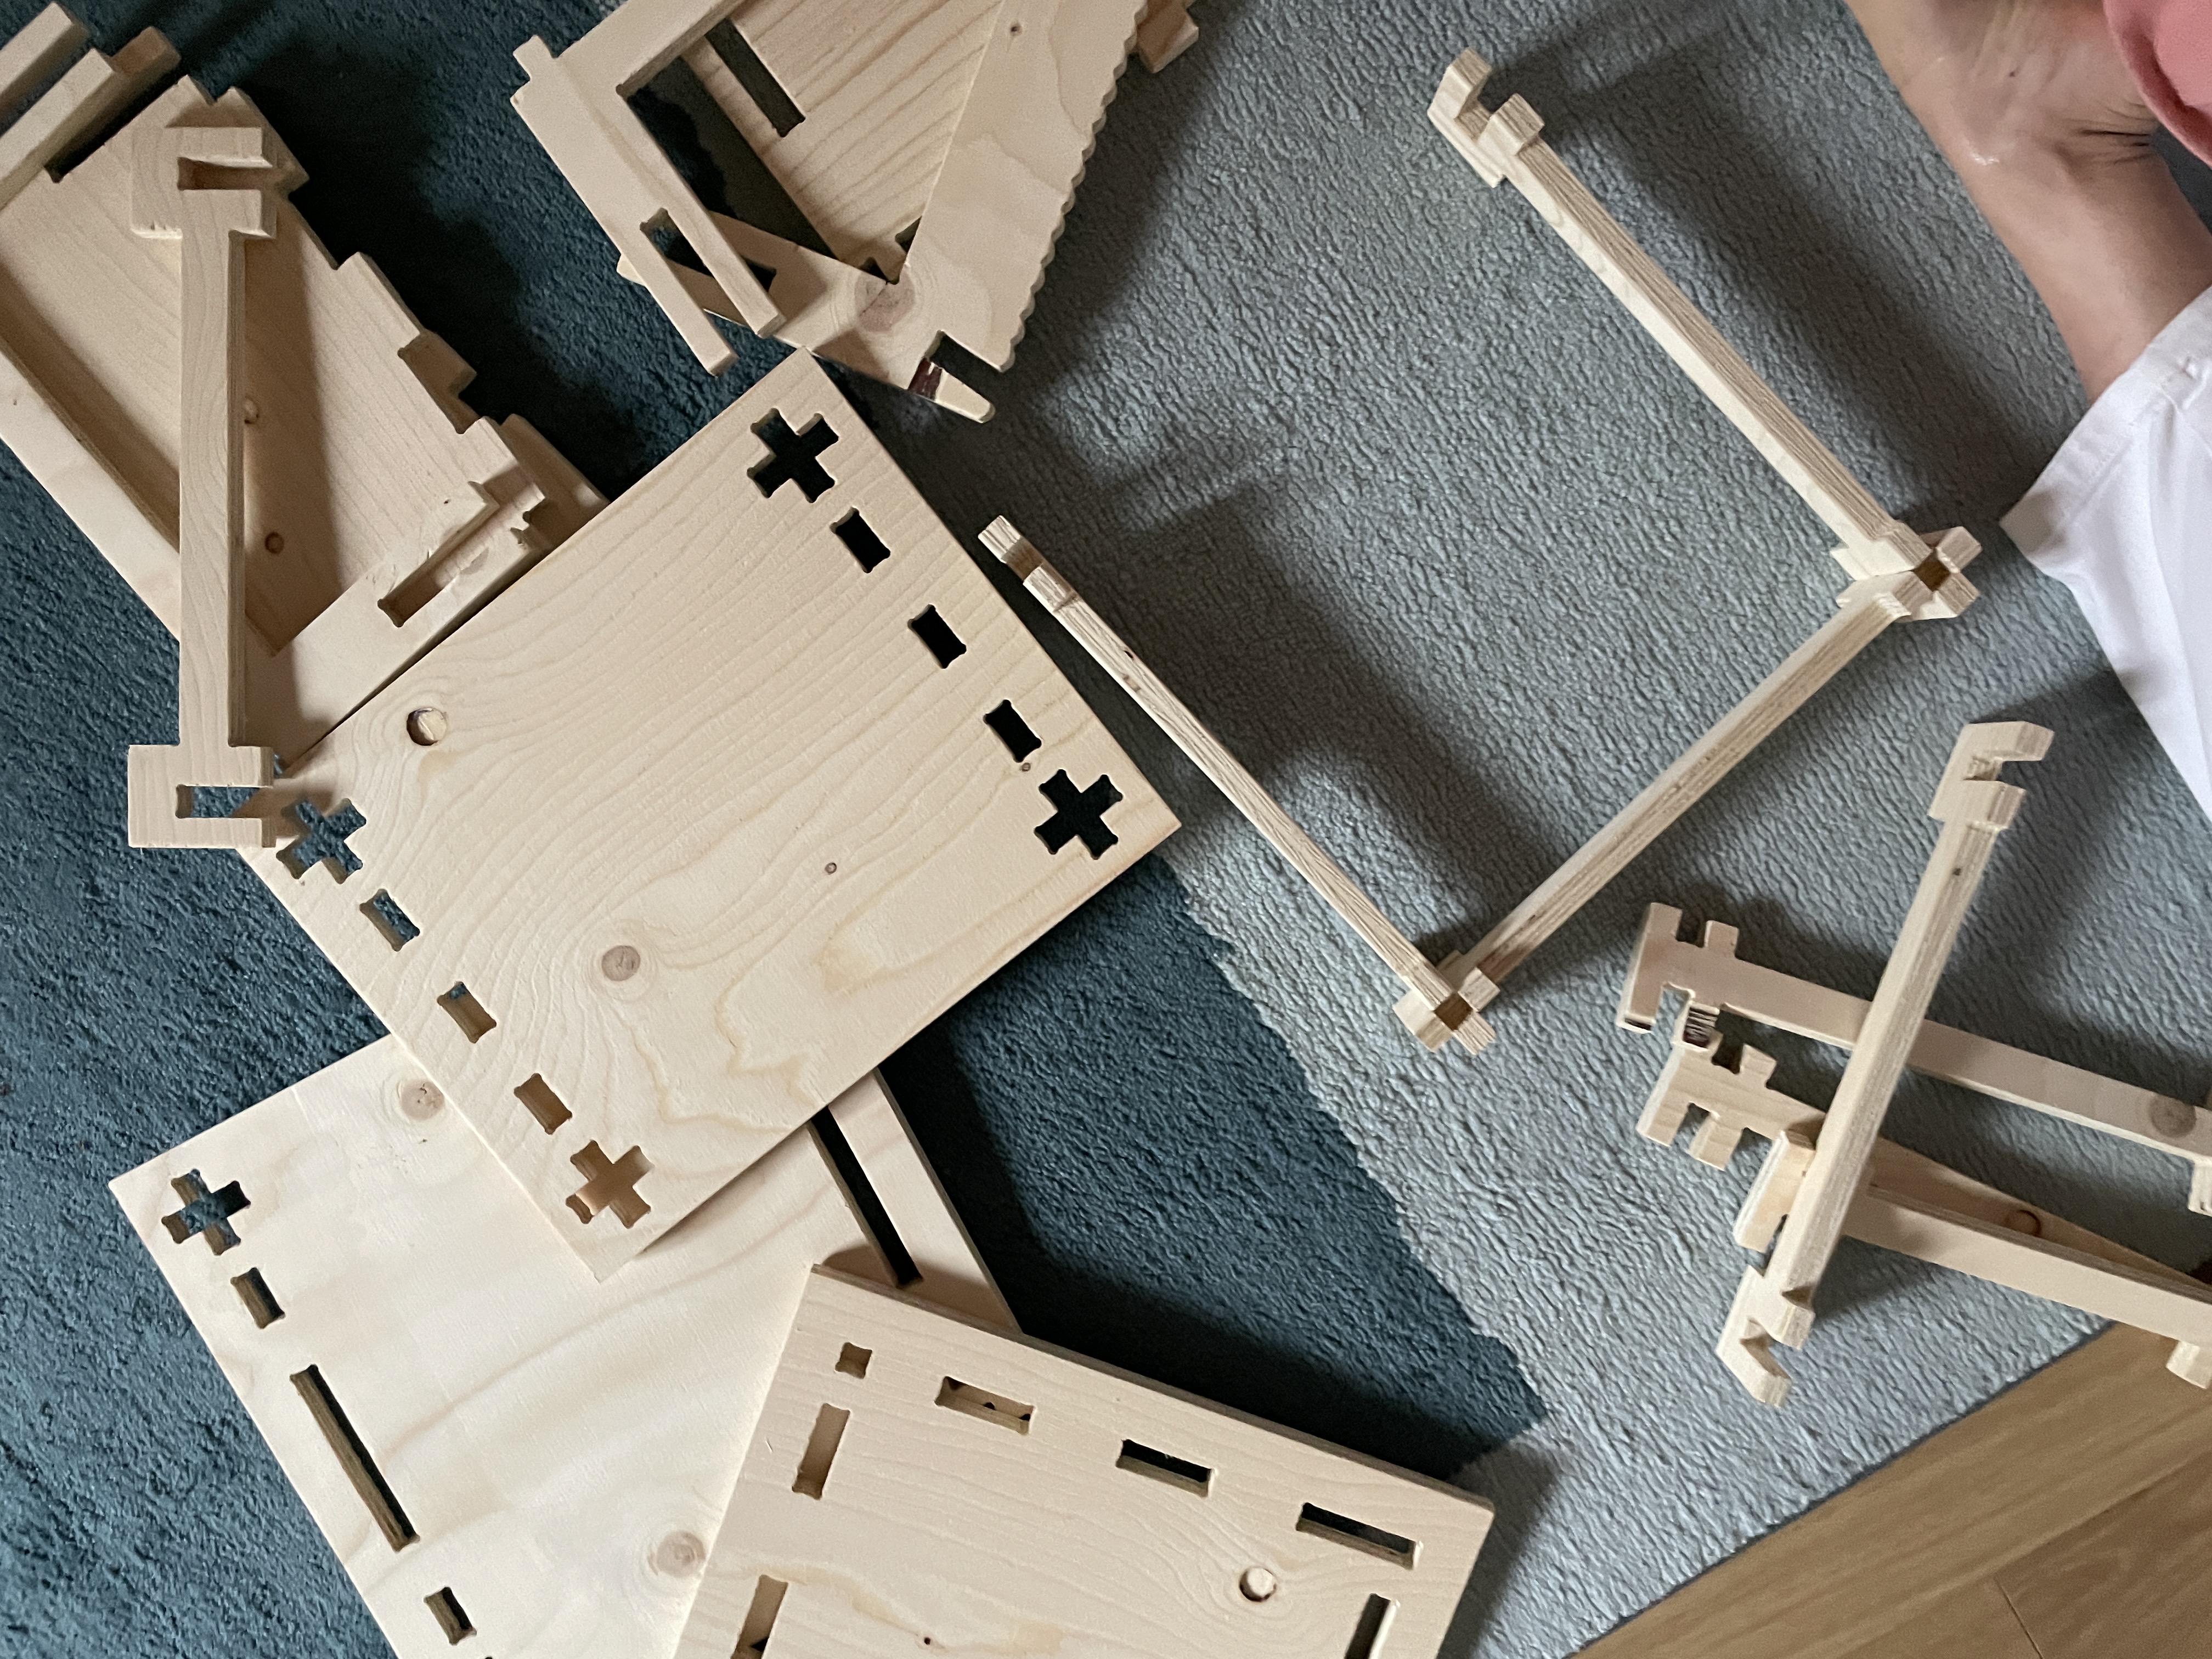
This is the cut we got which still needs sanding before assembling. You can see here the pocketing and the profiling. Plywood can be a tricky material. As it has many layers some of them start coming off with some cuts which is a bit annoying but these could be fixed post processing or adjusting the parameters.
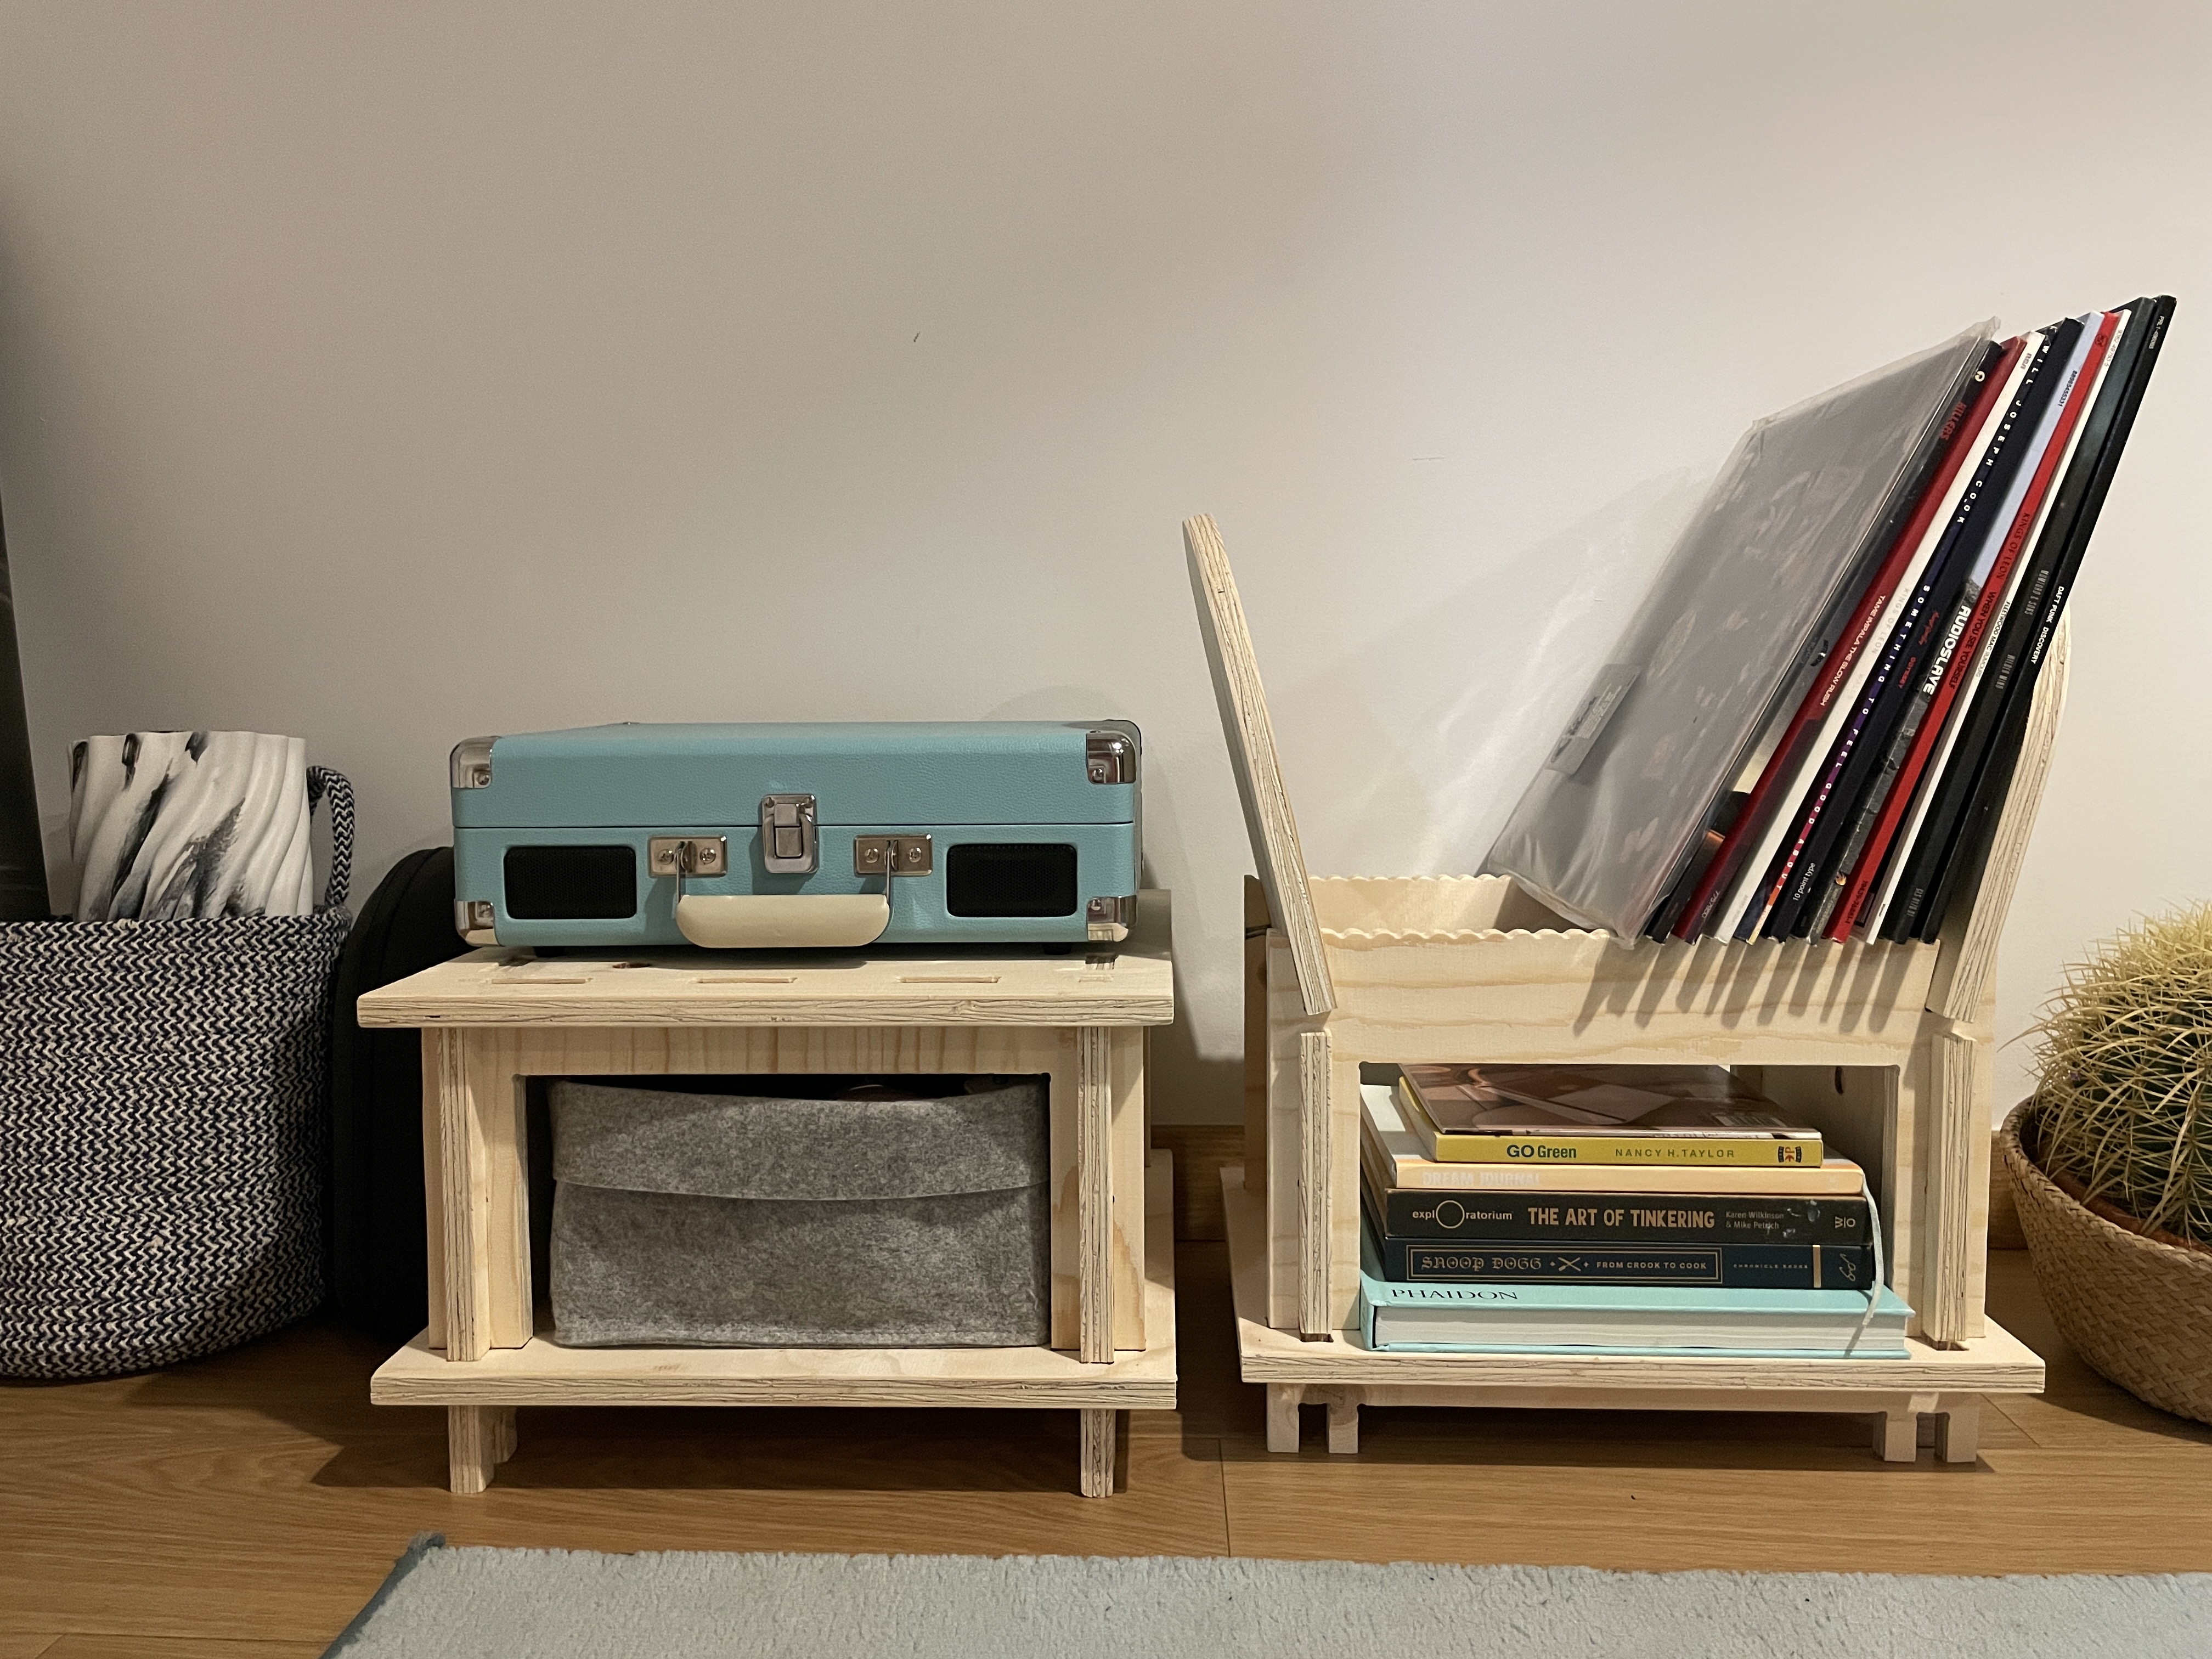
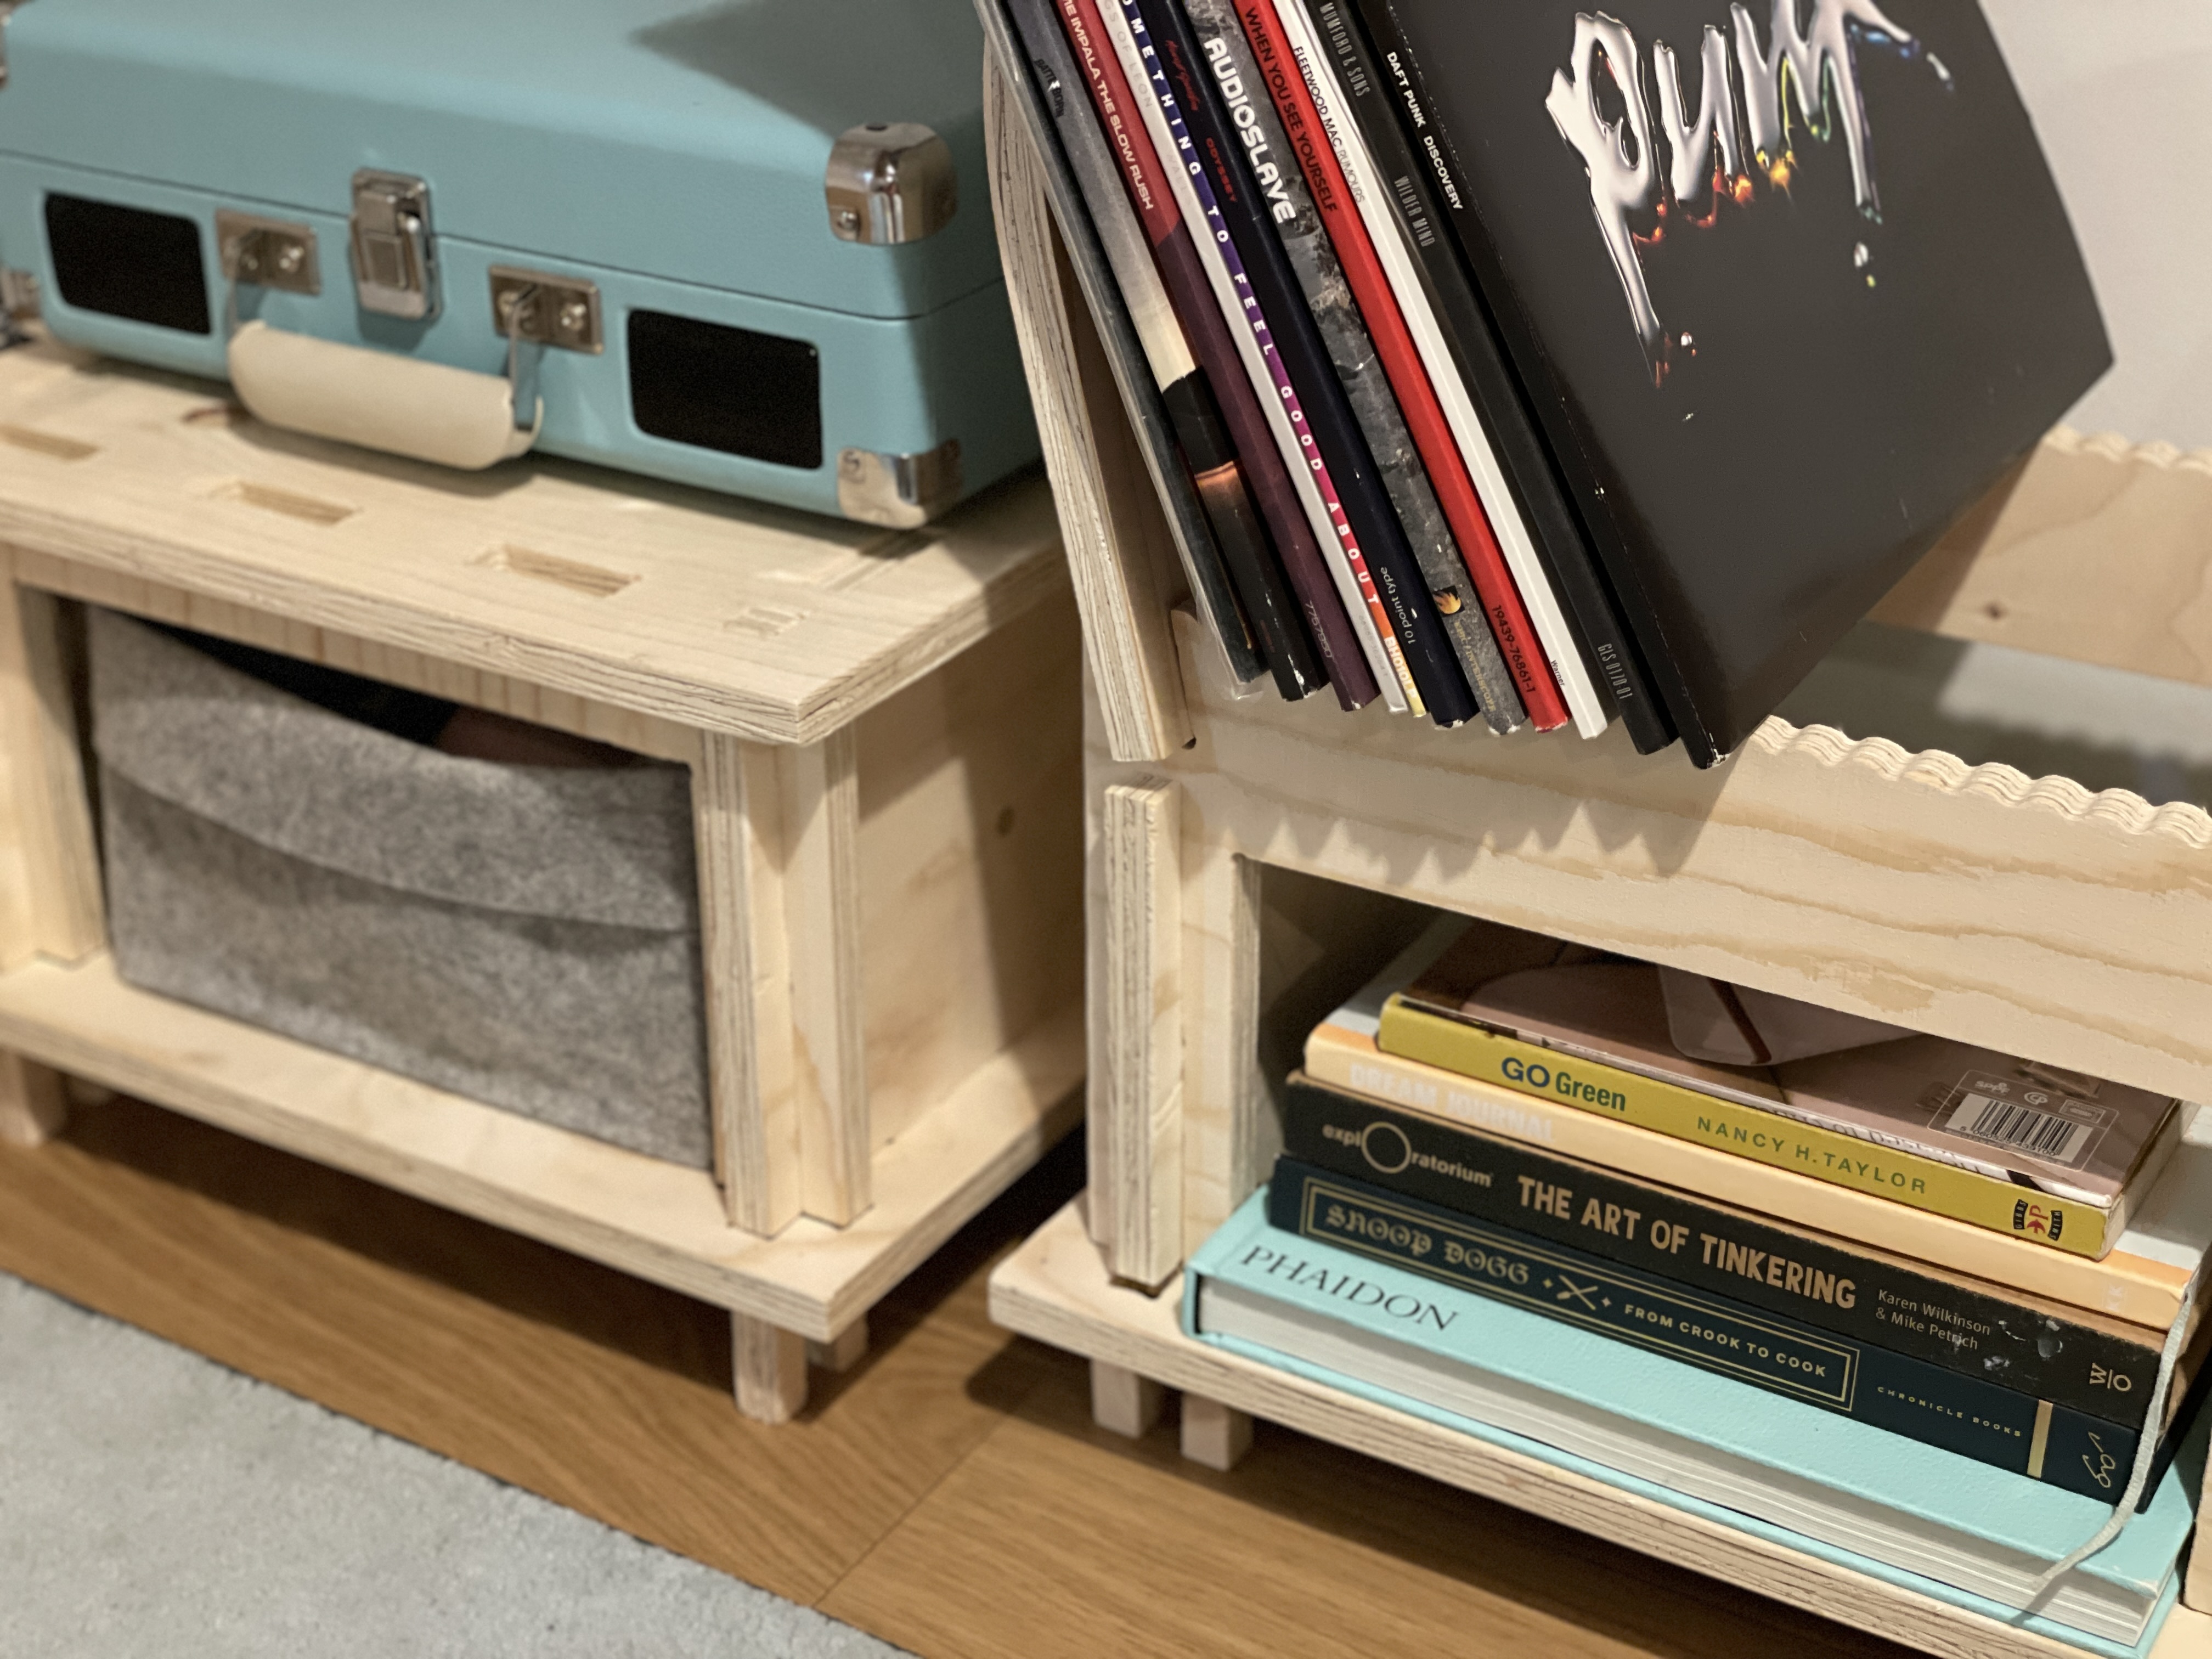
After some hours of sanding, I finally had the pieces nicely done in order for them to be assembled.
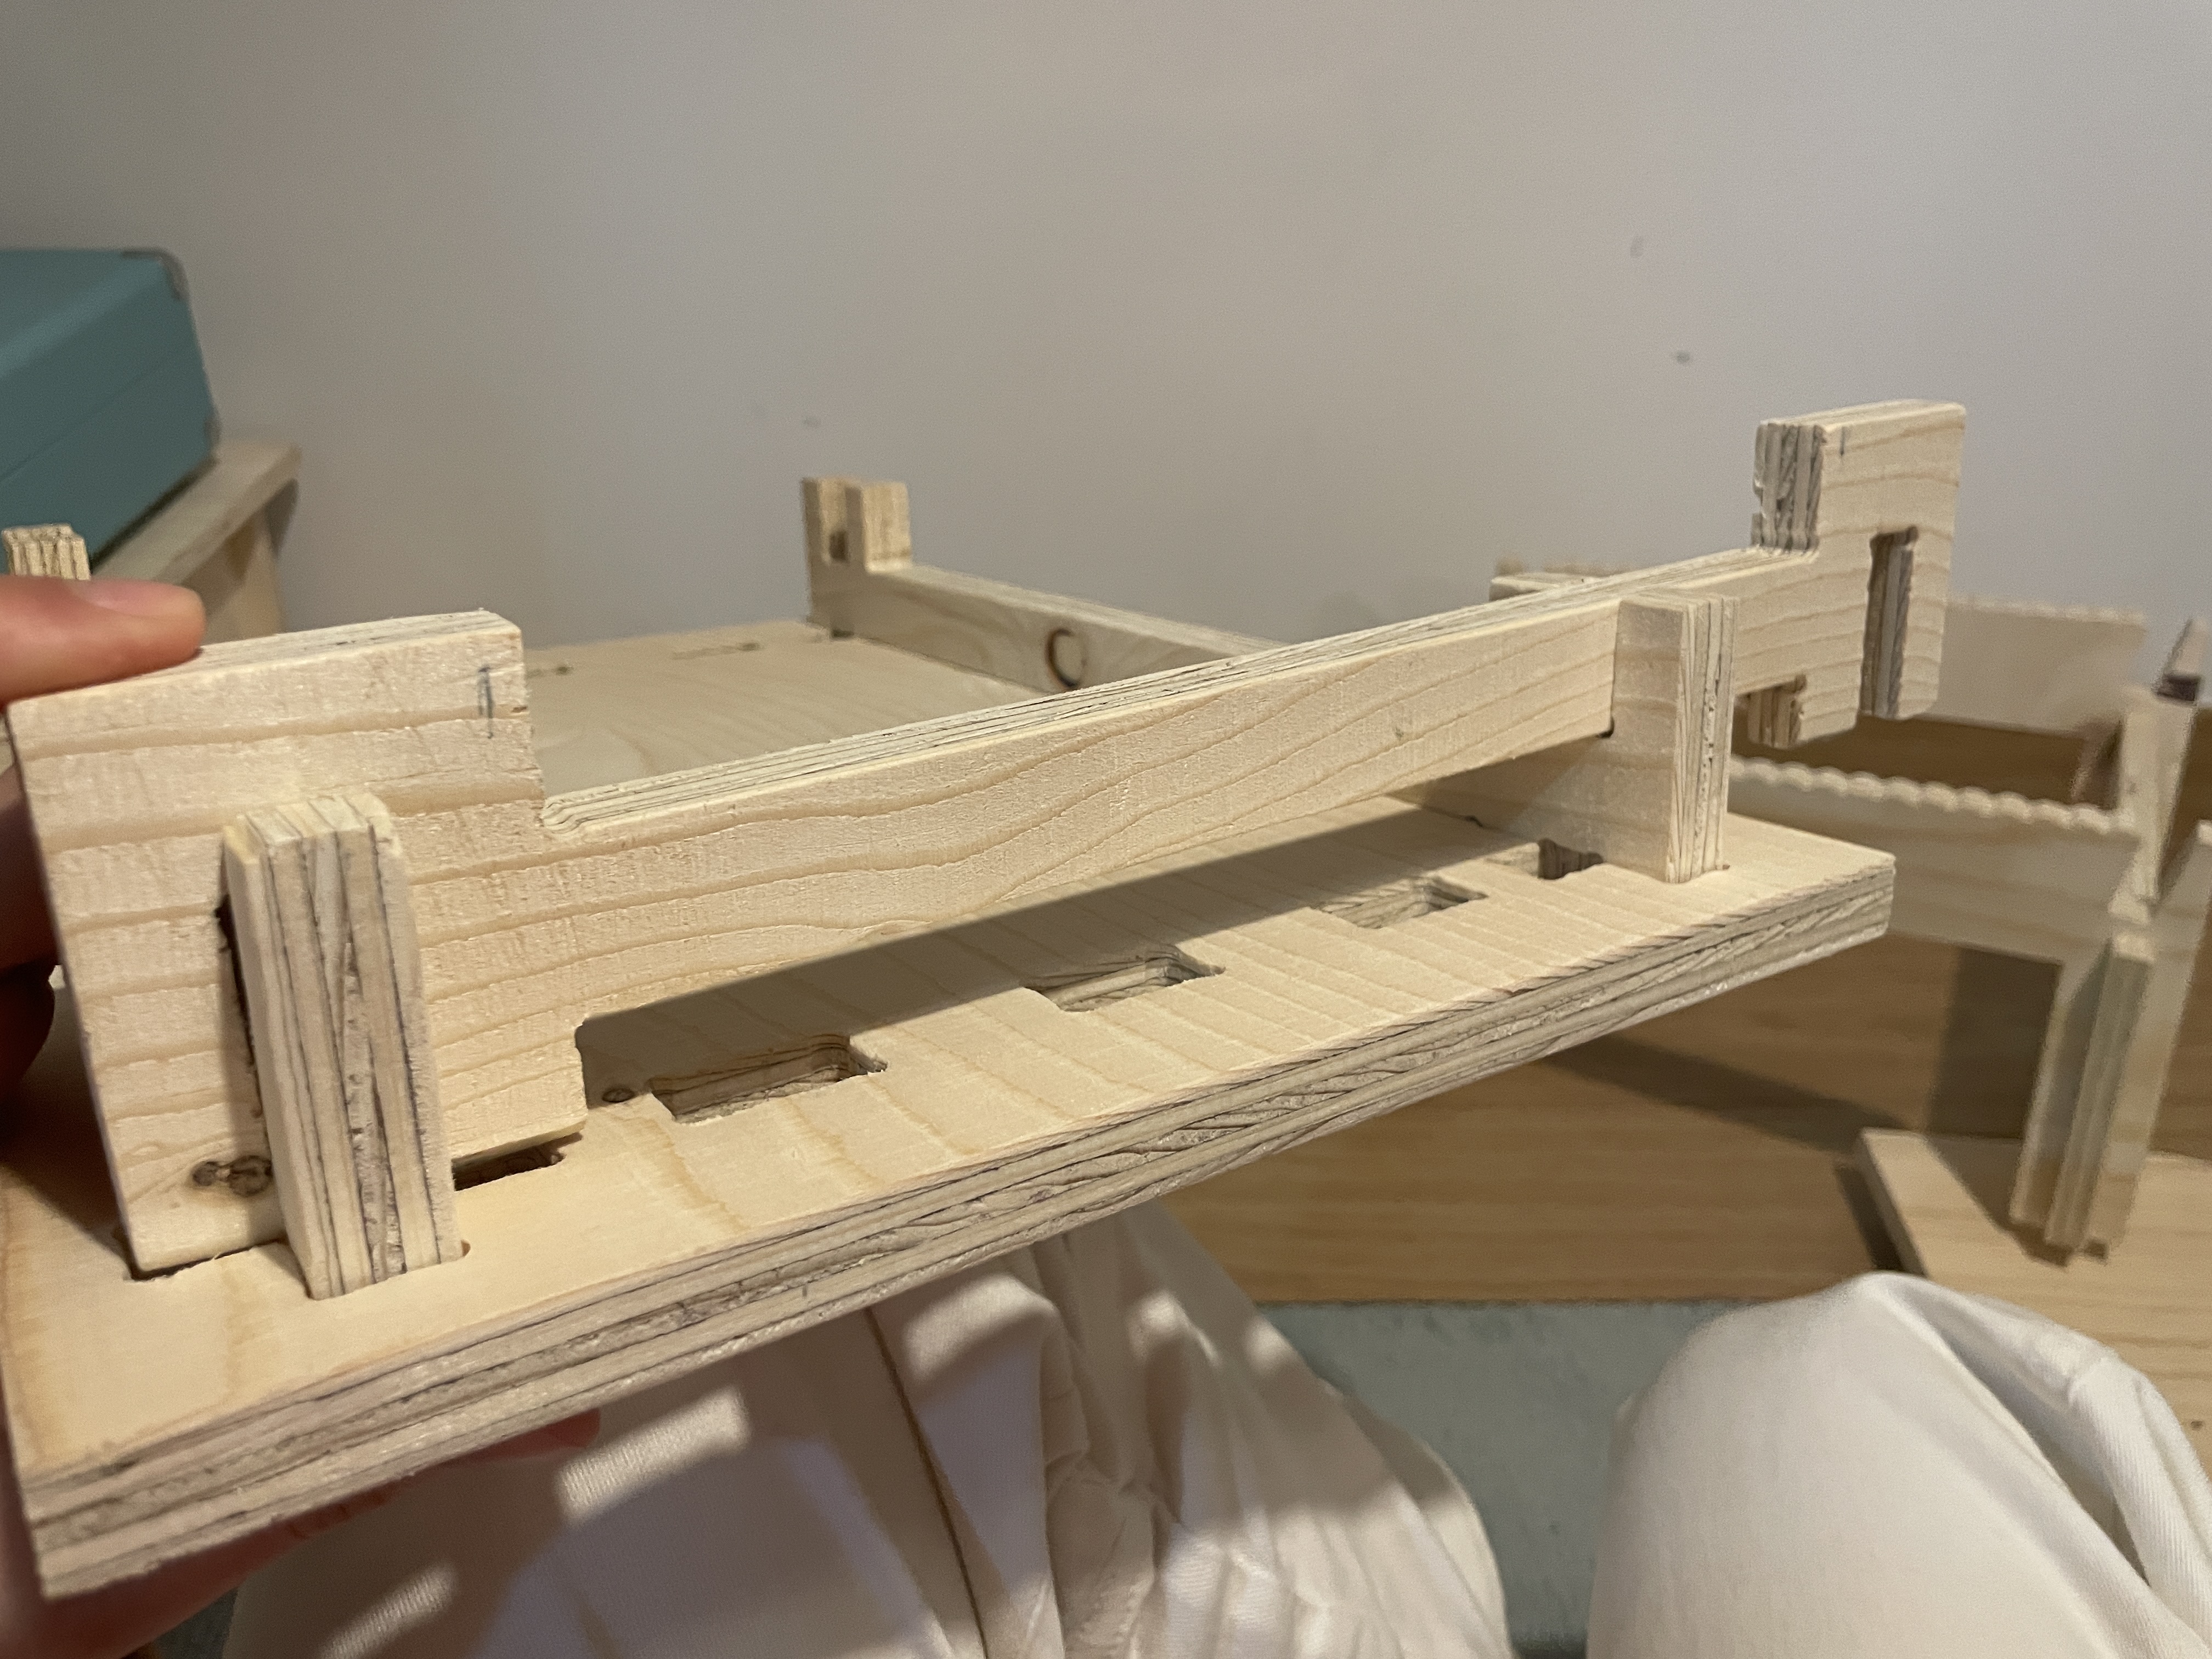
When assembling I realised some legs had a bit more extra mm which made them unable to fit so I had to do some sanding. Other two pieces for the legs didn't fit because while I was fixing the file I duplicated the legs of the other object and the measurements were not the same for both of the objects so I would need to cut it again. Luckily the object is able to stand without the other 2 legs so I'm actually happy to know we could use less material when replicating it.
I enjoyed this video about plywood a lot and it helped me understand better the material and how to work with it so I'm leaving it here for you to watch. Enjoy!.