1.
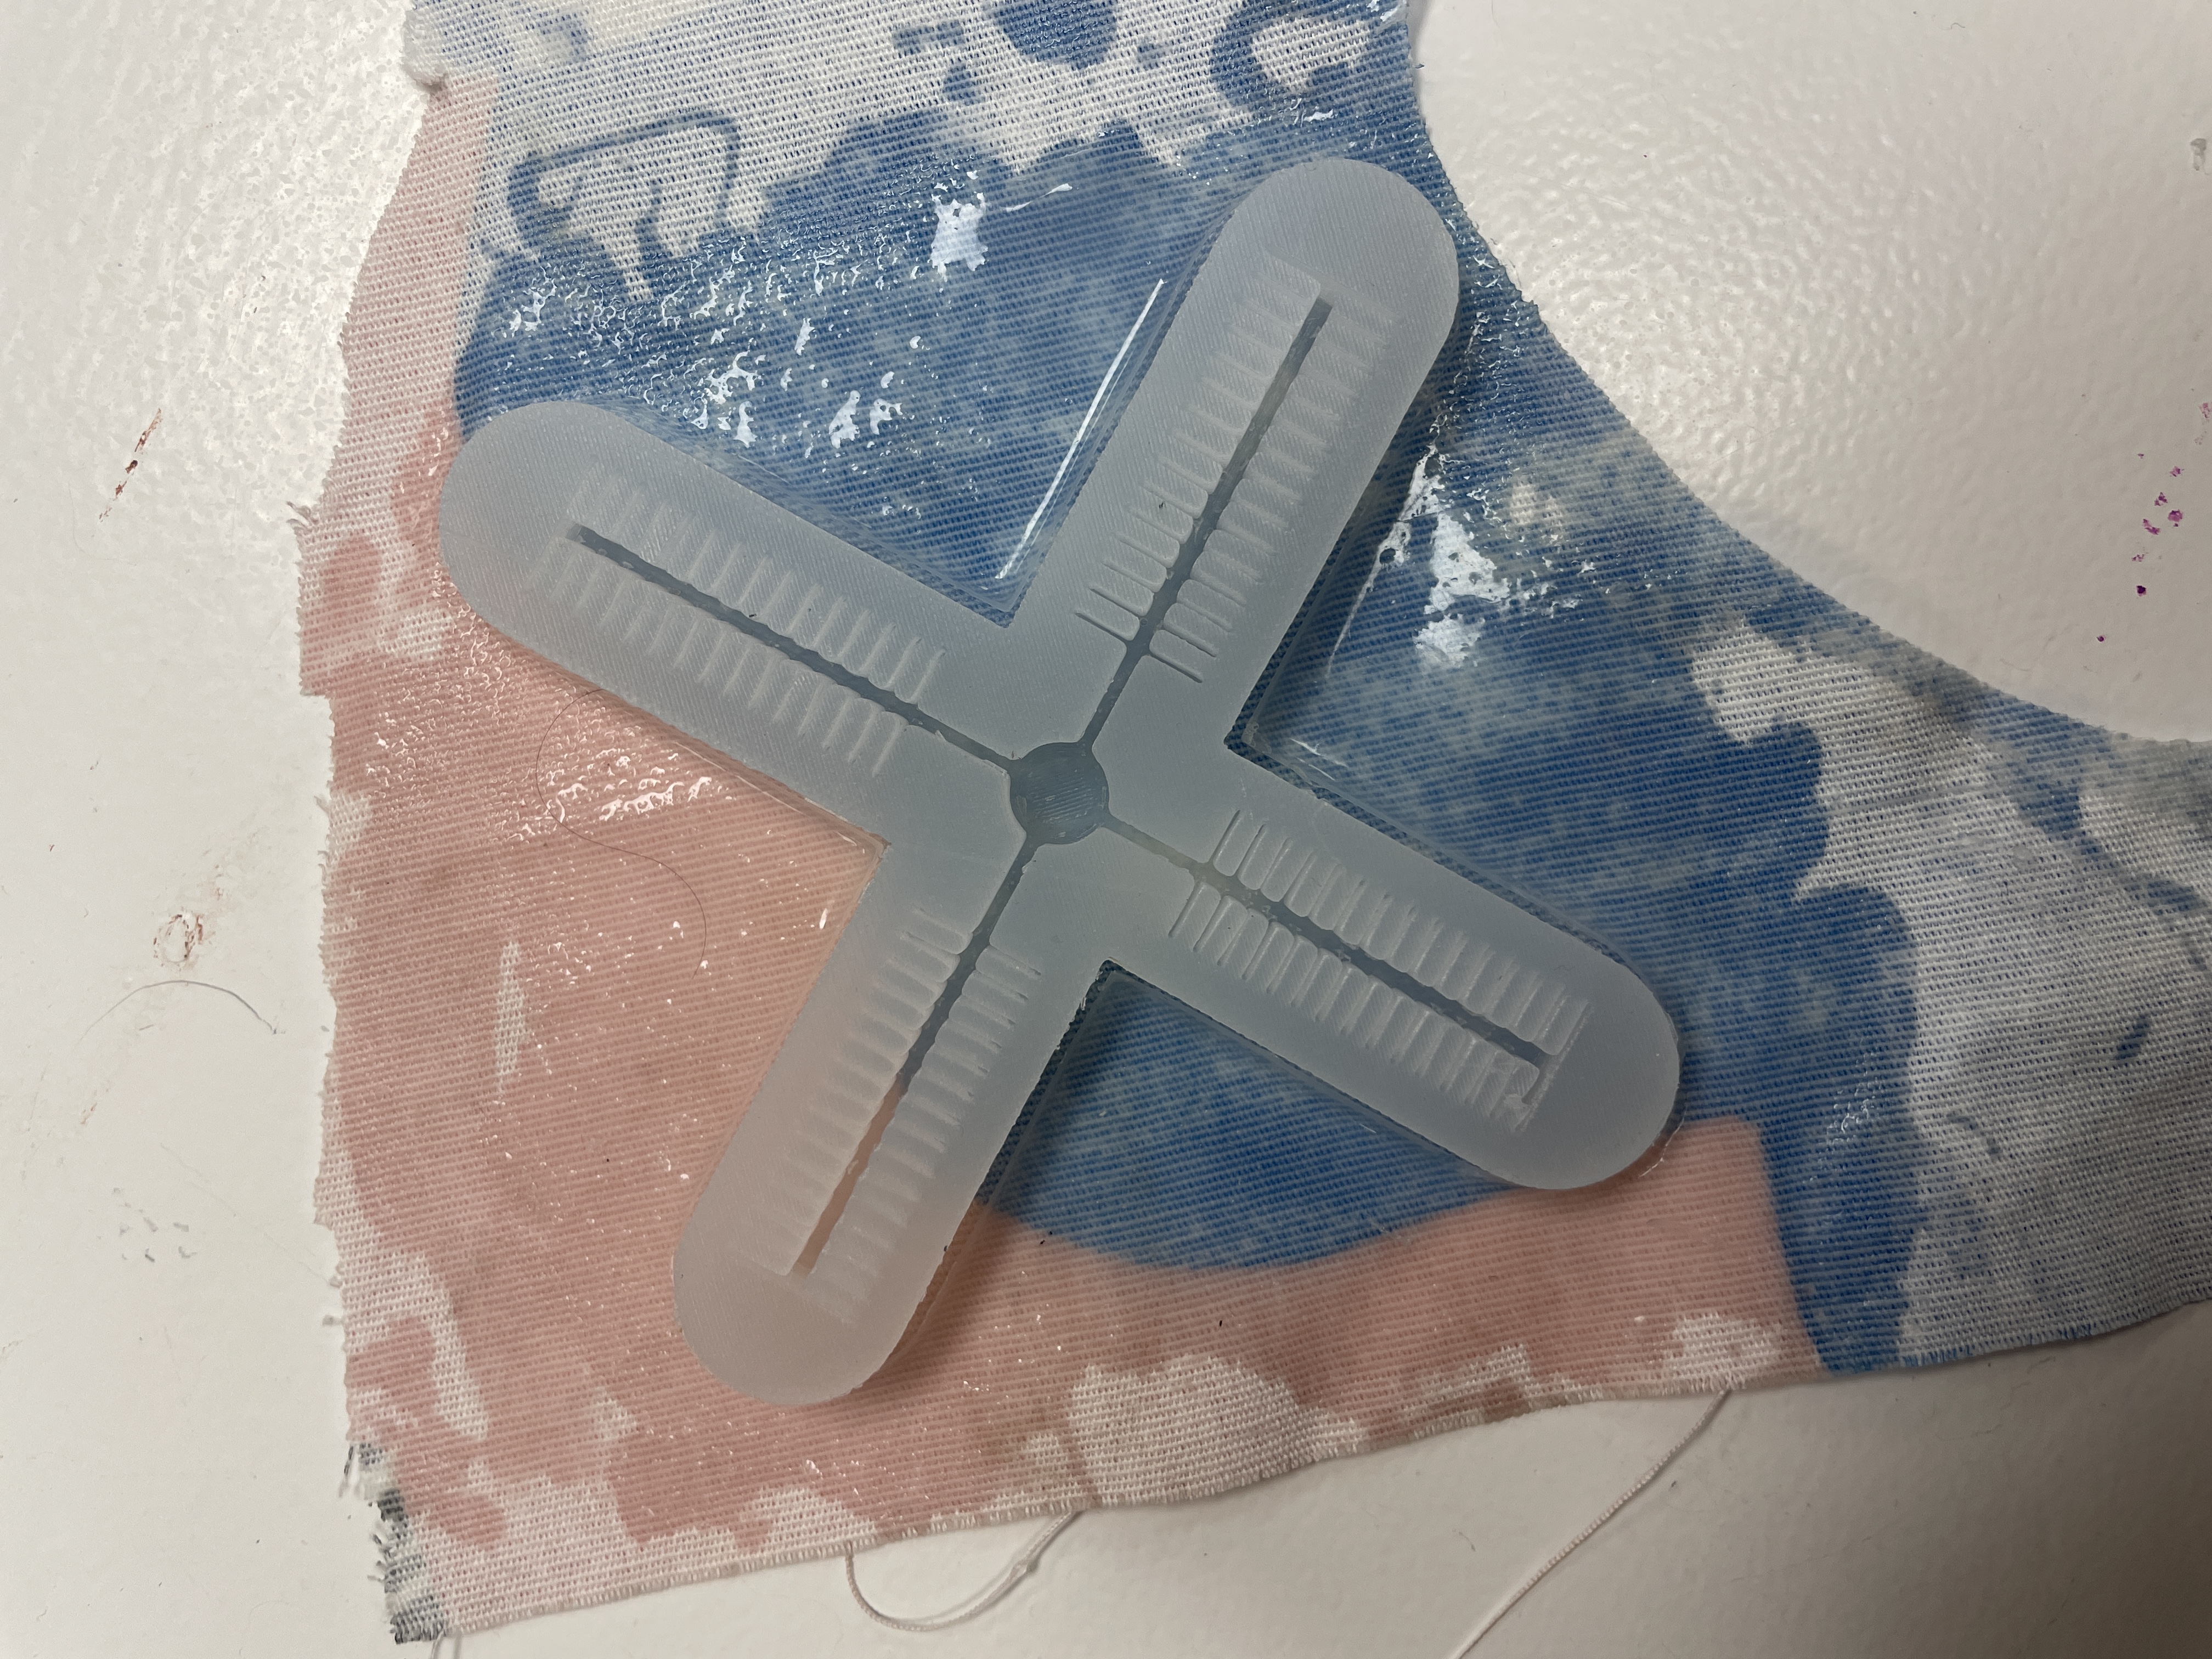
Silicone mold.
June 05, 2022
In this week we explored 3 different fabrication methods. The robotic arm, soft robotics and biocomposites.
Silicone mold.
Plastic and folded cardboard inside.
Plastic and paper with the ironing technique.
Plastic and paper.
Silicone prototype that can wrap around bodies.
I joined Pippa in her testing of the robotic arm for her individual project. She started trying with a particular shape she wanted to replicate a coral.
After setting it up she sent the file and we started correcting some parameters so the printing could go smoother.
In the end there were some errors and the shape had some holes which were causing the object to collapse a bit. This was interesting to analyze why it failed and what needed to be improved in the next 3D design.
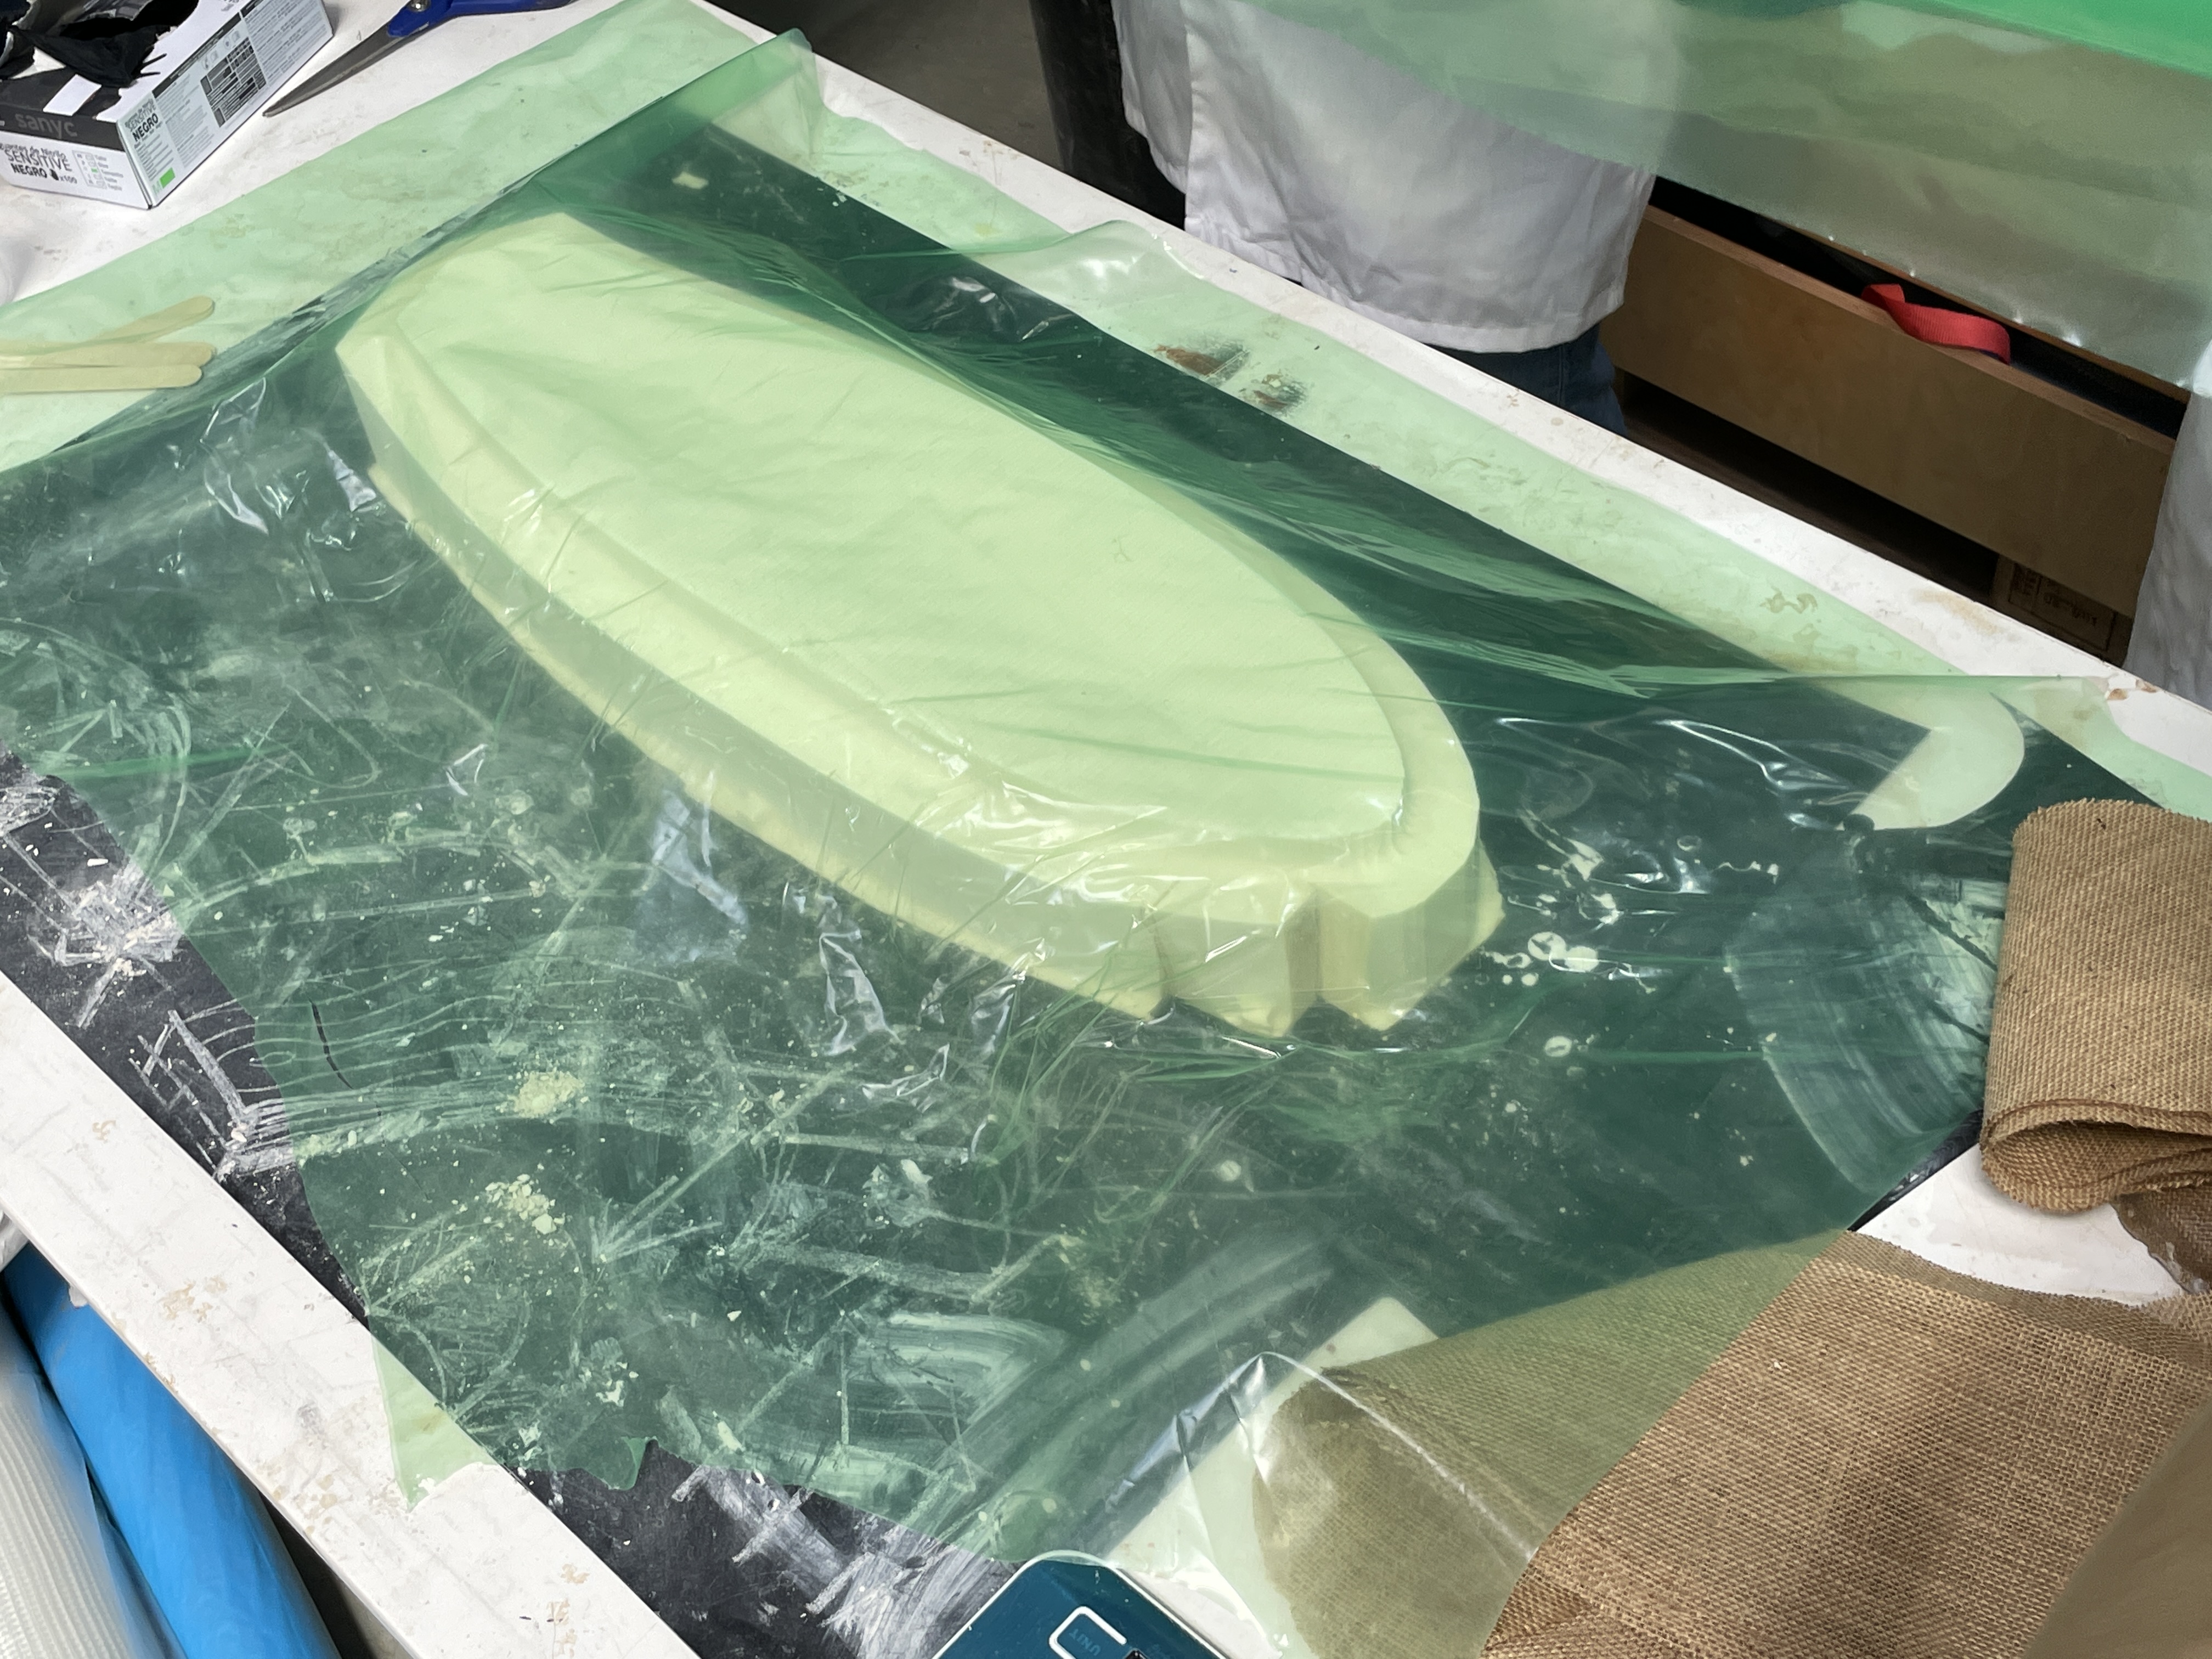
First we cover the mold with plastic on top and below to protect the surface where we're going to work.
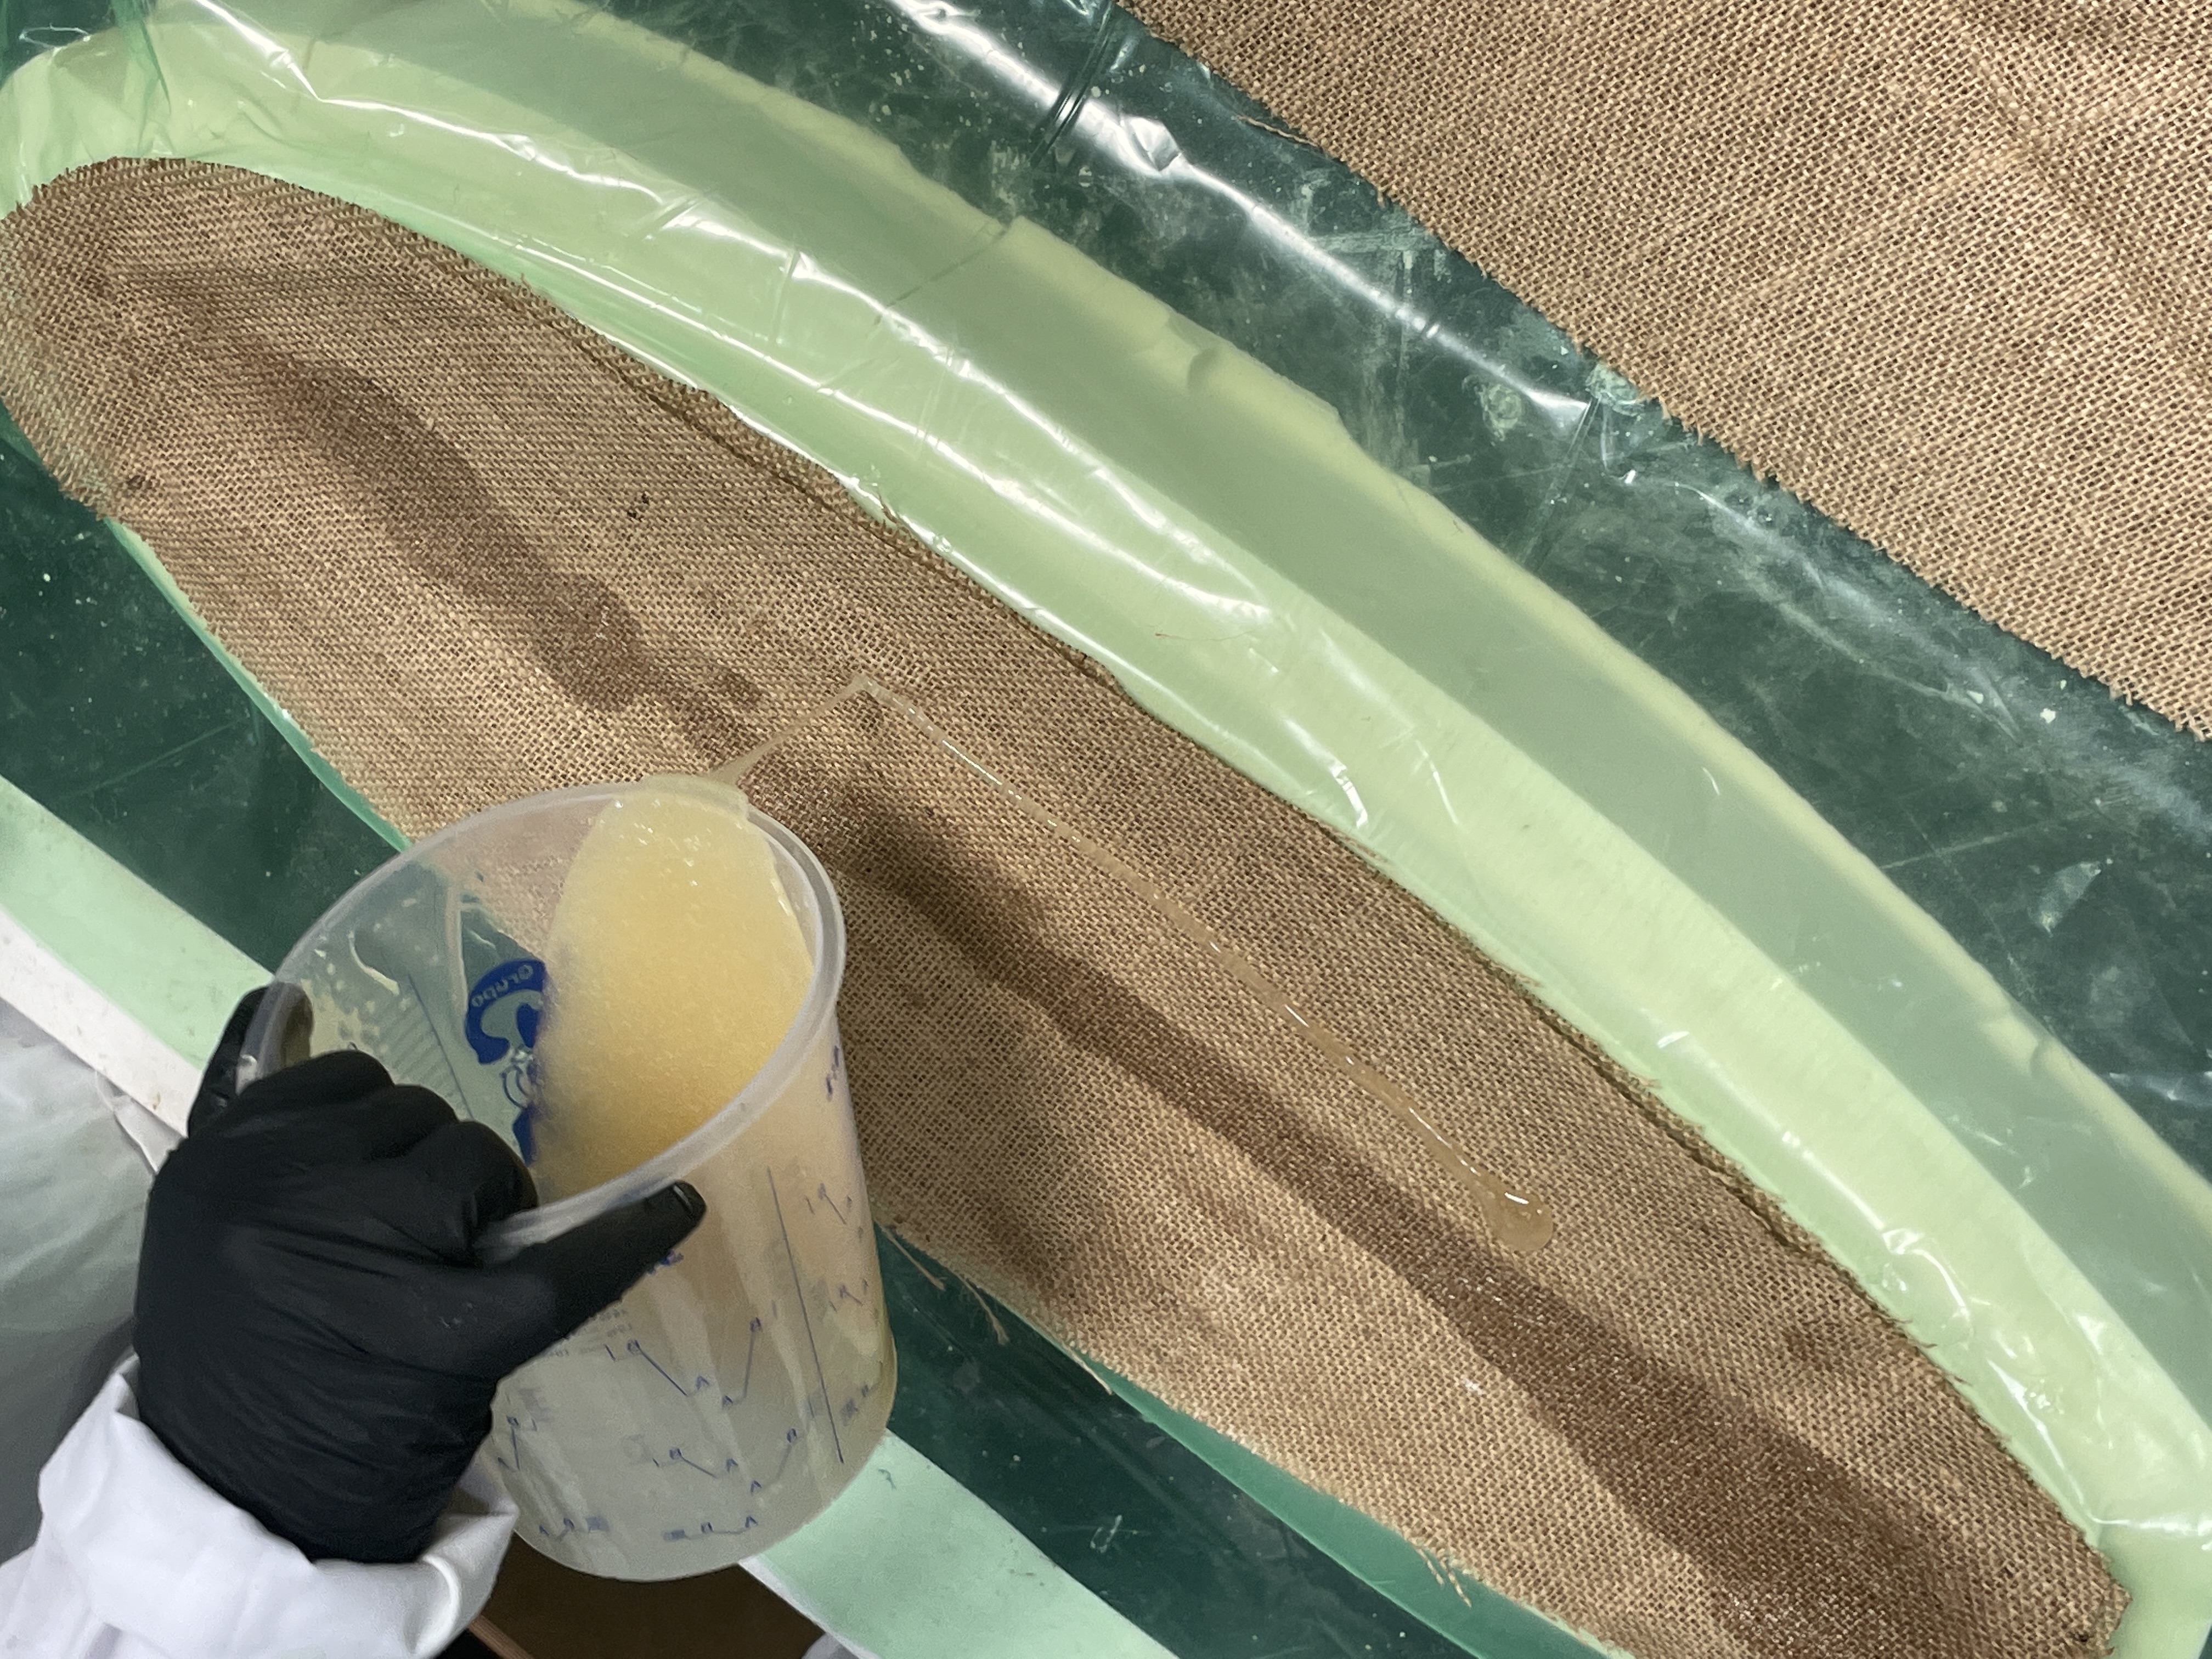
Now we add the biocomposite mix. We should always wear protection, it is important to reference to the product for what we need exactly. For this we used only gloves.
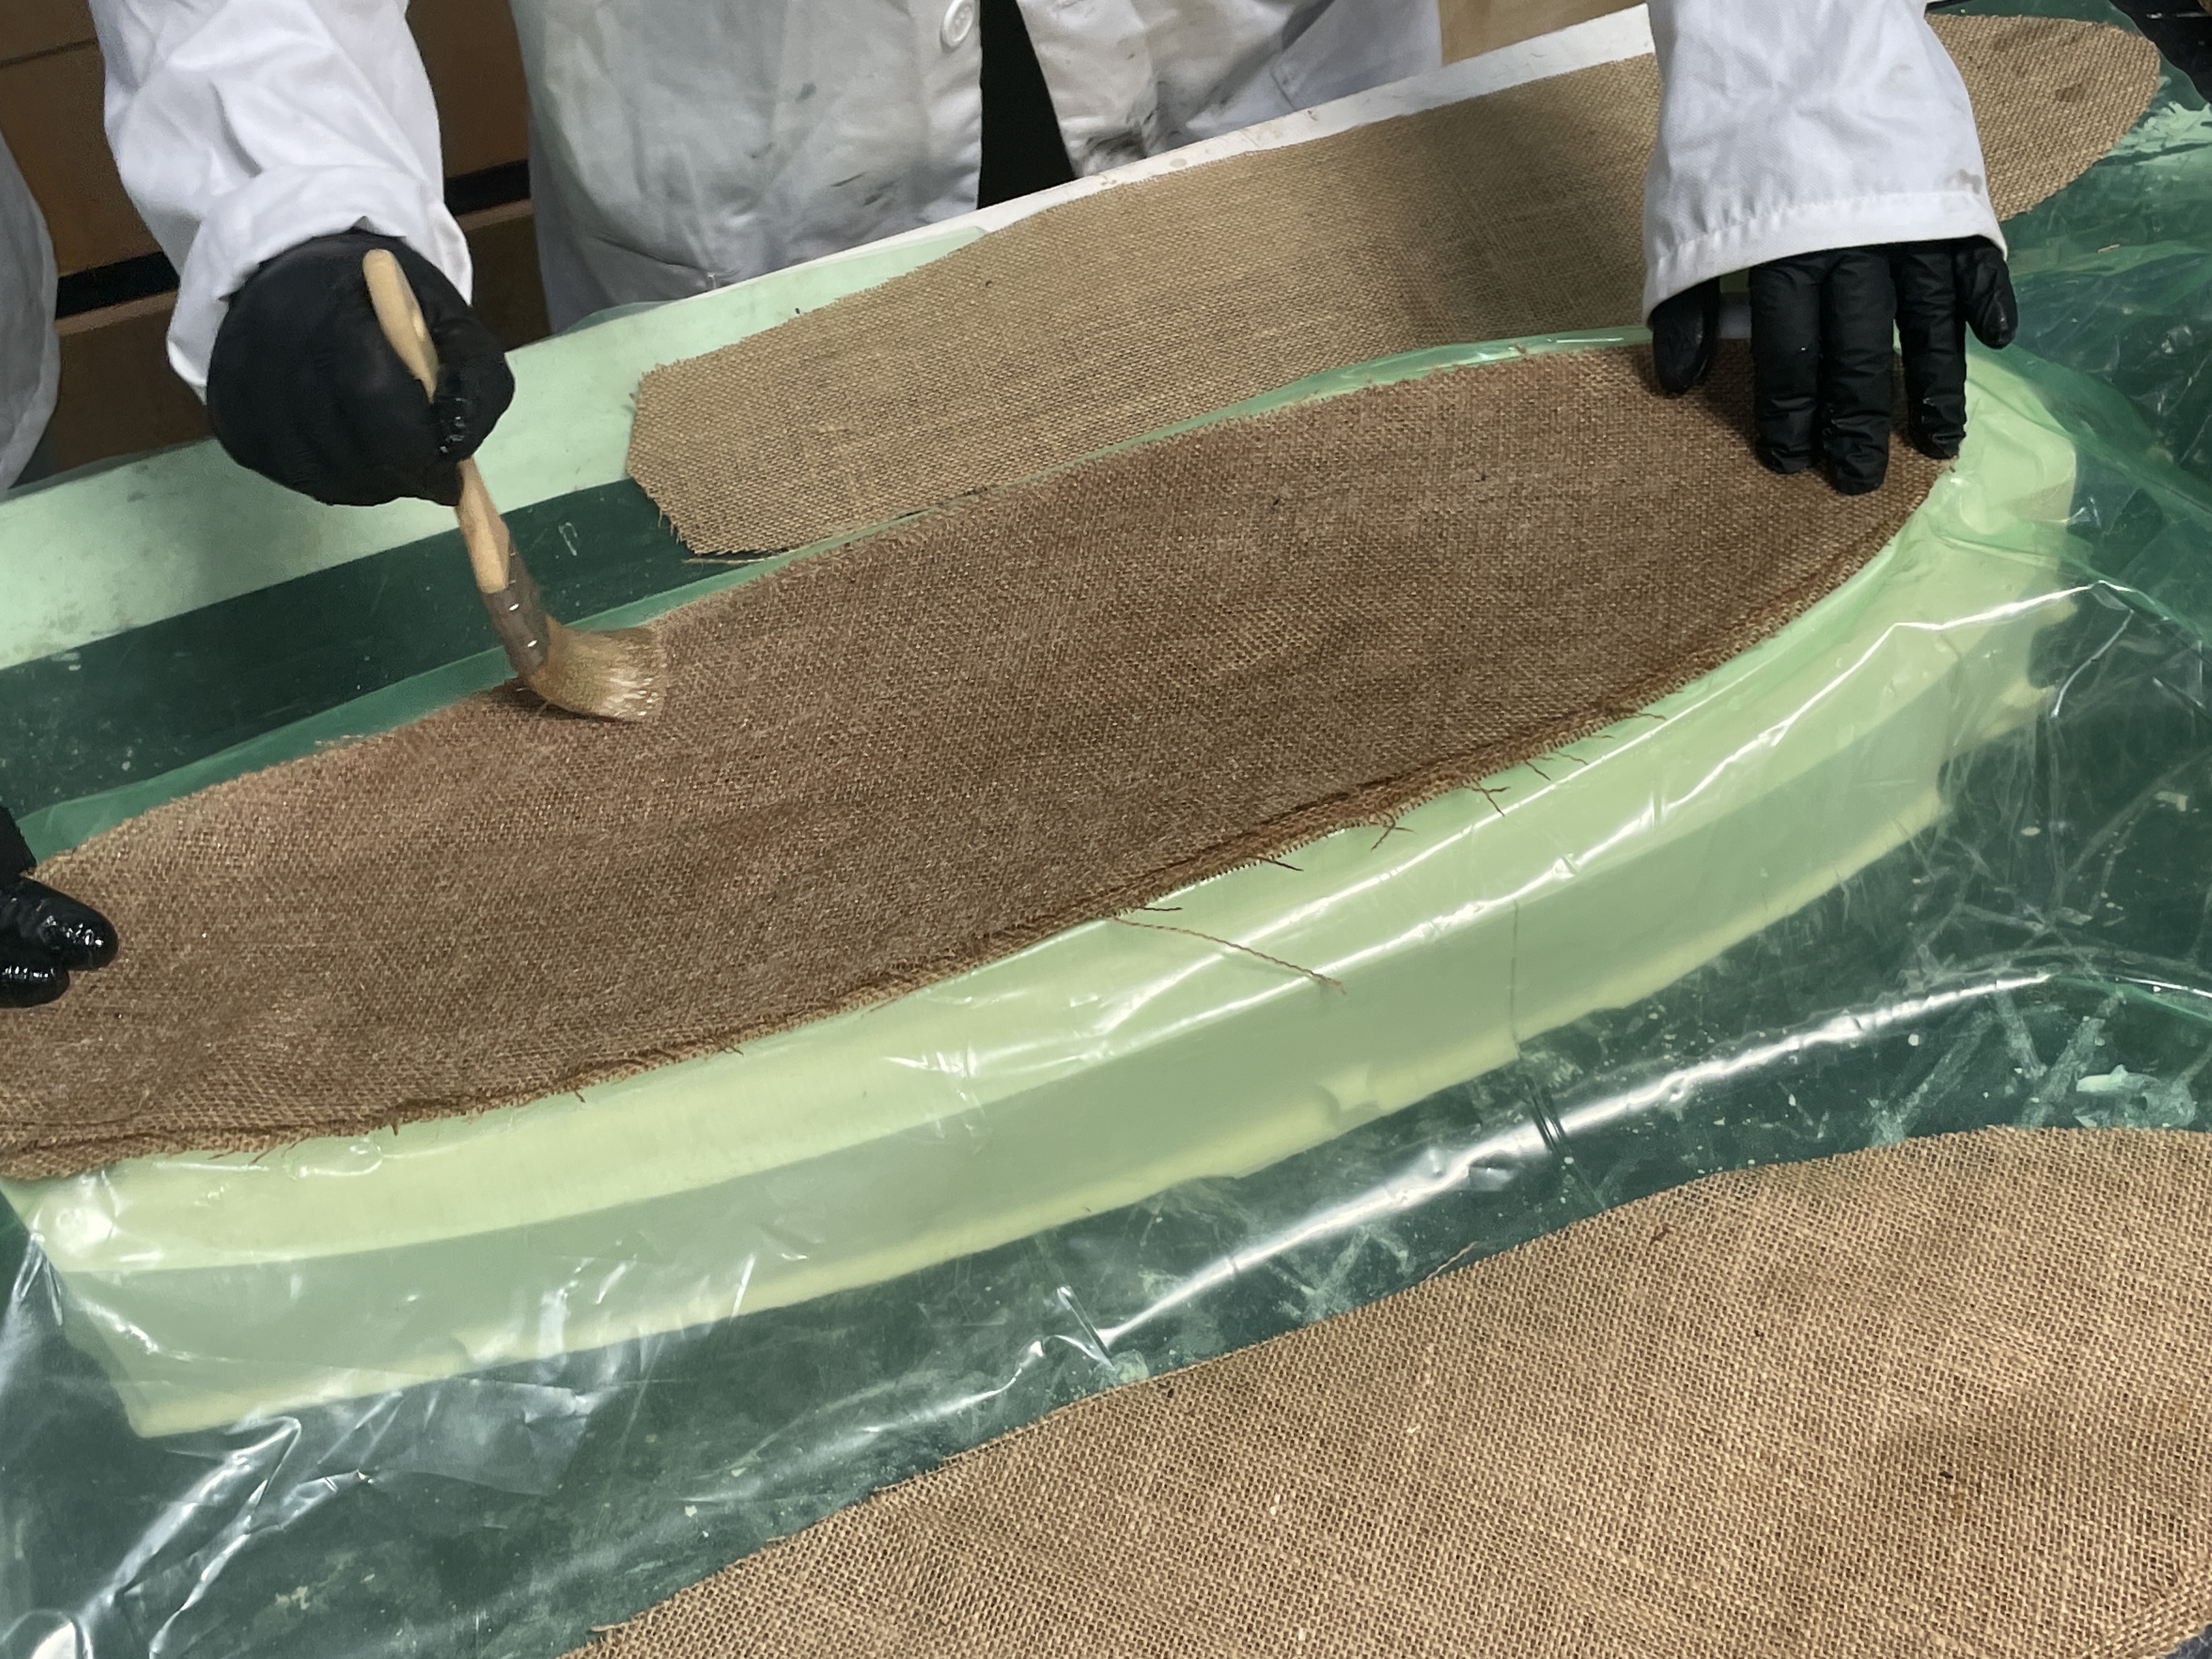
We adding layers of burlap on top to create the skateboard we want. We add a bit of resin and then spread out and then another layer and we repeat the same process until we have enough layers. We added around 10.
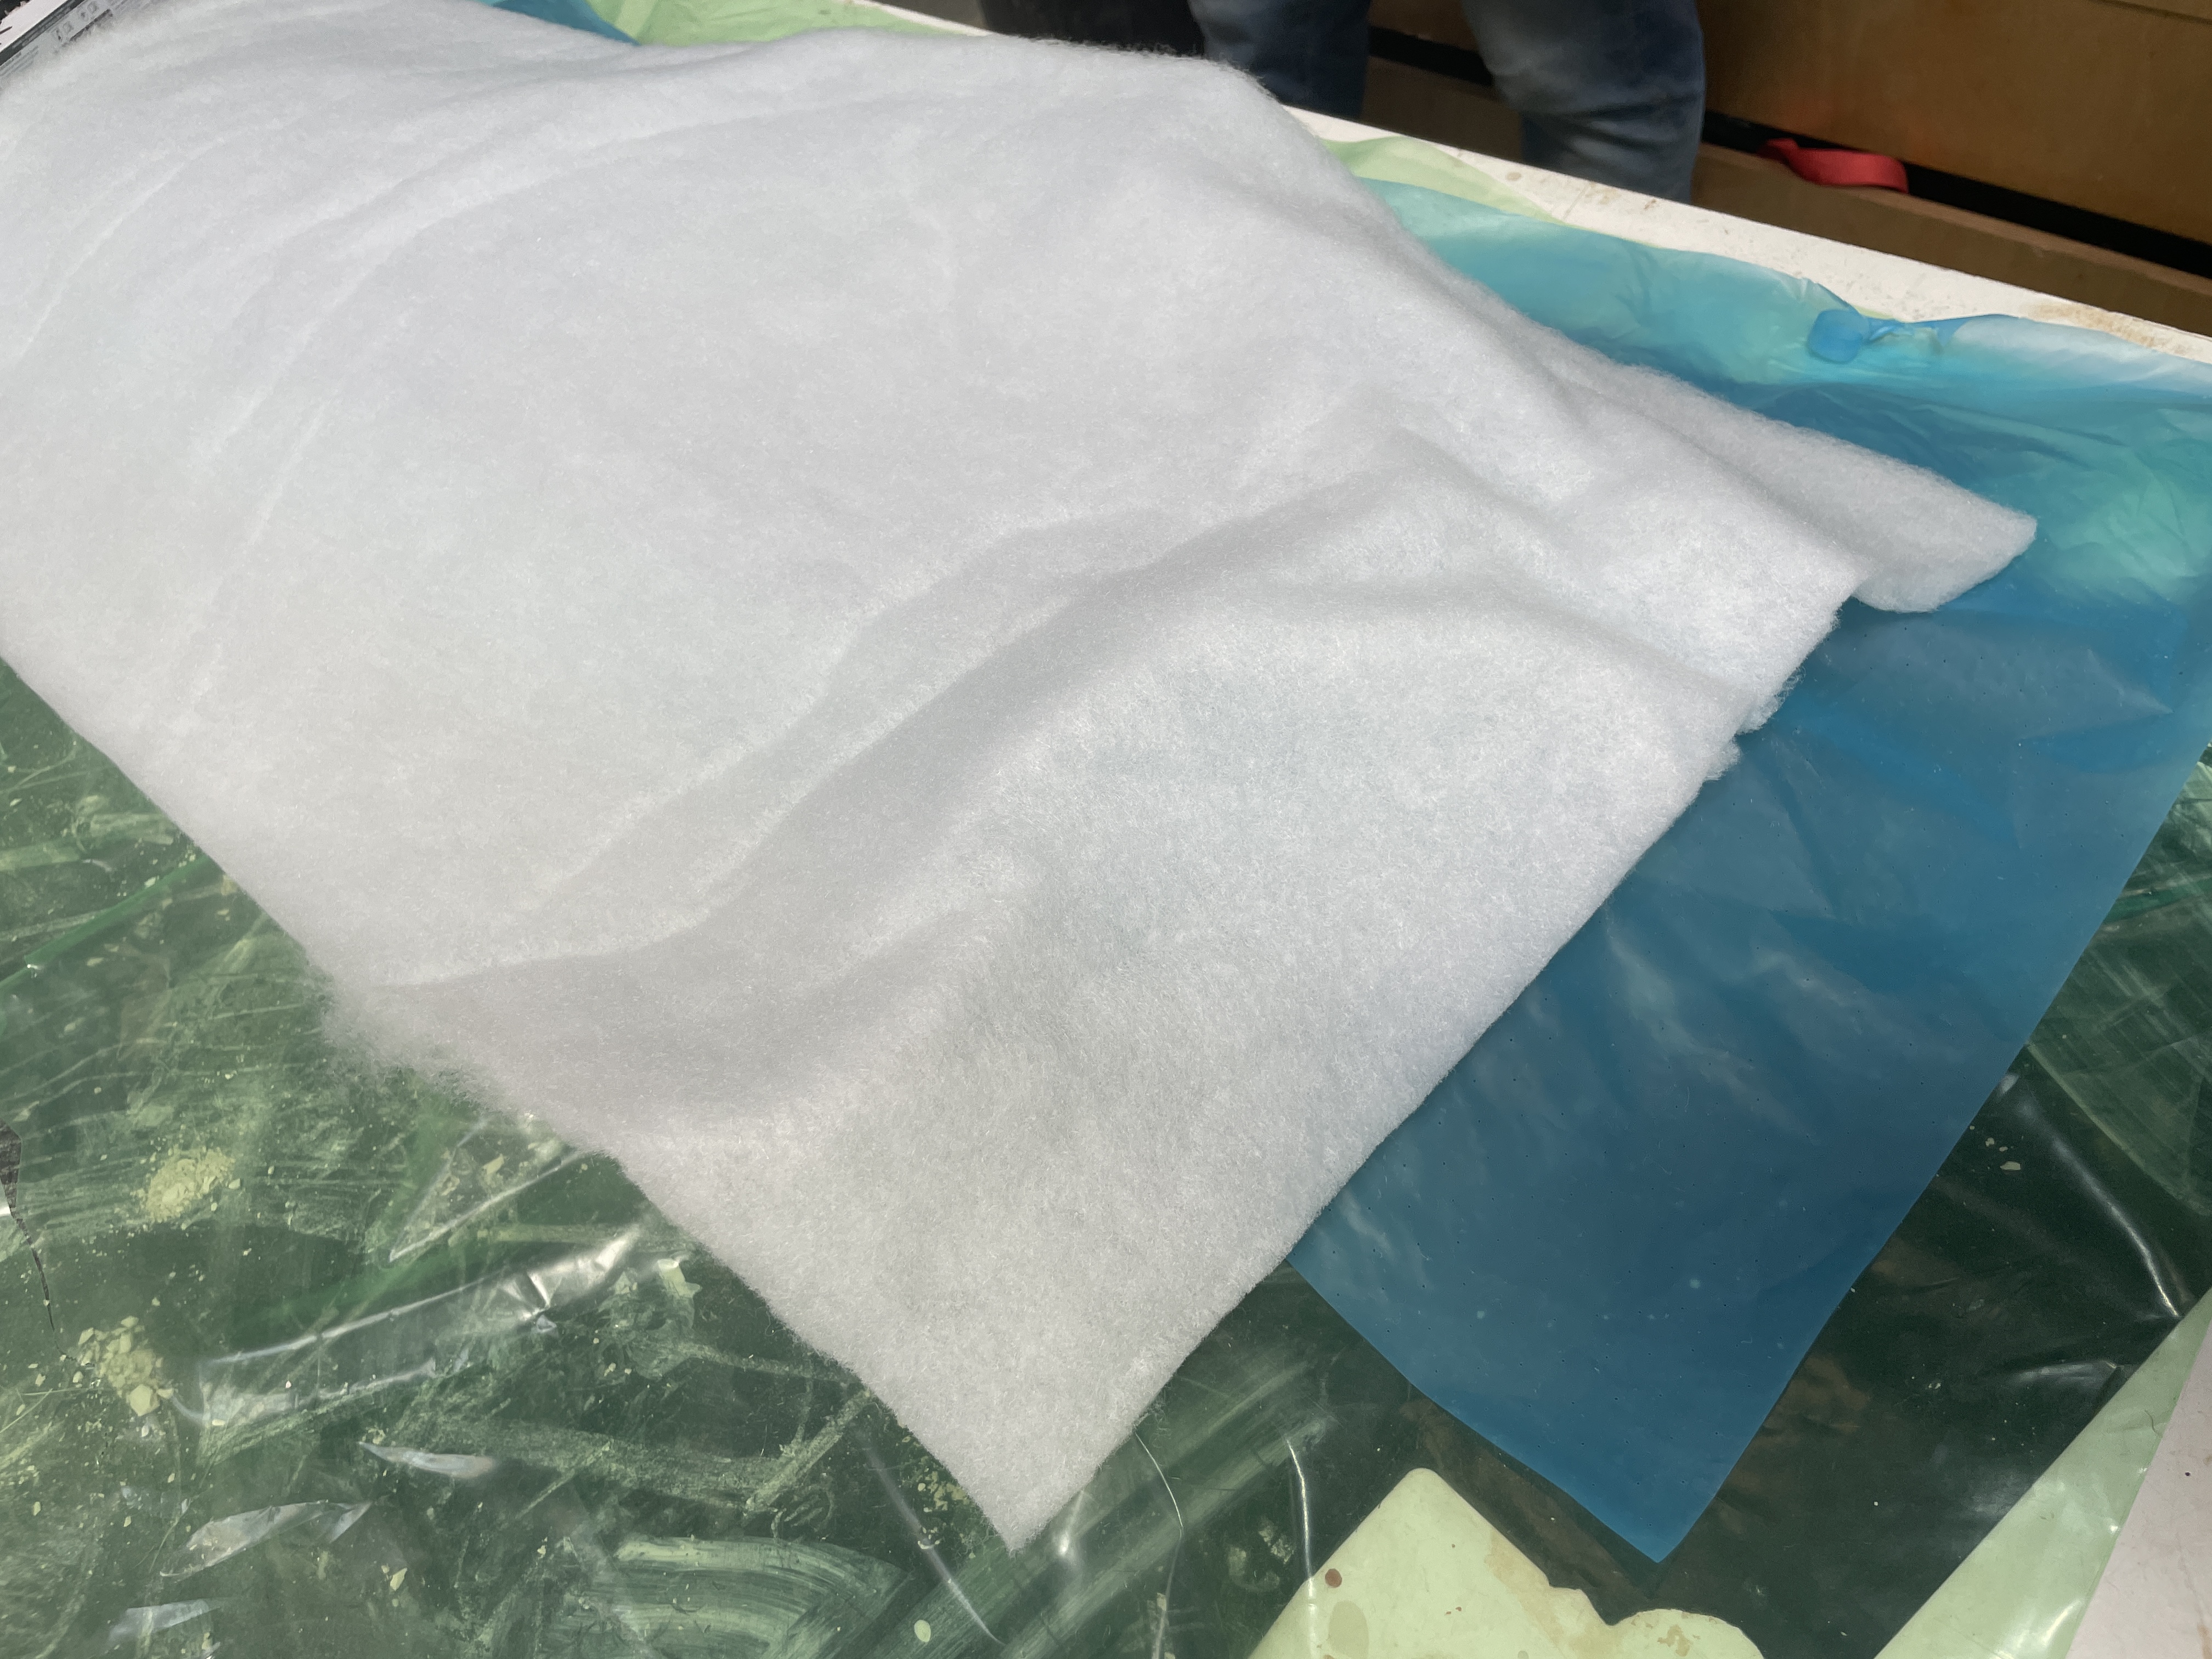
We add layers to protect the surface we are working on. Now we add a soft one that can absorb the liquid that may spill and then plastic on top so we don't stain the machine we will use to press it.
We add layers to protect the surface we are working on. Now we add a soft one that can absorb the liquid that may spill and then plastic on top so we don't stain the machine we will use to press it.
I tested the softrobotics with angel and used one of the molds that were in the fablab.
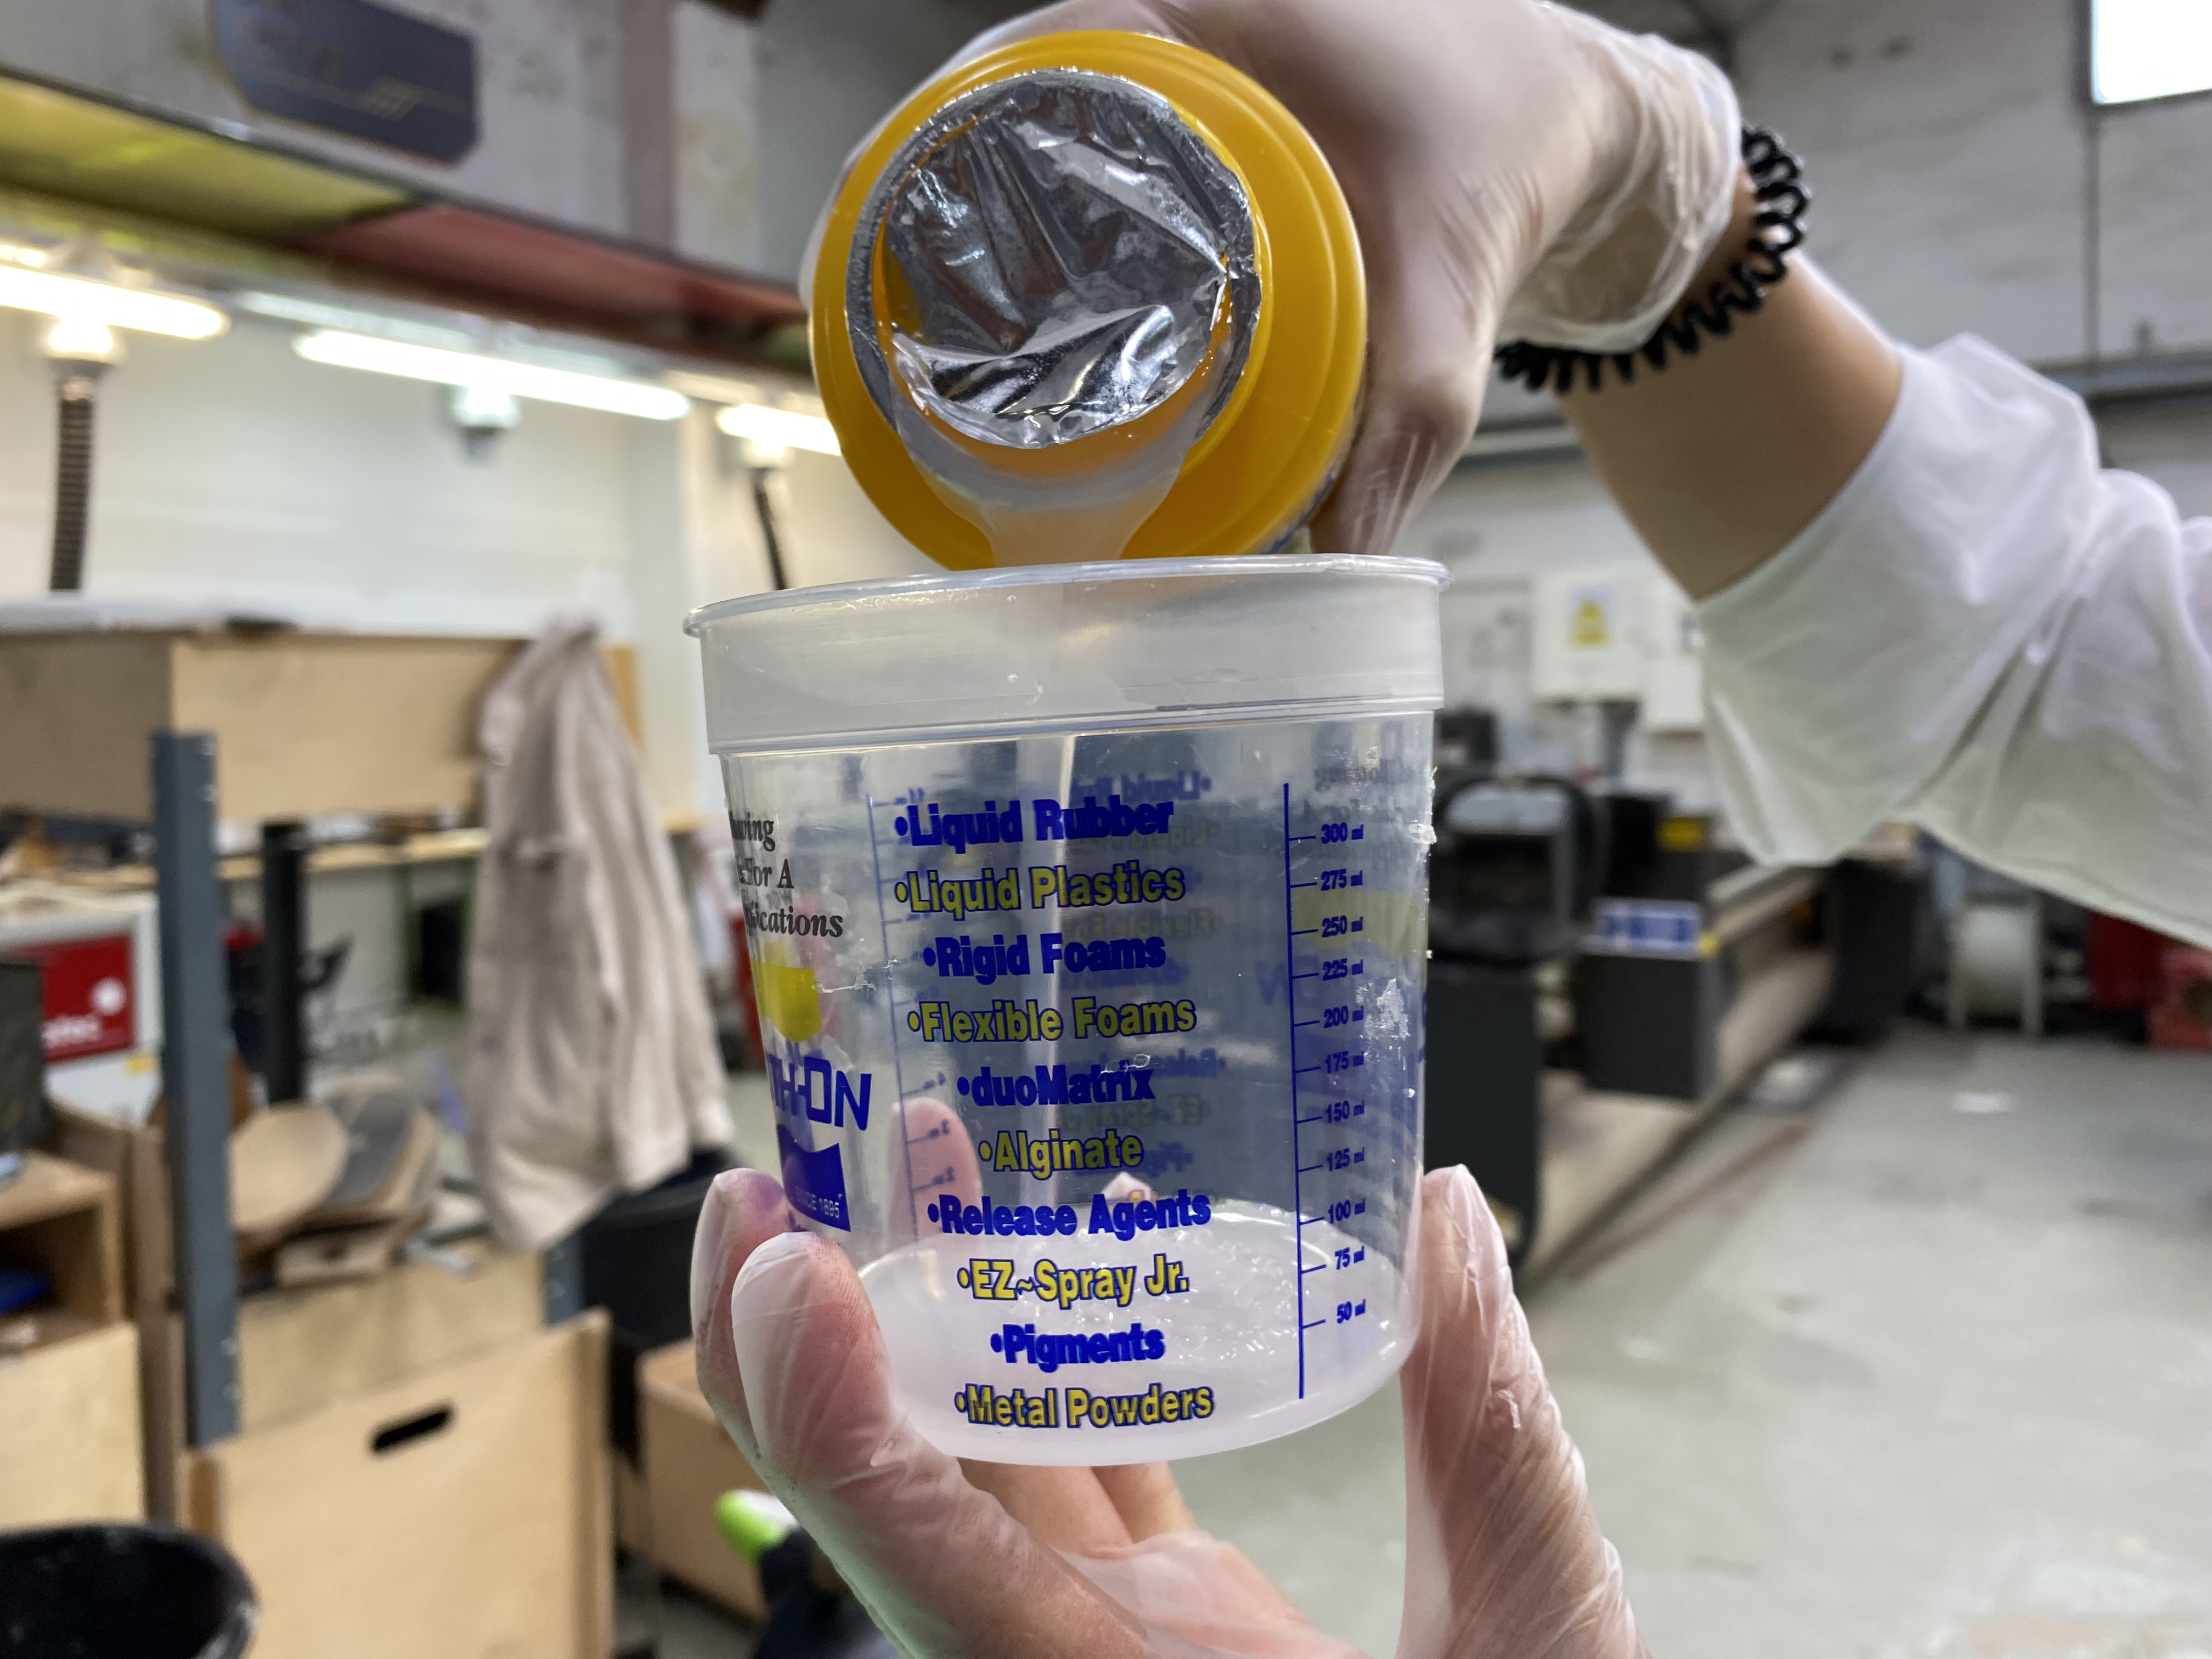
First we prepared our working station with the plastic and read the security instructions for what to use. This mix specified to use gloves and lenses. Then we prepared the mix according to instructions, proportion was 50/50.
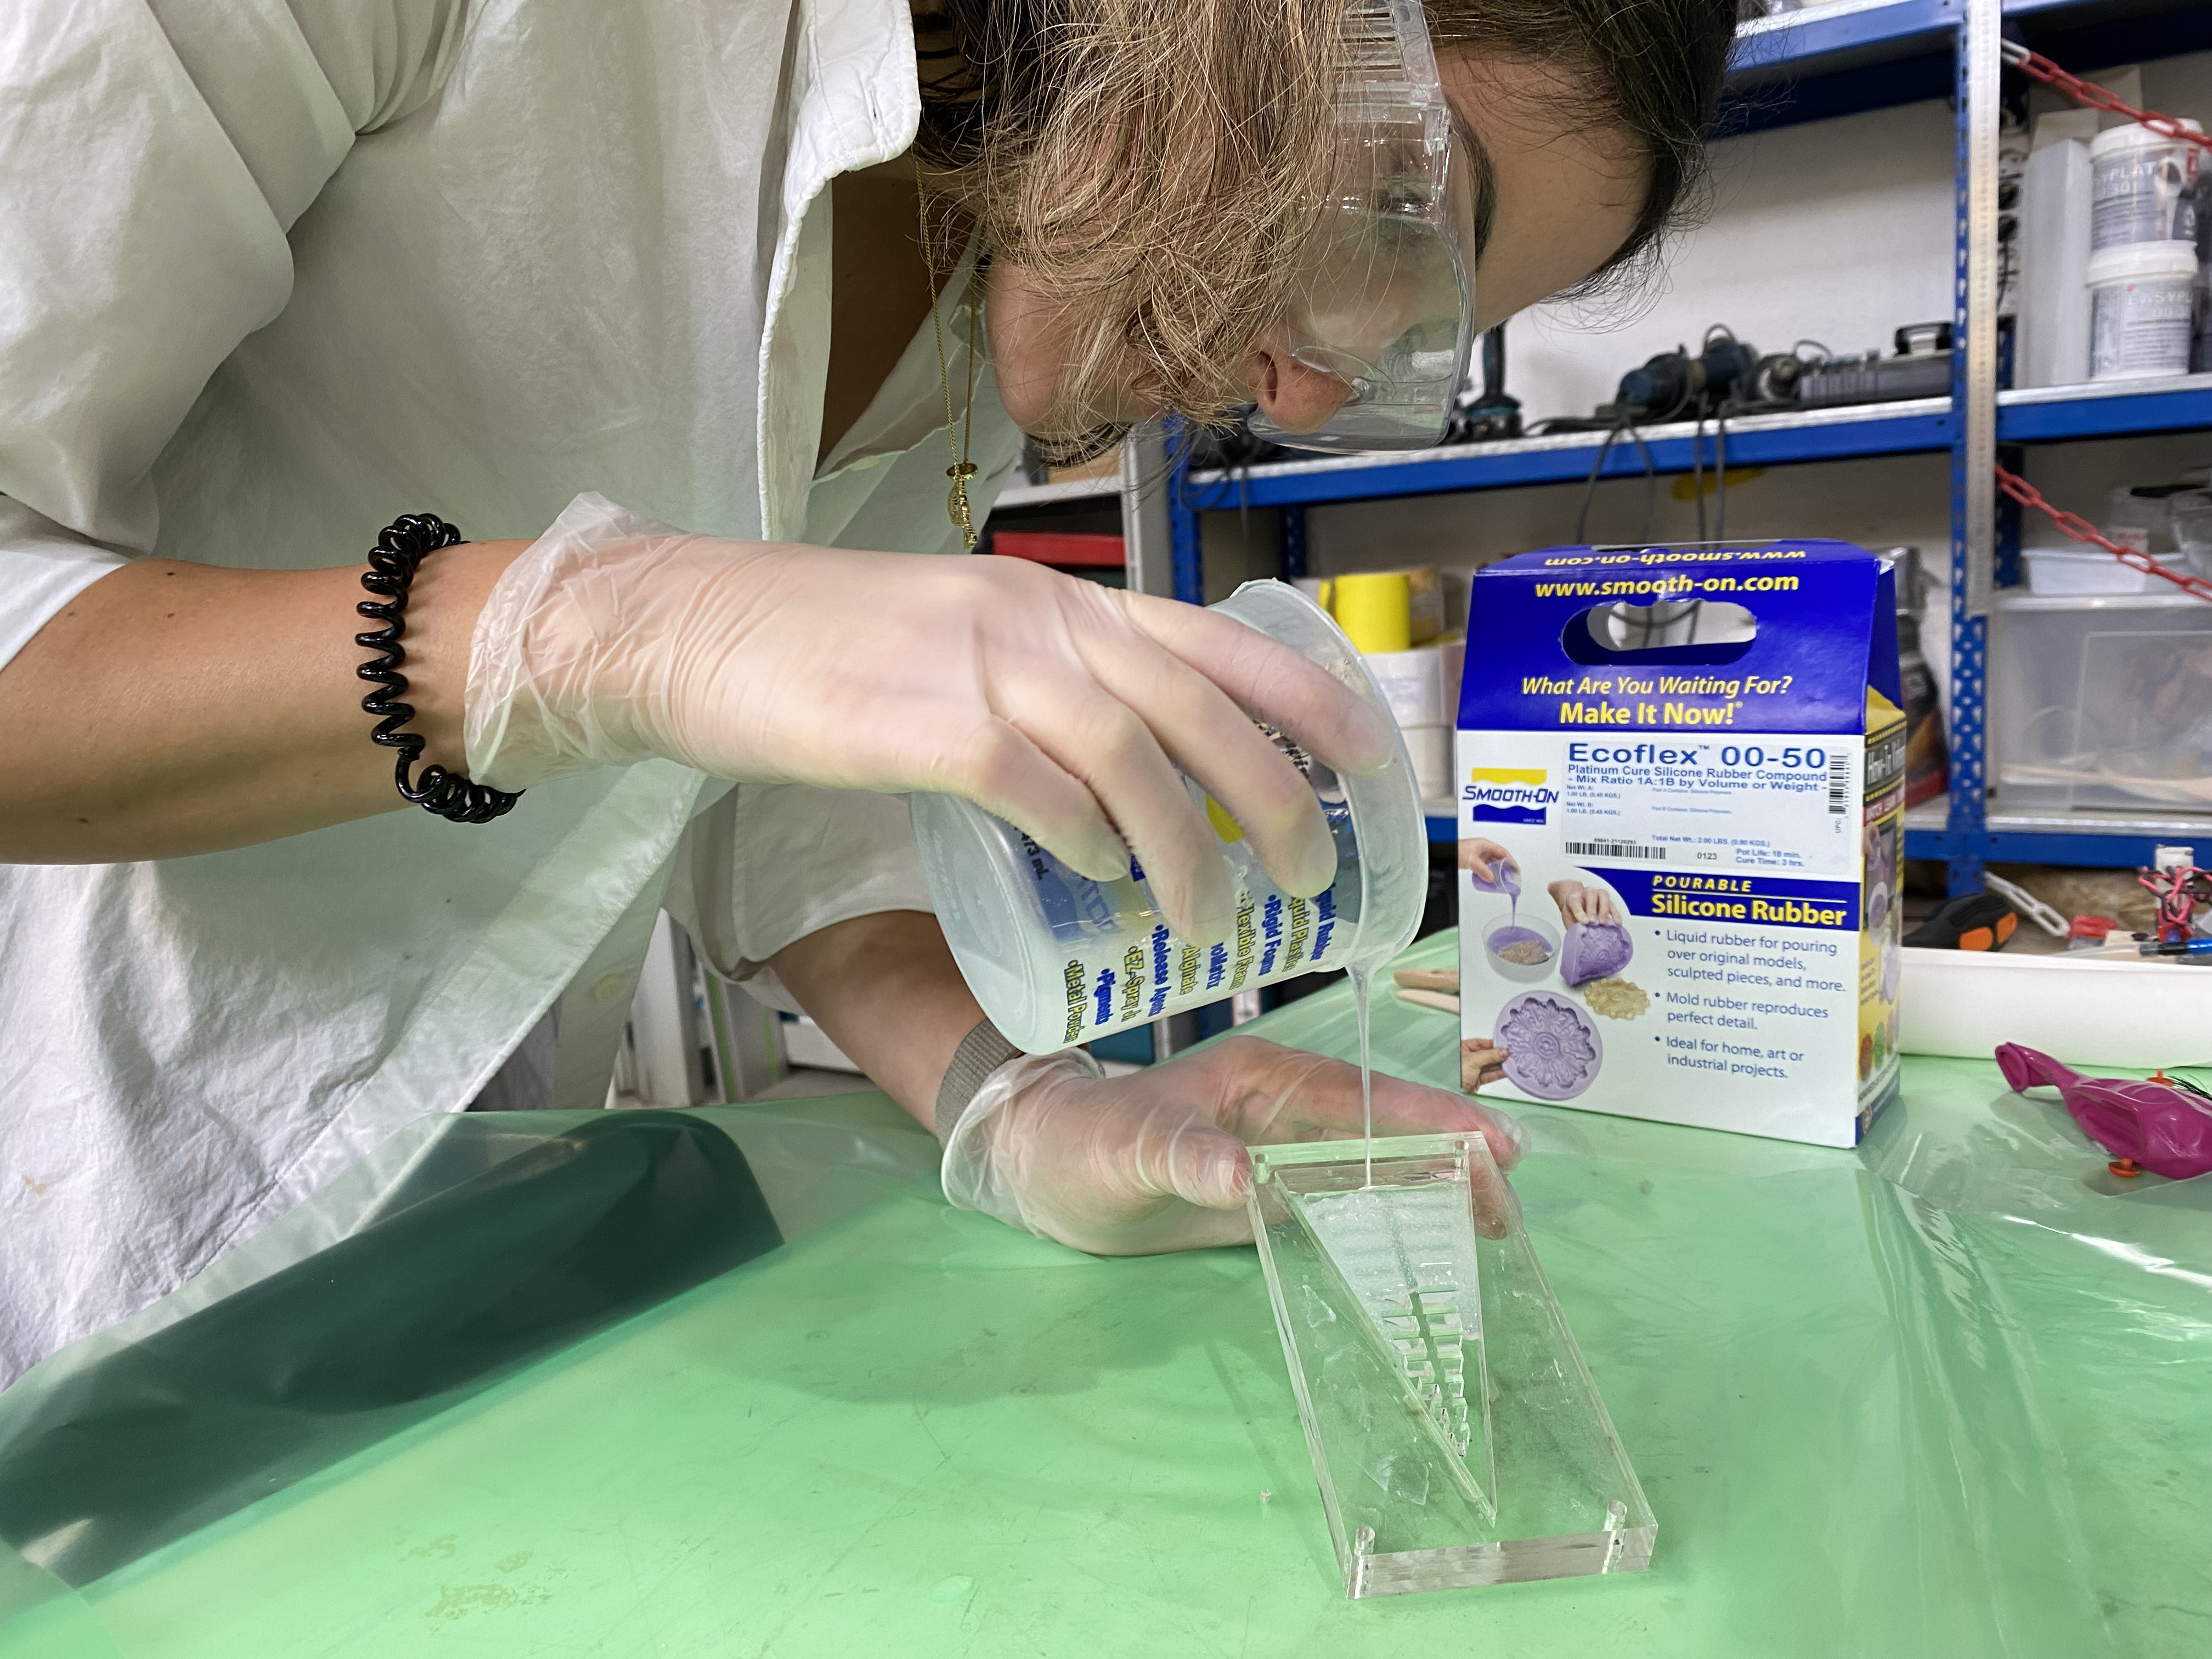
We then added some spray to the mold so it doesn't stick to the silicone. After waiting some minutes for it to dry we poured in the silicone mix slowly and with a very fine pour.
We have to be very careful not to get bubbles in the mold. That why we try to pour it in a way in which we reduce the risk of getting air inside our mix.
After pouring it we tapped it some times into the table to remove excess bubless that may have formed in the mold.
We had some spare mix so we used another mold to make use of it.
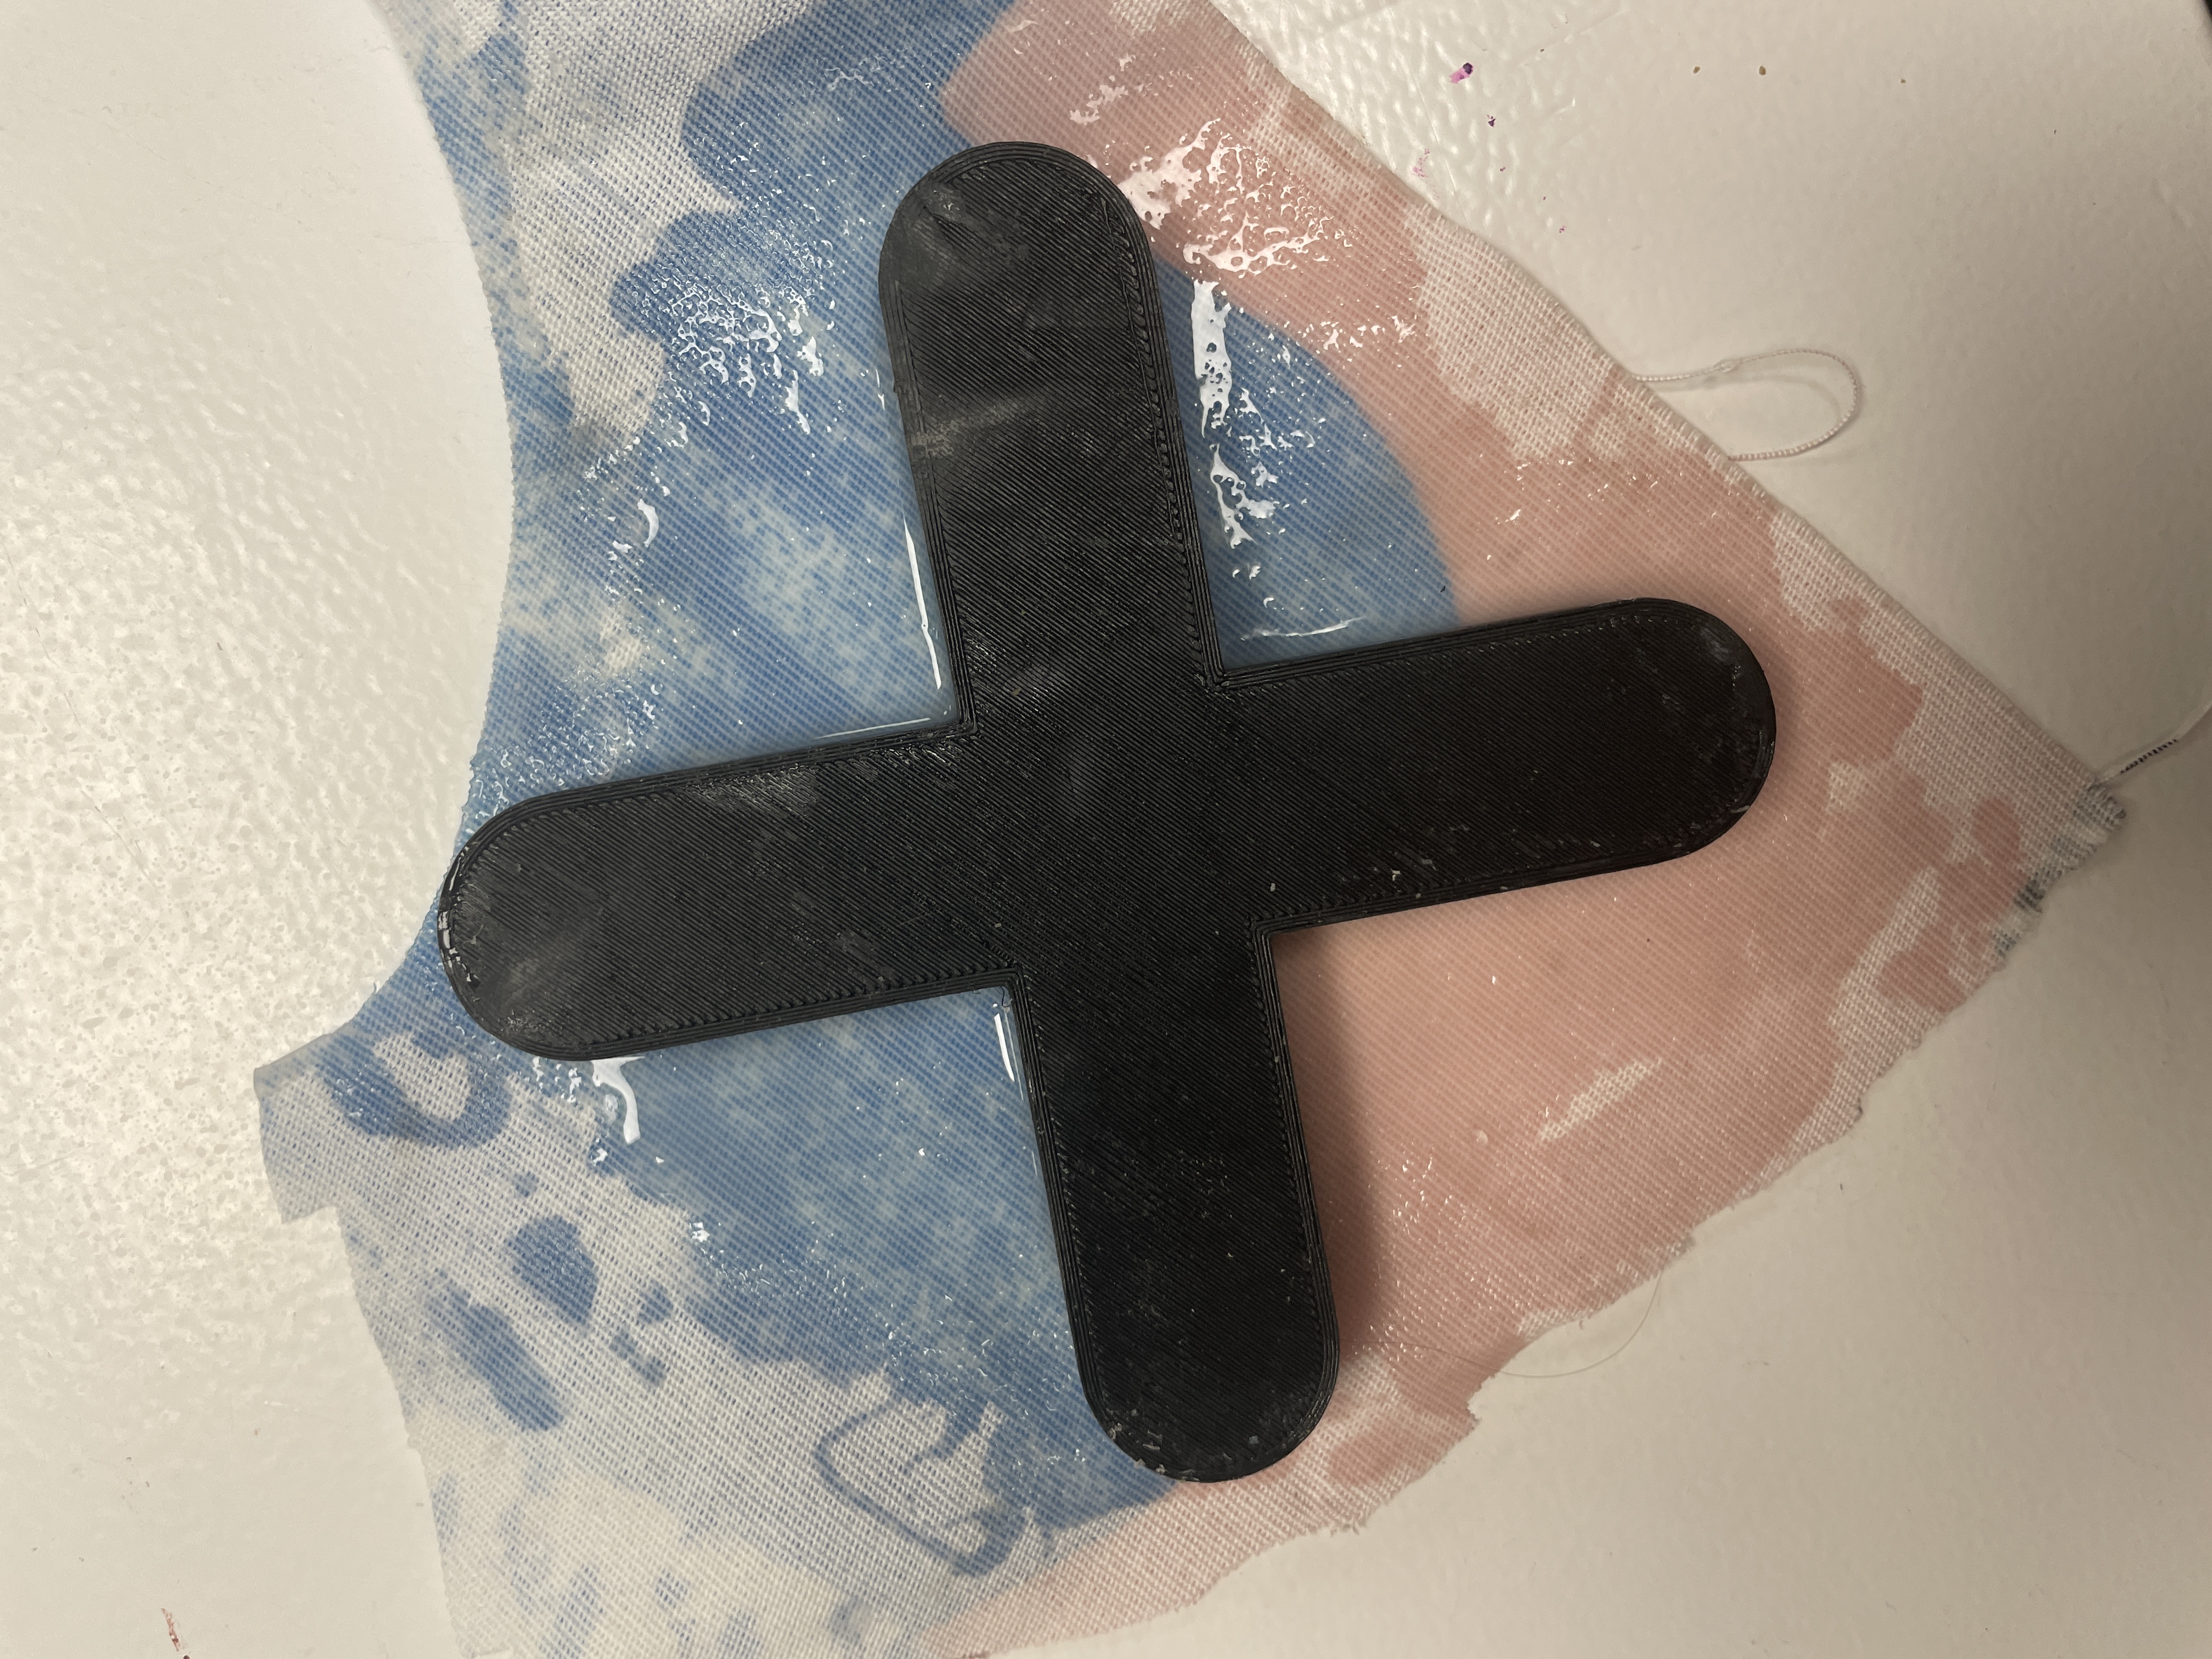
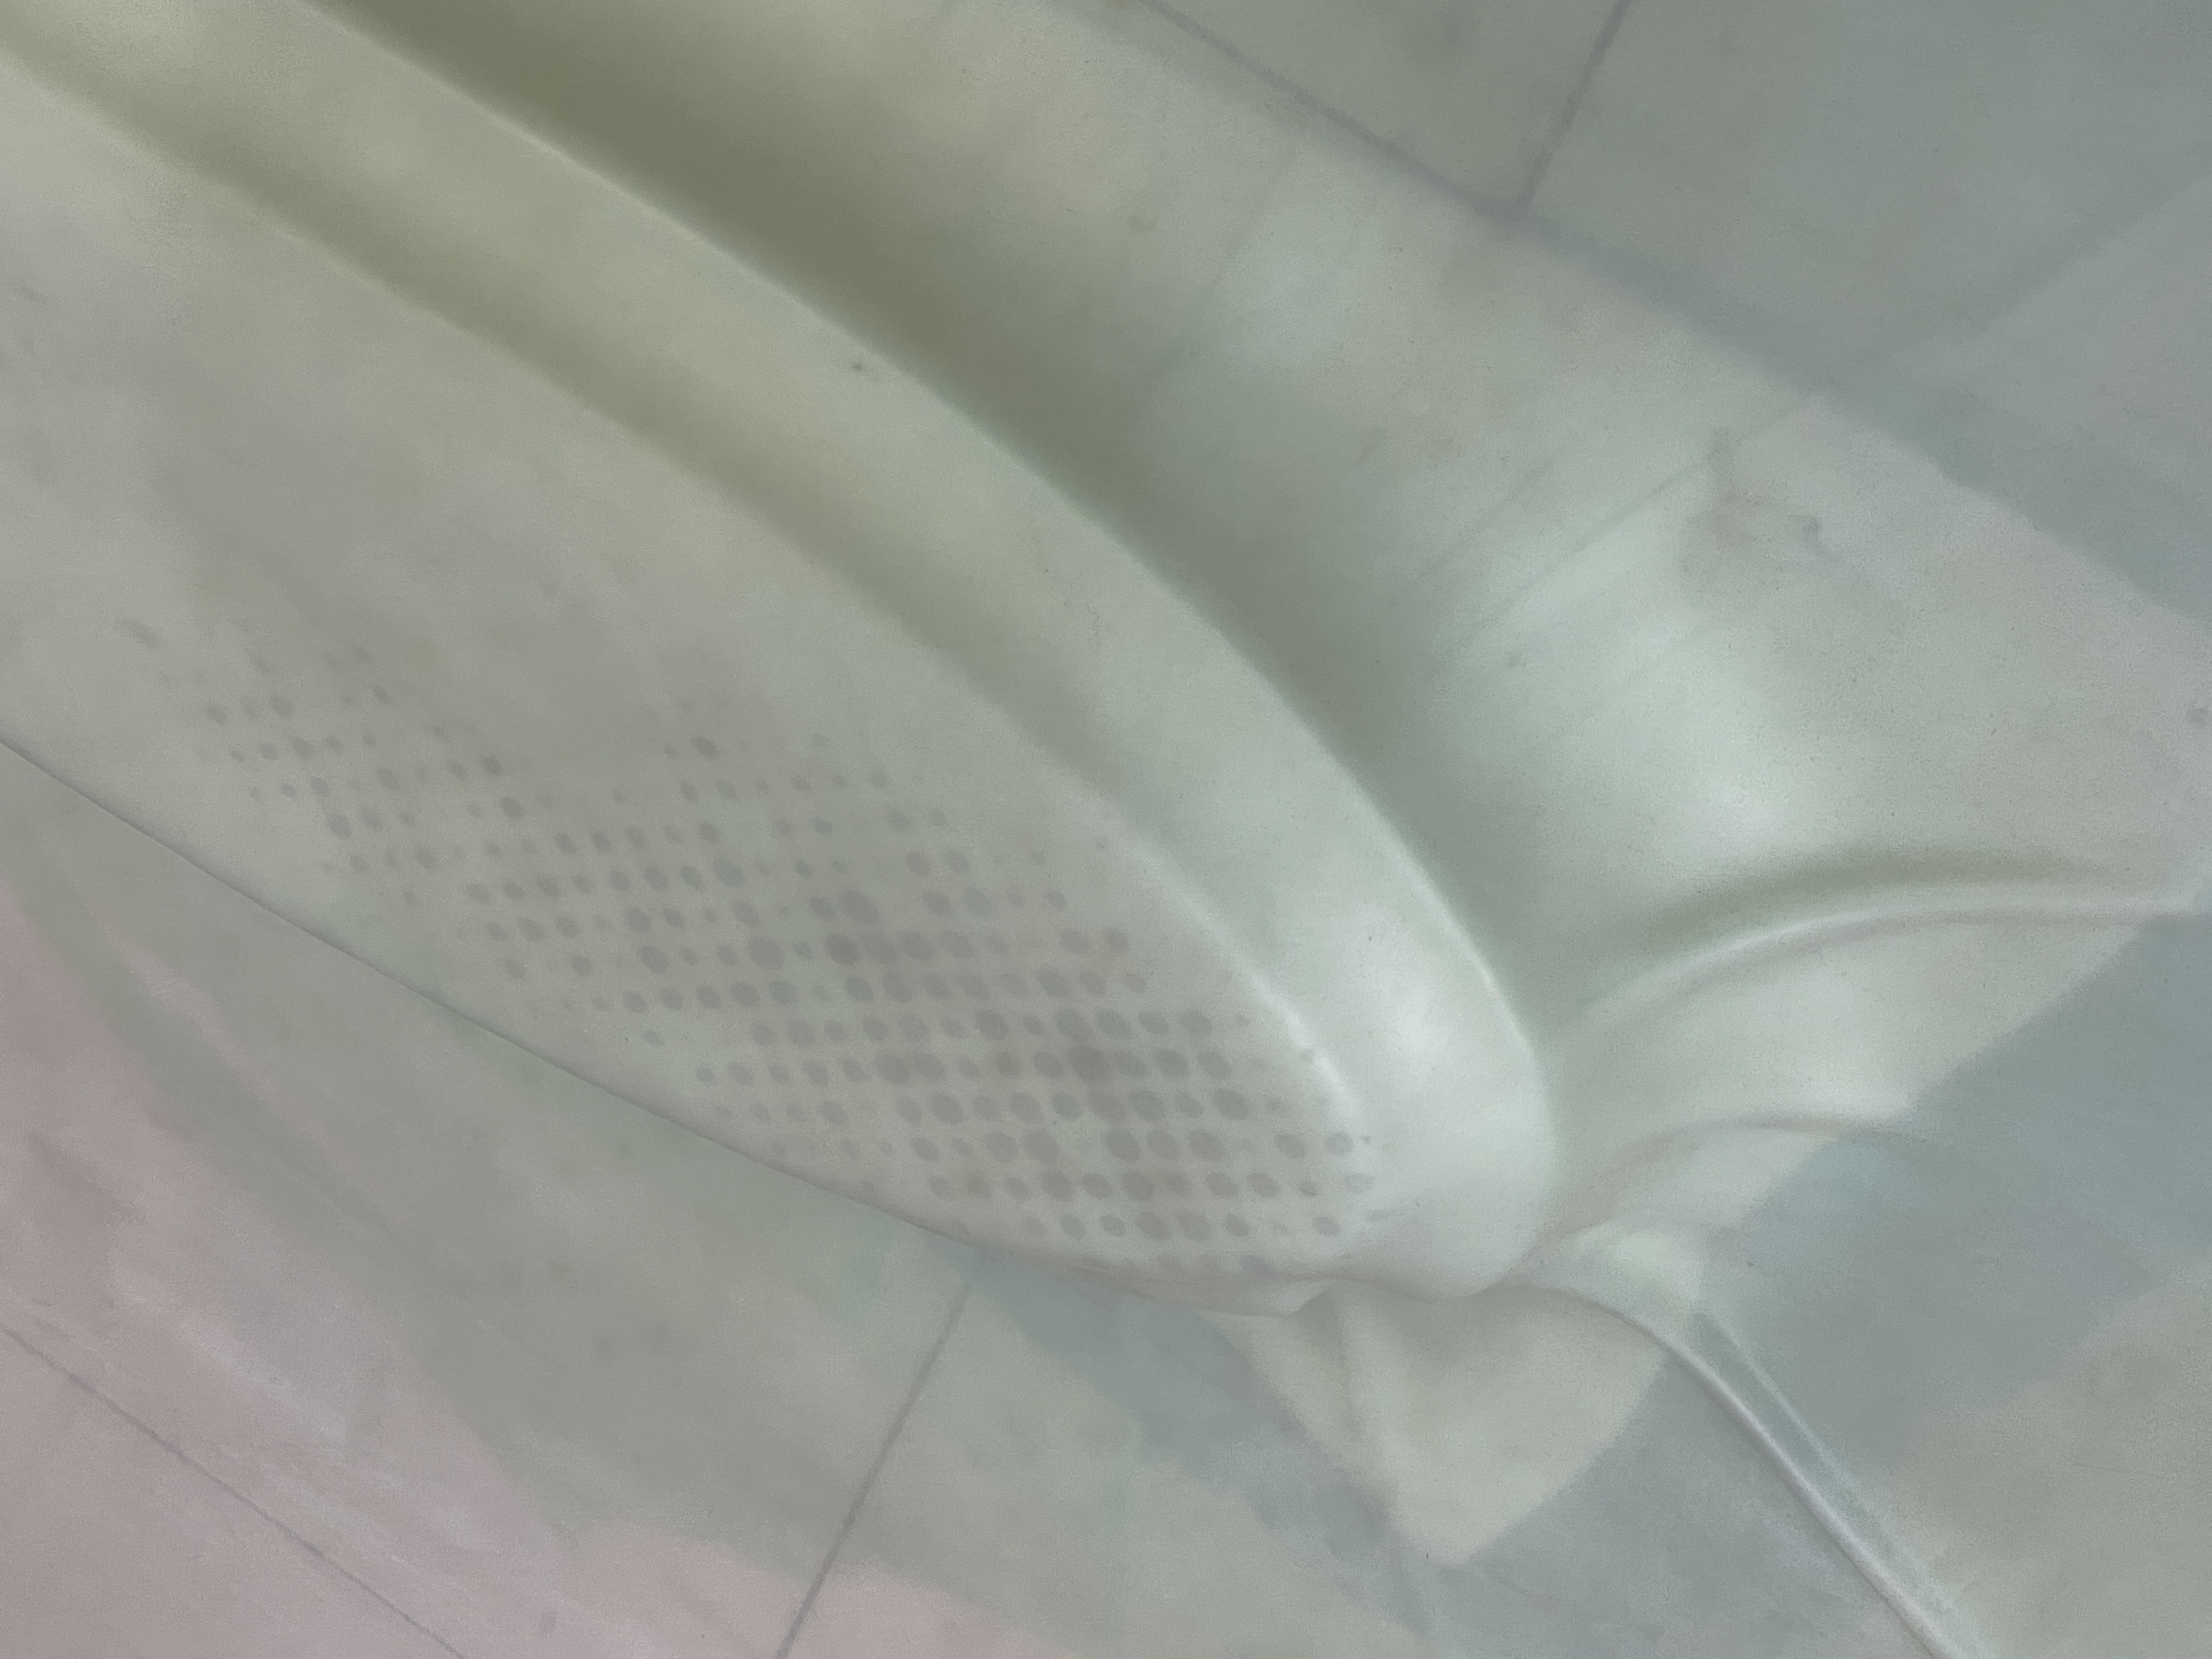
We left the molds to dry for some hours and the next day we checked them. It was a bit tricky to take them out due to the many lines inside it but in the end we managed.
What we didn't manage to do was to take it out of the fabric we put below. It got attached to it and we couldn't take it out.